Introduction
Installer un éclairage paysager dans son jardin est un projet de bricolage passionnant, mais il soulève une question fréquente : jusqu'où peut-on tirer un fil basse tension 12/2 ? La réponse est cruciale pour planifier l'installation de votre câblage paysager . Dans les systèmes d'éclairage paysager basse tension (12 V), la longueur du fil affecte directement les performances en raison de la chute de tension : plus le fil est long, plus la résistance est élevée et plus la chute de tension est importante. Cela peut atténuer l'intensité lumineuse si vous dépassez la longueur recommandée. Heureusement, avec quelques notions de base sur les fils d'éclairage paysager et une planification minutieuse, vous pouvez garantir l'éclairage optimal de tous vos éclairages de jardin. Dans cet article, nous vous expliquerons ce qu'est un fil 12/2, sa portée et pourquoi de nombreux propriétaires optent finalement pour un fil 14/2 pour leurs besoins en éclairage extérieur .
Définition : Qu'est-ce qu'un fil paysager basse tension 12/2 ?
Le fil d'éclairage paysager « 12/2 » désigne un câble composé de deux conducteurs de calibre 12. Le calibre du fil mesure le diamètre du fil : plus le calibre est petit, plus le fil est épais. Un fil de calibre 12 est plus épais qu'un fil de calibre 14, ce qui lui permet de transporter plus de courant avec moins de résistance (et donc moins de chute de tension) sur de longues distances. Les câbles d'éclairage paysager basse tension, comme le 12/2 ou le 14/2, sont spécialement conçus pour une utilisation en extérieur. Ils sont généralement dotés d'une gaine isolante résistante aux UV et peuvent être enterrés directement (ce qui signifie qu'ils peuvent être enterrés sans conduit). L'isolation est conçue pour résister aux intempéries, à l'humidité et au rayonnement solaire au fil du temps. Par exemple, le fil d'éclairage paysager 14/2 de Haisstronica utilise des conducteurs en cuivre pur avec une gaine en PVC durable qui résiste aux UV, à l'abrasion et à l'humidité. Les câbles 12/2 et 14/2 sont des fils électriques destinés aux systèmes d'éclairage extérieur , mais leur capacité diffère, ce qui affecte leur portée.
D'après le tableau ci-dessus et les recommandations du secteur, un câble basse tension de calibre 12 est idéal pour les longues distances jusqu'à environ 60 mètres avec une charge totale maximale d'environ 60 watts. En revanche, un câble de calibre 14 est idéal pour les longueurs moyennes d'environ 30 mètres (avec une charge de puissance similaire), avant qu'une chute de tension n'entraîne une atténuation notable. Concrètement, cela signifie que si vous avez un ensemble d'éclairages paysagers nécessitant, par exemple, 50 à 60 W de puissance au total, un câble 12/2 peut s'étendre sur environ 60 mètres pour les atteindre sans problème majeur. Si votre installation est plus courte (moins de 30 mètres) et alimente un système d'éclairage paysager LED classique (par exemple, 8 à 10 luminaires de 5 W chacun, soit 50 W), un câble 14/2 conviendra parfaitement. L'utilisation du bon calibre garantit que vos câbles d'éclairage paysager fournissent la tension appropriée à chaque luminaire pour un éclairage uniforme.
Étapes de fonctionnement : Pose d'un câblage paysager basse tension
Une planification et une installation adéquates vous permettront de câbler votre éclairage paysager efficacement et en toute sécurité. Suivez ces étapes pour optimiser votre câblage basse tension :
-
Mesurer la distance : Dessinez votre schéma et mesurez la distance entre le transformateur et le luminaire le plus éloigné. N'oubliez pas de tenir compte du cheminement réel du câble (y compris les courbes et les boucles), et non de la distance à vol d'oiseau. Cette longueur totale déterminera le calibre du fil nécessaire, car il est impossible de faire passer un fil très long sans subir de chute de tension . En règle générale, essayez de réduire au maximum les longueurs individuelles ; si l'une d'elles est extrêmement longue (plus de 45 mètres), envisagez de la diviser en deux à partir du transformateur.
-
Calculer la puissance totale : Additionnez la puissance de tous les luminaires paysagers sur ce parcours (pour les LED, utilisez leur puissance ; pour les ampoules à incandescence/halogène, utilisez la puissance de l’ampoule). Par exemple, dix luminaires LED de 5 W chacun équivalent à 50 W. Le câble doit pouvoir supporter cette charge totale sur toute la distance. Il existe une limite pratique au nombre de luminaires (watts) qu’un câble peut supporter avant que la chute de tension et l’intensité ne deviennent problématiques. Pour des raisons de sécurité, le câblage basse tension d’un réseau paysager doit généralement rester inférieur à 80 % de sa capacité. Pour un câble 12/2, cela représente une charge maximale d’environ 192 W (80 % de ~240 W) sur un parcours. Cependant, en termes de distance, la chute de tension est généralement le facteur limitant. Dans notre exemple d’environ 50 W au total, les calibres 14 AWG et 12 AWG peuvent tous deux supporter la puissance ; la distance sera le facteur déterminant pour le calibre.
-
Choisissez le bon calibre de fil : En fonction de votre distance et de votre puissance, choisissez un fil pour éclairage extérieur de calibre approprié. Comme indiqué précédemment, un fil de jardin de calibre 16 convient aux courts trajets (moins de 18 m, environ 60 W), un fil de jardin de calibre 14/2 convient aux trajets moyens (environ 30 m) et un fil de jardin de calibre 12/2 convient aux trajets plus longs (environ 60 m). Si vous prévoyez des trajets extrêmement longs, approchant 76 m à 90 m ou plus, vous pourriez même avoir besoin d'un fil basse tension de calibre 10/2 , capable de supporter environ 90 m avec une charge d'environ 60 W ou une puissance plus élevée sur des trajets plus courts. En cas de doute, opter pour un fil plus épais (calibre inférieur) est plus sûr pour éviter une faible luminosité. Vous pouvez également consulter les tableaux de calibres de fil (comme sur la figure ci-dessus) ou utiliser des calculateurs de chute de tension en ligne pour vérifier vos plans. Gardez à l'esprit que la question « quel fil pour un éclairage extérieur » se résume essentiellement à adapter le calibre à votre distance et à votre puissance. Conseil de pro : si votre parcours est très long ou si vos lumières sont très éloignées les unes des autres, envisagez de faire passer un câble d'alimentation de plus gros calibre jusqu'à une jonction intermédiaire, puis de séparer les branches plus courtes - cela peut réduire la chute de tension par rapport à une chaîne continue.
-
Pose et enfouissement du câble : Une fois que vous avez le câble d’éclairage paysager basse tension approprié, faites-le passer dans votre jardin. Comment enterrer un câble d’éclairage paysager basse tension ? Il est recommandé de creuser une petite tranchée d’environ 15 cm de profondeur pour enfouir le câble. Cette profondeur protège le câble des dommages accidentels (tels que les aérateurs à gazon ou les pelles) et préserve l’aspect soigné de votre jardin. Vous pouvez utiliser une bêche plate ou une tranchée (spécialement conçue pour enterrer le câble d’éclairage paysager) pour faciliter le travail : il suffit de l’enfoncer dans le sol le long de votre ligne de pose pour créer une fente, puis d’enfoncer le câble. Si vous devez faire passer un câble sous un trottoir ou une allée, prévoyez de le faire passer dans une gaine en PVC ou un tuyau d’arrosage sous l’aménagement paysager pour le protéger. Bonne nouvelle : la plupart des câbles d’éclairage paysager basse tension sont conçus pour un enfouissement direct ; il n’est donc pas nécessaire de les faire passer dans une gaine pour un enfouissement ordinaire (une gaine n’est nécessaire que dans les zones à forte circulation ou pour franchir des obstacles). Laissez un peu de jeu dans le câble dans les coins ou les virages et à proximité des luminaires au cas où des ajustements seraient nécessaires.
-
Raccordement des luminaires et du transformateur : Il est maintenant temps de tout raccorder. Dénudez les extrémités du câble (généralement sur environ 1,25 cm d'isolant) pour exposer les brins de cuivre. Pour chaque luminaire, utilisez des connecteurs pour éclairage paysager afin de relier les fils conducteurs au câble principal. Il est essentiel d'utiliser des connecteurs étanches pour l'éclairage paysager ; il s'agit souvent de serre-fils remplis de gel ou de connecteurs à clipser conçus pour une installation directe. Ils empêchent l'humidité de pénétrer dans la connexion, prévenant ainsi la corrosion et les chutes de tension au niveau de l'épissure. Par exemple, un connecteur de fil pour éclairage extérieur est généralement prérempli de silicone ; une fois les fils insérés et serrés, le joint est scellé. Assurez-vous que les connecteurs de chaque luminaire sont bien serrés et parfaitement étanches. Au niveau du transformateur, connectez votre fil électrique d'aménagement paysager 12/2 ou 14/2 aux bornes du transformateur (généralement un fil au commun, l'autre au 12 V ou 15 V, comme indiqué dans le manuel du transformateur). Vérifiez la polarité si nécessaire (certains systèmes ont deux conducteurs identiques, auquel cas cela n'a pas d'importance pour la basse tension alternative ; pour les systèmes à courant continu, respectez les marquages positifs/négatifs). Après avoir connecté tous les éclairages, testez le système avant d' enfouir complètement le câble : allumez le transformateur et vérifiez que chaque éclairage s'allume avec la même intensité. Cette étape permet de s'assurer qu'il n'y a pas de connexions desserrées ou d'erreurs de câblage. Si tout semble correct, remblayer vos tranchées avec de la terre et le tour est joué !

Scénarios d'application : Choisir 12/2 ou 14/2 dans des projets réels
Comment choisir entre 12/2 et 14/2 en pratique ? Considérons quelques scénarios typiques :
-
Petit jardin ou petite surface : Si vous éclairez un petit massif de fleurs ou une allée avec seulement quelques luminaires LED, votre longueur de câblage ne sera peut-être que de 9 à 18 mètres. Dans ce cas, un câble basse tension de calibre 14/2 est largement suffisant. Par exemple, pour quatre éclairages d'allée de 4 W chacun (16 W au total) répartis sur 15 mètres, un câble de calibre 14 assurera cette charge avec une chute de tension minimale. Un câble de calibre 12 fonctionnerait également, mais cela équivaudrait à utiliser une autoroute pour une rue de quartier ; ce n'est pas nécessaire. Le calibre 14/2, plus fin, est plus facile à manipuler et plus économique pour ces applications de câblage paysager court .
-
Éclairage de jardin standard : De nombreux systèmes d’éclairage paysager résidentiels entrent dans cette catégorie. Imaginons que vous ayez 8 à 12 luminaires LED (disons de 4 à 7 W chacun, pour un total d’environ 50 à 80 W) autour de votre jardin et le long des allées. Le luminaire le plus éloigné pourrait se trouver à environ 24 à 30 mètres du transformateur. C’est exactement à la limite entre les normes 14/2 et 12/2. Dans ce cas, vous avez le choix : vous pouvez utiliser du 14/2 si la puissance totale est faible (et éventuellement utiliser une prise de 15 V sur le transformateur pour compenser la chute de tension), mais le 12/2 offre une marge de sécurité supplémentaire en cas de chute de tension. Dans ce cas, de nombreux propriétaires choisissent le 14/2 si les longueurs de câble sont d’environ 24 mètres ou moins (surtout avec les LED, qui tolèrent mieux les légères chutes de tension), car c’est une solution plus économique tout en répondant aux besoins. Si la longueur du câble est proche de 30 m avec une charge d'environ 80 W, il est judicieux de passer à un format 12/2 pour garantir une luminosité optimale en bout de ligne. Dans les deux cas, veillez à ne pas dépasser la puissance maximale du câble ou du circuit du transformateur. (Remarque : un transformateur de 150 W sur un seul câble 14/2 de 30 m peut représenter une charge excessive ; envisagez de le diviser en deux.)
-
Grand jardin ou long parcours : Imaginez un grand jardin avec des guirlandes lumineuses sur les arbres ou des spots tout autour, où la lumière la plus éloignée se trouve à 45 à 60 mètres. C’est là que le câblage d’éclairage paysager 12/2 est idéal. Un câble de calibre 12 AWG peut transporter l’électricité sur de longues distances – environ 60 mètres comme indiqué – et peut atteindre 20 A (240 W) si nécessaire. En pratique, vous pourriez avoir un parcours de 45 mètres avec 10 spots LED de 8 W chacun (80 W au total). Un câble 14/2 subirait probablement une chute de tension notable dans ce scénario, ce qui entraînerait une atténuation de l’éclairage vers l’extrémité. Le câble 12/2 est le bon choix, car il fournit l’électricité plus efficacement sur la distance. Pour les longueurs extrêmement longues (plus de 60 m) ou les charges très élevées (plus de 100 W sur un seul tronçon), même un câble de calibre 12 peut ne pas suffire. Il faut alors envisager plusieurs tronçons plus courts ou un passage à un câble paysager de calibre 10/2 (10 AWG) pour acheminer le courant. Par exemple, les installateurs professionnels peuvent installer un câble d'alimentation de calibre 8 sur une partie de la propriété, puis le diviser en branches plus courtes de calibre 12. L'essentiel est de répartir la charge sur plusieurs circuits si nécessaire afin que chaque tronçon de câble respecte les limites de distance et de puissance.
-
Câbles à calibres mixtes (avancés) : Il est important de noter que vous pouvez combiner différents calibres dans un même système si nécessaire. Vous pouvez installer une ligne principale plus épaisse, puis passer à des dérivations plus courtes de calibre 14 pour différentes zones d'éclairage. Assurez-vous toujours que les connexions sont bien fixées lors des transitions entre les sections de fil (utilisez des serre-fils ou des boîtes de jonction appropriés). Cette approche hybride est utile dans les paysages complexes, mais pour la plupart des configurations de base, il est plus simple de conserver un calibre uniforme par ligne.
En résumé, utilisez du fil de calibre 14 pour la plupart des projets résidentiels modestes et du fil de calibre 12 pour les projets plus longs ou gourmands en énergie. Ces deux types de fils basse tension pour l'éclairage paysager peuvent être enterrés directement et dureront des années s'ils sont correctement installés.
Guide d'achat : Choisir le meilleur fil d'éclairage paysager
Choisir le bon fil électrique implique de prendre en compte le calibre, la qualité et la longueur. Voici les critères à prendre en compte lors de l'achat d'un fil pour un éclairage paysager basse tension :
-
Options de calibre et de longueur : Déterminez le calibre dont vous avez besoin (14 AWG ou 12 AWG, etc.) en fonction de la distance/charge, comme indiqué précédemment. Achetez ensuite une bobine suffisamment longue pour couvrir tous vos câbles (plus un peu plus). Les emballages courants incluent des rouleaux de 30, 60, 76 et 152 mètres de fil d'aménagement paysager. Par exemple, Haisstronica propose des rouleaux de fil d'aménagement paysager 14/2 de 60, 76 et 152 mètres pour s'adapter à différentes tailles de projets. Pour une installation plus importante, l'achat d'une bobine de 76 ou 152 mètres peut s'avérer plus économique que plusieurs rouleaux plus petits. Mieux vaut avoir un peu plus que de manquer de fil.
-
Conducteurs en cuivre pur : Tous les fils ne se valent pas. Les câbles d'éclairage paysager de haute qualité utilisent des brins de cuivre pur pour une conductivité maximale. Évitez les câbles bon marché qui utilisent de l'aluminium cuivré (CCA) : ils ont une résistance plus élevée et sont moins conducteurs (ce qui entraîne une chute de tension plus importante et un risque de surchauffe). Recherchez des spécifications telles que des conducteurs « en cuivre nu toronné » . Les câbles d'éclairage paysager à enfouissement direct de marques réputées vantent l'utilisation de cuivre pur sans oxygène, ce qui optimise les performances. Par exemple, le fil 14/2 de Haisstronica est composé de 41 brins de cuivre pur par conducteur pour une conductivité et une flexibilité supérieures (comme illustré sur les images du produit).
-
Isolation durable (résistance aux UV et aux intempéries) : S'agissant d' un fil électrique destiné à l'éclairage extérieur , la gaine isolante doit résister au soleil, à la pluie, à la terre et aux températures extrêmes. Un bon câble d'aménagement paysager est doté d'une isolation épaisse en PVC ou en polyéthylène, conçue pour un enfouissement direct. La résistance aux UV empêche la gaine de se fissurer sous l'effet du soleil si une partie est exposée au-dessus du sol. L'étanchéité empêche l'humidité de pénétrer dans la zone conductrice. Vérifiez la certification UL (Underwriters Laboratories) pour l'extérieur, qui indique que le fil a réussi les tests de sécurité pour les environnements humides. Par exemple, les fils basse tension Haisstronica utilisent une gaine en PVC résistante aux UV qui reste flexible de -20 °C (-4 °F) à 105 °C (221 °F), ce qui signifie qu'ils peuvent supporter sans problème la chaleur estivale et le gel hivernal. Une isolation de qualité garantit également que votre câble d'aménagement paysager ne se dégradera pas au fil du temps, ce qui est essentiel pour maintenir une tension constante.
-
Facilité d'utilisation : Si vous effectuez l'installation vous-même, privilégiez des fonctionnalités conviviales. Certains câbles d'éclairage paysager sont dotés d'un côté strié ou strié pour identifier facilement la polarité ou un conducteur par rapport à l'autre. Cela peut être pratique pour le raccordement au transformateur et aux luminaires (afin d'assurer une connexion uniforme). De plus, un câble plus souple (conducteurs à brins fins, isolation souple) sera plus facile à plier dans les angles et à acheminer dans les jardins ou sous les allées . Notre objectif est un câble robuste, mais pas trop rigide : vous souhaitez pouvoir câbler l'éclairage paysager sans vous heurter au fil. Les câbles d'éclairage paysager Haisstronica, par exemple, sont conçus pour être flexibles, ce qui permet un acheminement sans problème autour des massifs de fleurs et des rochers.
-
Accessoires compatibles : Lors de l'achat de votre câble, pensez à vous procurer des connecteurs pour éclairage paysager basse tension et autres accessoires. Les connecteurs torsadés étanches, les connecteurs de câbles (kits d'épissure) ou les connecteurs de câbles paysagers basse tension sont indispensables pour relier les fils entre eux ou ajouter des luminaires. Vous aurez peut-être également besoin d'agrafes ou de piquets pour fixer le câble dans le sol (en veillant toutefois à ne pas endommager l'isolant). Certains fournisseurs proposent des kits comprenant le fil et les connecteurs. Munissez-vous des serre-fils et des connecteurs d'épissure adaptés pour votre éclairage paysager afin d'éviter un déplacement en magasin en plein milieu de votre projet. Utilisez toujours des connecteurs homologués pour une utilisation en extérieur en enfouissement direct afin de garantir une connexion sûre et durable.
En bref, investissez dans un câble de qualité auprès d'un fournisseur de confiance. Un câble d'aménagement paysager de qualité peut coûter un peu plus cher au départ, mais il garantit une puissance optimale à vos éclairages et un fonctionnement optimal de votre installation pendant des années. Le câble d'aménagement paysager basse tension 14/2 de Haisstronica est un choix recommandé (disponible en rouleaux de 61, 76 et 152 mètres). Il offre un calibre, un cuivre pur et une isolation robuste. Ce câble convient à la plupart des installations d'éclairage résidentiel et, en utilisant du calibre 14 pour les installations classiques, vous obtenez un équilibre parfait entre performance et coût.
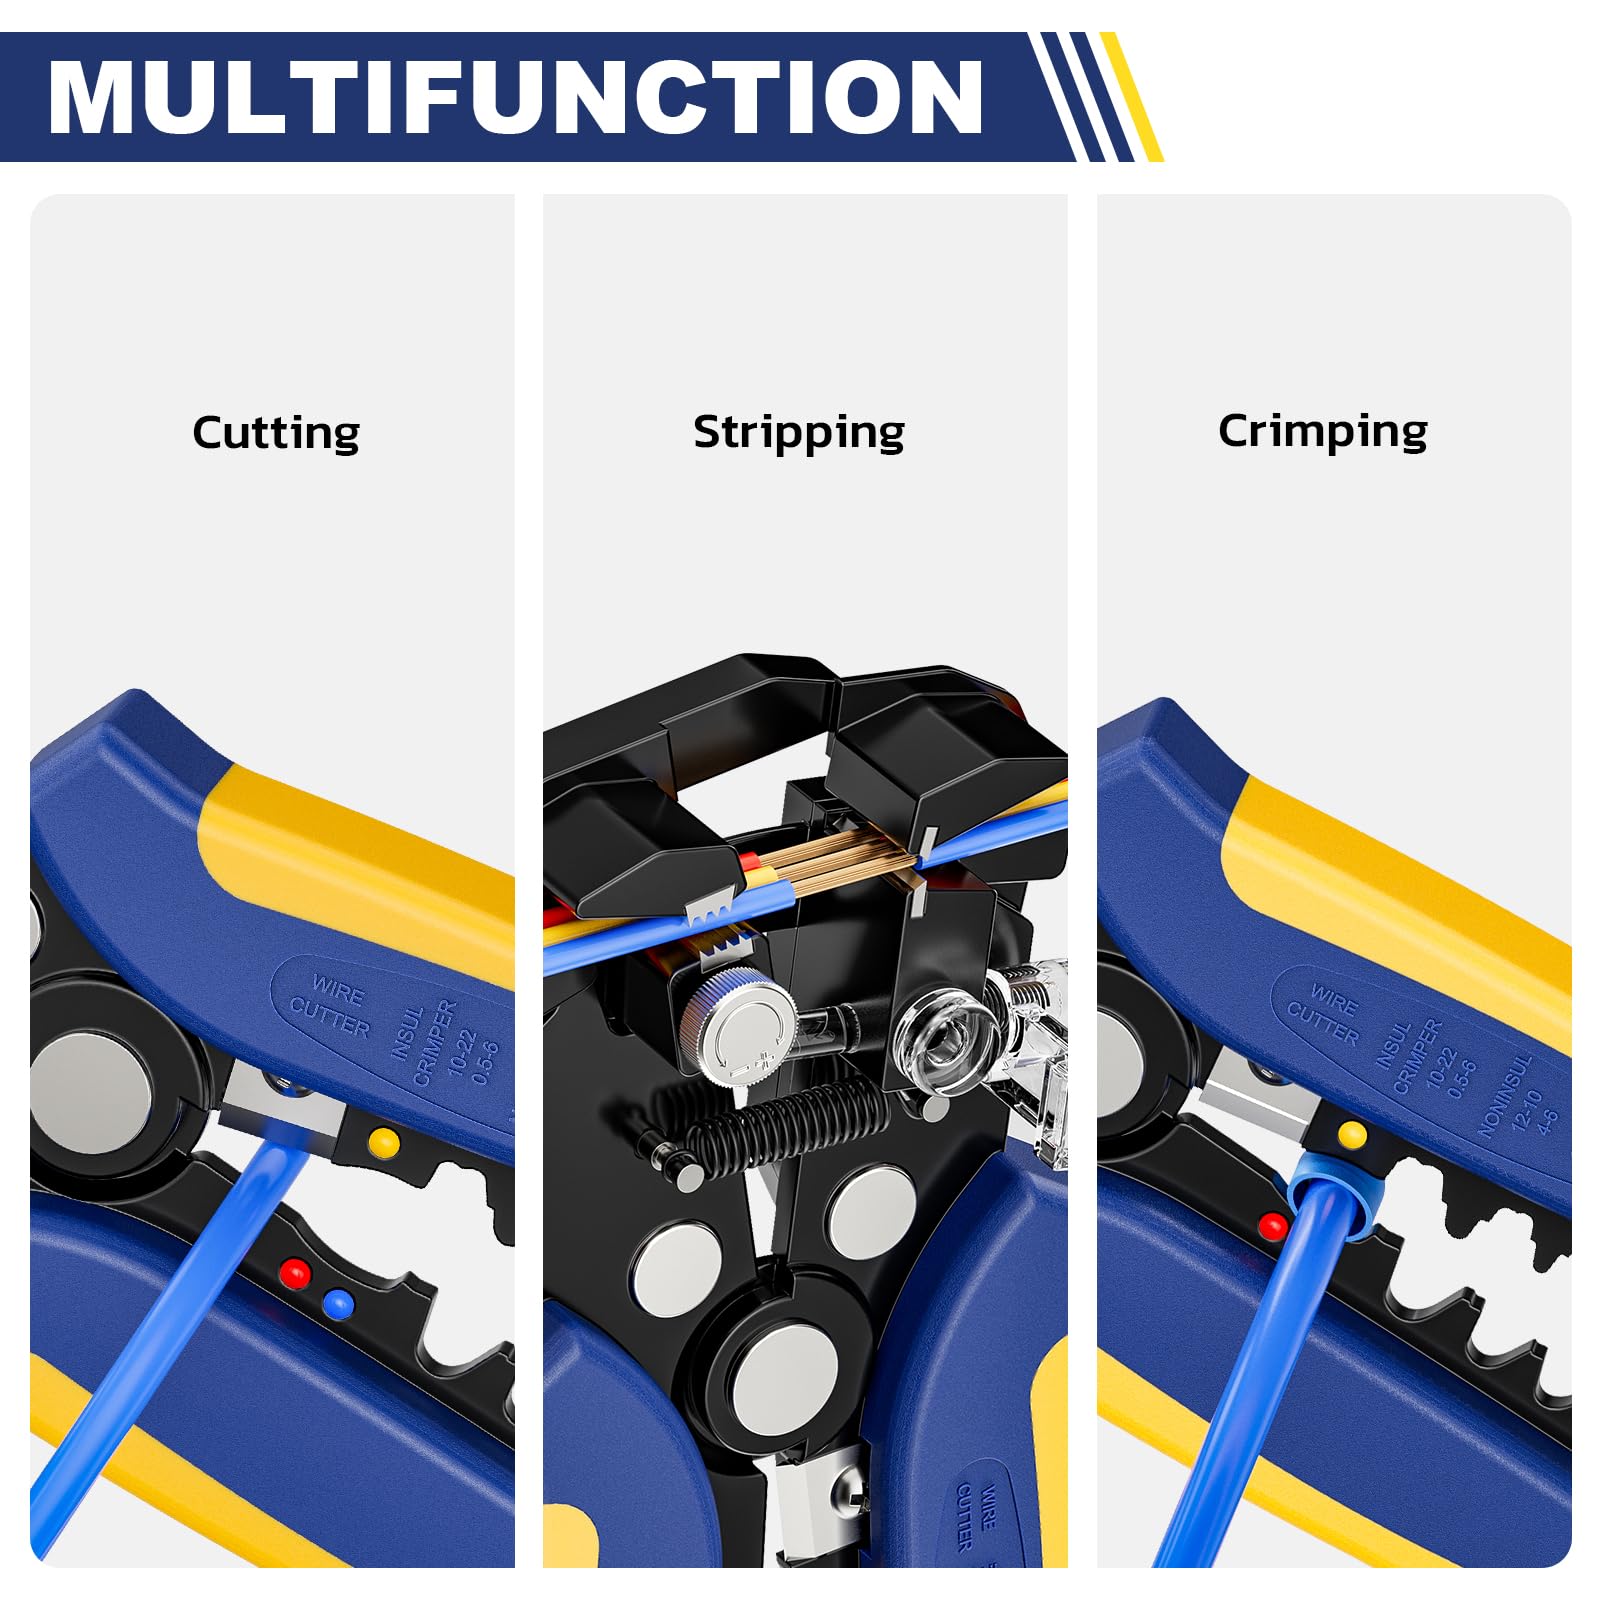
Conseil de pro : Lors de vos achats, pensez à vous procurer quelques connecteurs basse tension et une pince à dénuder . Haisstronica, par exemple, propose une gamme de connecteurs et d'outils parfaitement adaptés à ses câbles d'aménagement paysager. Utiliser des pinces à sertir ou à dénuder adaptées rendra le raccordement des fils basse tension beaucoup plus propre et rapide.

FAQ (Foire aux questions)
Q1 : Quel calibre de fil dois-je utiliser pour l’éclairage paysager basse tension ?
A1 : Cela dépend de la longueur du câble et de la puissance de votre éclairage. Les calibres les plus courants sont les calibres 12 et 14 pour les câbles d'éclairage paysager. Utilisez du calibre 12/2 AWG pour les longueurs plus longues ou les charges plus importantes, et du calibre 14/2 AWG pour les installations plus courtes et plus petites. Par exemple, un câble de calibre 12 peut transporter en toute sécurité environ 60 W jusqu'à environ 60 mètres sans chute de tension excessive, tandis qu'un câble de calibre 14 est recommandé pour environ 30 mètres (à puissance similaire). En pratique, de nombreuses installations domestiques standard (moins de 30 mètres, environ 50 W) fonctionnent parfaitement avec un câble de calibre 14/2, d'où sa popularité. Si votre longueur est très longue (plus de 60 mètres) ou si vous prévoyez de connecter de nombreux luminaires (plus de 100 W au total), optez pour un calibre 12/2, voire 10/2. Veillez à toujours maintenir la chute de tension sous environ 1,5 volt pour un éclairage uniforme. Vous pouvez également consulter un tableau des tailles de fils d'éclairage paysager (comme celui ci-dessus) pour orienter votre choix. En résumé : utilisez le calibre le plus épais adapté à votre projet ; cela garantira un éclairage puissant et vous permettra d'ajouter des luminaires ultérieurement.
Q2 : Fil de jardin 12/2 ou 14/2 : lequel est le mieux adapté à mes besoins ?
A2 : Les fils 12/2 et 14/2 sont couramment utilisés pour l'éclairage paysager, et la meilleure qualité dépend de votre installation. Le fil 12/2 est plus épais, ce qui lui permet de transporter davantage de courant sur de longues distances avec une chute de tension moindre. Il est donc idéal pour les grands jardins, les longs câbles (environ 45 à 60 mètres) ou les charges élevées. Cependant, le fil de calibre 12 est plus cher et un peu plus difficile à utiliser (moins flexible) que le calibre 14. Le fil 14/2, en revanche, est plus fin et légèrement moins cher, et convient parfaitement aux projets d'aménagement paysager résidentiels classiques, notamment les systèmes LED, où les câbles individuels mesurent moins de 30 mètres environ et la puissance totale est modérée. Si votre projet se situe dans cette fourchette, le fil 14/2 fera parfaitement l'affaire et vous permettra de réaliser des économies. Vous devriez passer au 12/2 si : (1) votre luminaire le plus éloigné est très éloigné du transformateur (plus de 30 mètres), (2) vous avez plusieurs luminaires ou des luminaires de forte puissance sur un même tronçon (pour éviter les chutes de tension), ou (3) vous souhaitez une capacité supplémentaire pour une extension future. De nombreux installateurs utilisent en réalité une combinaison de calibres : calibre 12 pour les longs tronçons principaux et calibre 14 pour les dérivations ou les fils de luminaire plus courts. En résumé, le calibre 14/2 est recommandé pour la plupart des aménagements paysagers résidentiels en raison de sa facilité d'utilisation et de ses performances suffisantes, mais utilisez le calibre 12/2 pour les longs tronçons ou les charges élevées par sécurité.
Q3 : À quelle distance puis-je faire passer un câble d'aménagement paysager basse tension à partir du transformateur ?
A3 : Il n’existe pas de distance maximale fixe pour tous les cas ; cela dépend du calibre du fil et de la charge. En règle générale, avec un fil d’éclairage paysager de calibre 12-2, vous pouvez parcourir environ 60 mètres (pour alimenter environ 60 watts de luminaires) avant que la chute de tension ne devienne problématique. Avec un fil d’éclairage paysager de calibre 14-2 , la distance maximale recommandée est d’environ 30 mètres pour une charge similaire, comme indiqué précédemment. Au-delà de ces distances, les luminaires situés à l’extrémité peuvent paraître plus faibles en raison de la tension plus faible qu’ils reçoivent. Si vous devez couvrir une distance plus importante, plusieurs options s’offrent à vous : utiliser un fil de calibre supérieur (par exemple, un fil de calibre 10-2 peut parcourir environ 90 mètres pour des charges modérées), réduire le nombre de luminaires sur ce tronçon (diviser en deux tronçons à partir du transformateur) ou utiliser plusieurs transformateurs placés plus près des différentes zones d’éclairage. Il convient également de noter que les transformateurs multiprises (avec sorties 12 V, 13 V, 14 V, etc.) peuvent compenser les longs trajets en fournissant une tension plus élevée, mais cela relève d'une conception avancée. Pour la plupart des bricoleurs, une limite de courant d'environ 60 m par trajet en calibre 12 AWG ou d'environ 30 m par trajet en calibre 14 AWG est une bonne règle générale.
Q4 : Dois-je placer un fil d'aménagement paysager basse tension dans un conduit ?
R4 : Dans la plupart des cas, non ; un conduit n’est pas nécessaire pour les câbles d’aménagement paysager basse tension. Les câbles sont conçus pour un enfouissement direct, ce qui signifie que l’isolation est suffisamment résistante pour une utilisation souterraine et une exposition à l’humidité, etc. Vous pouvez simplement enterrer le câble à une profondeur de 10 à 15 cm (15 cm est souvent recommandé). Cela dit, dans certains cas, l’utilisation d’un conduit est judicieuse. Si vous faites passer un câble sous une surface pavée (trottoir, allée) ou dans une pelouse que vous aérez souvent, faites-le passer dans un tuyau en PVC pour une protection supplémentaire. De plus, si la réglementation locale l’exige dans certaines situations (bien que la plupart des codes électriques soient indulgents pour le câblage 12 V), en général, tant que le câble est souterrain et à l’abri des dangers, un conduit n’est pas nécessaire. Les câbles d’aménagement paysager à enfouissement direct ont donc une gaine épaisse. Autre conseil : si vous faites passer un câble le long d’un bâtiment ou d’une clôture, l’agrafer soigneusement ou le placer dans une petite goulotte en plastique peut le protéger des accrocs et du soleil. Mais pour les parterres de jardin et les pelouses ouvertes, l'enterrer directement est parfaitement acceptable et constitue une pratique courante.
Q5 : Comment connecter ou épisser des fils paysagers basse tension ?
A5 : Pour épisser un fil de paysage (par exemple, diviser un câble en deux directions ou réparer un fil coupé), vous devez toujours utiliser des connecteurs de fil de paysage basse tension appropriés et étanches. Voici comment réaliser une épissure classique : débranchez l’alimentation, coupez le câble et dénudez environ 1,27 cm d’isolant à chaque extrémité des fils à raccorder. Prenez les fils correspondants (assurez-vous de faire correspondre le même fil de chaque côté, car le câble n’est pas polarisé, vous conservez simplement la cohérence) et torsadez-les ensemble, puis insérez-les dans un connecteur résistant aux intempéries (connecteur torsadé rempli de gel ou connecteur à sertir avec gaine thermorétractable). Pour une épissure en « T » (raccordement de trois câbles), vous aurez trois conducteurs torsadés ensemble par connexion. Une fois sertis ou vissés à l’intérieur du connecteur, le gel ou la gaine thermorétractable assurera l’étanchéité. Des connecteurs de fils paysagers étanches sont essentiels ; les serre-fils domestiques ordinaires avec ruban adhésif ne fonctionneront pas à l’extérieur. Si elle est réalisée correctement, une épissure est aussi fiable qu’un câble intact. De nombreux kits d’éclairage paysager incluent des connecteurs d’épissure faciles à clipser sur la ligne principale sans la couper (connecteurs perforants), mais ceux-ci peuvent devenir des points faibles à long terme. Pour de meilleurs résultats, la méthode la plus fiable consiste à épisser manuellement avec des connecteurs de qualité ou à utiliser une jonction. Boîte. Enterrez toujours les épissures à quelques centimètres de profondeur et, si possible, notez leur emplacement (en prenant des photos ou des notes) afin de pouvoir les retrouver en cas de dépannage ultérieur. Si un fil est accidentellement coupé en creusant, pas d'inquiétude : il suffit de le reconnecter avec les connecteurs appropriés et il devrait fonctionner comme neuf.
Q6 : Comment puis-je minimiser la chute de tension dans un grand système d’éclairage paysager ?
A6 : Une conception soignée permet de gérer les chutes de tension. Voici quelques stratégies : 1) Utiliser un fil de calibre supérieur pour les longs trajets (par exemple, 10 AWG au lieu de 12 AWG) afin de réduire la résistance. 2) Raccourcir les trajets ou créer plusieurs circuits autonomes à partir du transformateur afin qu'aucun trajet ne soit trop long ou trop chargé. 3) Répartir la charge uniformément : essayer d'avoir une puissance similaire sur chaque trajet de câble sortant du transformateur, plutôt qu'un seul trajet transportant tout. 4) Si possible, utiliser un transformateur multiprise pour augmenter la tension sur les longs trajets (par exemple, utiliser une prise de 13 V ou 15 V pour qu'à la fin d'un long trajet, la tension au dernier luminaire soit d'environ 11-12 V). 5) S'assurer que toutes les connexions sont bien serrées et exemptes de corrosion, car une mauvaise connexion peut reproduire les effets d'un long trajet en augmentant la résistance. En planifiant soigneusement l'aménagement de votre jardin basse tension , par exemple en divisant le jardin en zones, vous pouvez maîtriser les chutes de tension et obtenir une luminosité uniforme pour tous vos éclairages. Si vous n’êtes jamais sûr, consultez un professionnel ou utilisez des outils en ligne ; de nombreux fabricants d’éclairage paysager fournissent des tableaux de calibre de fil ou même des calculateurs de chute de tension pour vous aider à planifier votre projet.
Nous espérons que ce guide vous expliquera jusqu'où vous pouvez tirer un câble basse tension 12/2 pour votre éclairage paysager et comment optimiser le câblage de votre éclairage paysager pour un jardin magnifique et lumineux. En choisissant le bon calibre (ne payez pas trop cher pour un câble plus épais si vous n'en avez pas besoin, mais ne lésinez pas non plus si vous en avez besoin !), en utilisant des matériaux de qualité et en suivant les meilleures pratiques d'installation, vous obtiendrez un éclairage extérieur fiable. Si vous êtes prêt à vous lancer, assurez-vous de vous procurer le matériel nécessaire. Haisstronica propose des câbles, connecteurs et outils basse tension de qualité supérieure pour vous aider à câbler votre éclairage paysager comme un pro. Bon éclairage !
Achetez maintenant : découvrez le fil paysager basse tension Haisstronica 14/2 (250 pi) pour votre projet et explorez notre site pour d'autres accessoires d'éclairage paysager. 👈🌟