Crimping is a method of joining a wire to a connector by deforming the connector metal around the stripped wire using a specialized crimping tool. A proper crimp essentially cold-welds the wire and connector together, forming a gas-tight, mechanically strong bond that resists vibration better than soldering. In practical terms, a well-made crimp connection won’t loosen or corrode easily, which is why it’s widely used in automotive wiring, electronics, and electrical work. However, achieving a good crimp on small insulated wires requires the right components and technique. If you use the wrong tool or connector, you risk ending up with a weak connection that can fail under stress. For example, using pliers instead of a proper wire crimper often results in uneven pressure, a deformed connector, or a loose wire that can pull out. Always use a purpose-built wire crimping tool matched to your connector type and wire gauge for safe, reliable results. (Using a high-quality ratcheting crimper tool like Haisstronica’s ensures consistent pressure and a solid crimp every time, unlike generic tools.)
Crimping small insulated wires (typically in the 22–16 AWG range) involves a few key steps: selecting an appropriate connector, preparing the wire, using the crimp tool correctly, and inspecting the finished crimp. Below, we’ll delve into each of these stages. By following this guide, even beginners can confidently use crimping tools (also known as wire crimpers or crimping pliers) to make professional-grade connections. Let’s start by making sure you have the right connector for the job. (Haisstronica provides a full range of electrical crimp connectors and wire crimper tools to set you up for crimping success.)

Choose the Right Connector: Matching Crimp Connectors to Wire Size
Selecting the proper crimp connector is the first step to crimping small wires successfully. Crimp connectors come in many styles (butt splices, ring terminals, spade connectors, fork terminals, etc.), each suited for specific purposes. It’s crucial to choose a connector type and size that matches your wire gauge and application. Using an undersized connector on a wire will result in a bad crimp – the wire won’t fully fit and the connector barrel may get over-crushed or distorted, leading to high resistance and heat buildup. On the other hand, an oversized connector will crimp loosely, potentially slipping off or corroding due to a poor mechanical bond. Most insulated crimp connectors are color-coded by wire size to simplify selection. For example, red insulated connectors typically correspond to 22–16 AWG wires, blue connectors to 16–14 AWG, and yellow to 12–10 AWG. These colors help you quickly pick a connector that fits your wire’s gauge. Always verify the wire size range marked on the connector (or its packaging) and use that as a guide. Also consider the connector style: use butt crimp connectors for joining two wires end-to-end, ring terminals for attaching wires to studs or screws (like a grounding point), spade or fork terminals for slide-on connections, and pin connectors or ferrules for inserting into terminal blocks or circuit boards. Matching the connector size and type to your project’s needs will prevent many issues down the road. (Haisstronica offers color-coded electrical crimp connectors in all common sizes, making it easy to select the right connector for any wire from AWG 22 to 10 – ensuring a snug fit and reliable crimp every time.)
Just as important as wire size is the connector’s insulation and material type. Insulated crimp connectors have a plastic or nylon sleeve that protects the connection and helps prevent shorts. They are ideal for general electrical use and especially important when multiple connectors might touch or when the connection could contact metal surfaces. If you’re working in automotive or marine environments where moisture is a concern, heat-shrink crimp connectors are recommended. These have a heat-shrinkable tubing (often with adhesive lining) that you shrink over the crimped connection to seal out water once the crimp is done. For example, when crimping wires in a car or boat, using heat-shrink butt connectors or sealed ring terminals will ensure a waterproof, corrosion-resistant connection. In fact, failing to account for environmental factors by not using sealed connectors can cause corrosion or electrical failure over time. On the other hand, non-insulated connectors (bare metal connectors without a sleeve) are typically used for larger gauge wires or special cases – for instance, heavy-duty lugs for battery cables, or when the connection will be further insulated with separate heat shrink tubing. With small wires (22–16 AWG), you’ll almost always be using pre-insulated terminals for safety and convenience. Be sure to also choose connectors made of quality conductive material (usually tinned copper) for best results. Cheap or thin metal connectors might not crimp as well or could crack. In summary, choose the right crimp connector by matching the wire gauge, selecting the appropriate connector shape for your task, and opting for the proper insulation type (standard vinyl/nylon or heat-shrink) based on the environment. This foundation is key to a successful crimp. (Haisstronica’s line of insulated crimp connectors includes heat-shrink, nylon, and vinyl options, so you can pick a durable connector that perfectly suits your wiring project.)

Step-by-Step Procedures: Using a Wire Crimping Tool Properly
Now that you have the correct connector, let’s go through the step-by-step crimping procedure. Crimping small insulated wires is straightforward with a bit of practice. We’ll assume you’re using a dedicated wire crimping tool (ideally a ratcheting type for consistent results). Always follow safety basics: work with power off and use insulated tools if working on electrical systems. Here are the steps to crimp a wire connector securely:
-
Choose the right connector and ensure proper wire gauge: Confirm one more time that your connector matches the wire gauge and is the correct type for your application. For example, use a red insulated connector for a 20 AWG wire, not a larger yellow connector which is meant for thicker wires. A correct fit is essential – the stripped wire should slide into the connector’s metal barrel snugly. If it’s too loose or too tight to insert, you have the wrong size connector. Using the proper connector prevents issues like weak crimps or damage to the wire. Using high-quality Haisstronica wire connectors that are clearly labeled for the appropriate AWG range makes this step foolproof and ensures a solid foundation for the crimp.
-
Strip the wire to the proper length: Using a wire stripper, remove a short length of insulation from the end of the wire. Typically, about 3–5 mm (around 1/4 inch) of bare wire is enough for small connectors, but check that the stripped length matches the connector’s barrel depth. The goal is to expose enough conductor to fill the metal barrel completely, but no extra bare wire should stick out beyond the connector once inserted. If you strip too little, the wire won’t fully engage in the crimp; too much, and exposed conductor will protrude, risking a short. Aim so that maybe 1–2 mm of wire is visible at most on the barrel’s end. When stripping, be careful not to nick or cut the wire strands – a quality wire stripping tool is helpful to avoid this, as nicked strands weaken the wire’s strength and current capacity. If the wire is dirty or oily (which can happen in automotive wires), wipe it clean since contaminants can hinder a good electrical connection. Tip: Using a precise wire crimping tool or multi-tool that includes a stripper will make this process easier; Haisstronica’s crimp tools are designed to maintain the integrity of the wire strands during preparation, setting you up for a perfect crimp.
-
Insert the stripped wire into the connector: Give the stripped wire a little twist (if it’s stranded) to ensure all strands stay together, then push it into the connector barrel until the insulation on the wire butts up against the connector’s internal metal stop. All the bare wire strands must be inside the metal ferrule of the connector – none should be fanning outside. If your connectors have a translucent insulation, you might be able to see that the wire is fully inserted. Double-check that the wire’s insulation is just at the edge of the connector barrel and no copper is exposed on the other side. This placement guarantees maximum contact area between the wire and connector during crimping. Crimping terminal connectors works best when the wire completely fills the terminal’s barrel. If even one or two strands don’t make it inside, you’ll get a weaker connection and higher resistance. So take a second to verify the wire is fully seated before crimping. High-quality connectors like Haisstronica’s have snug-fitting barrels that guide the wire in correctly – using reliable wire crimp connectors helps ensure this step goes smoothly and that you won’t have stray strands causing problems.
-
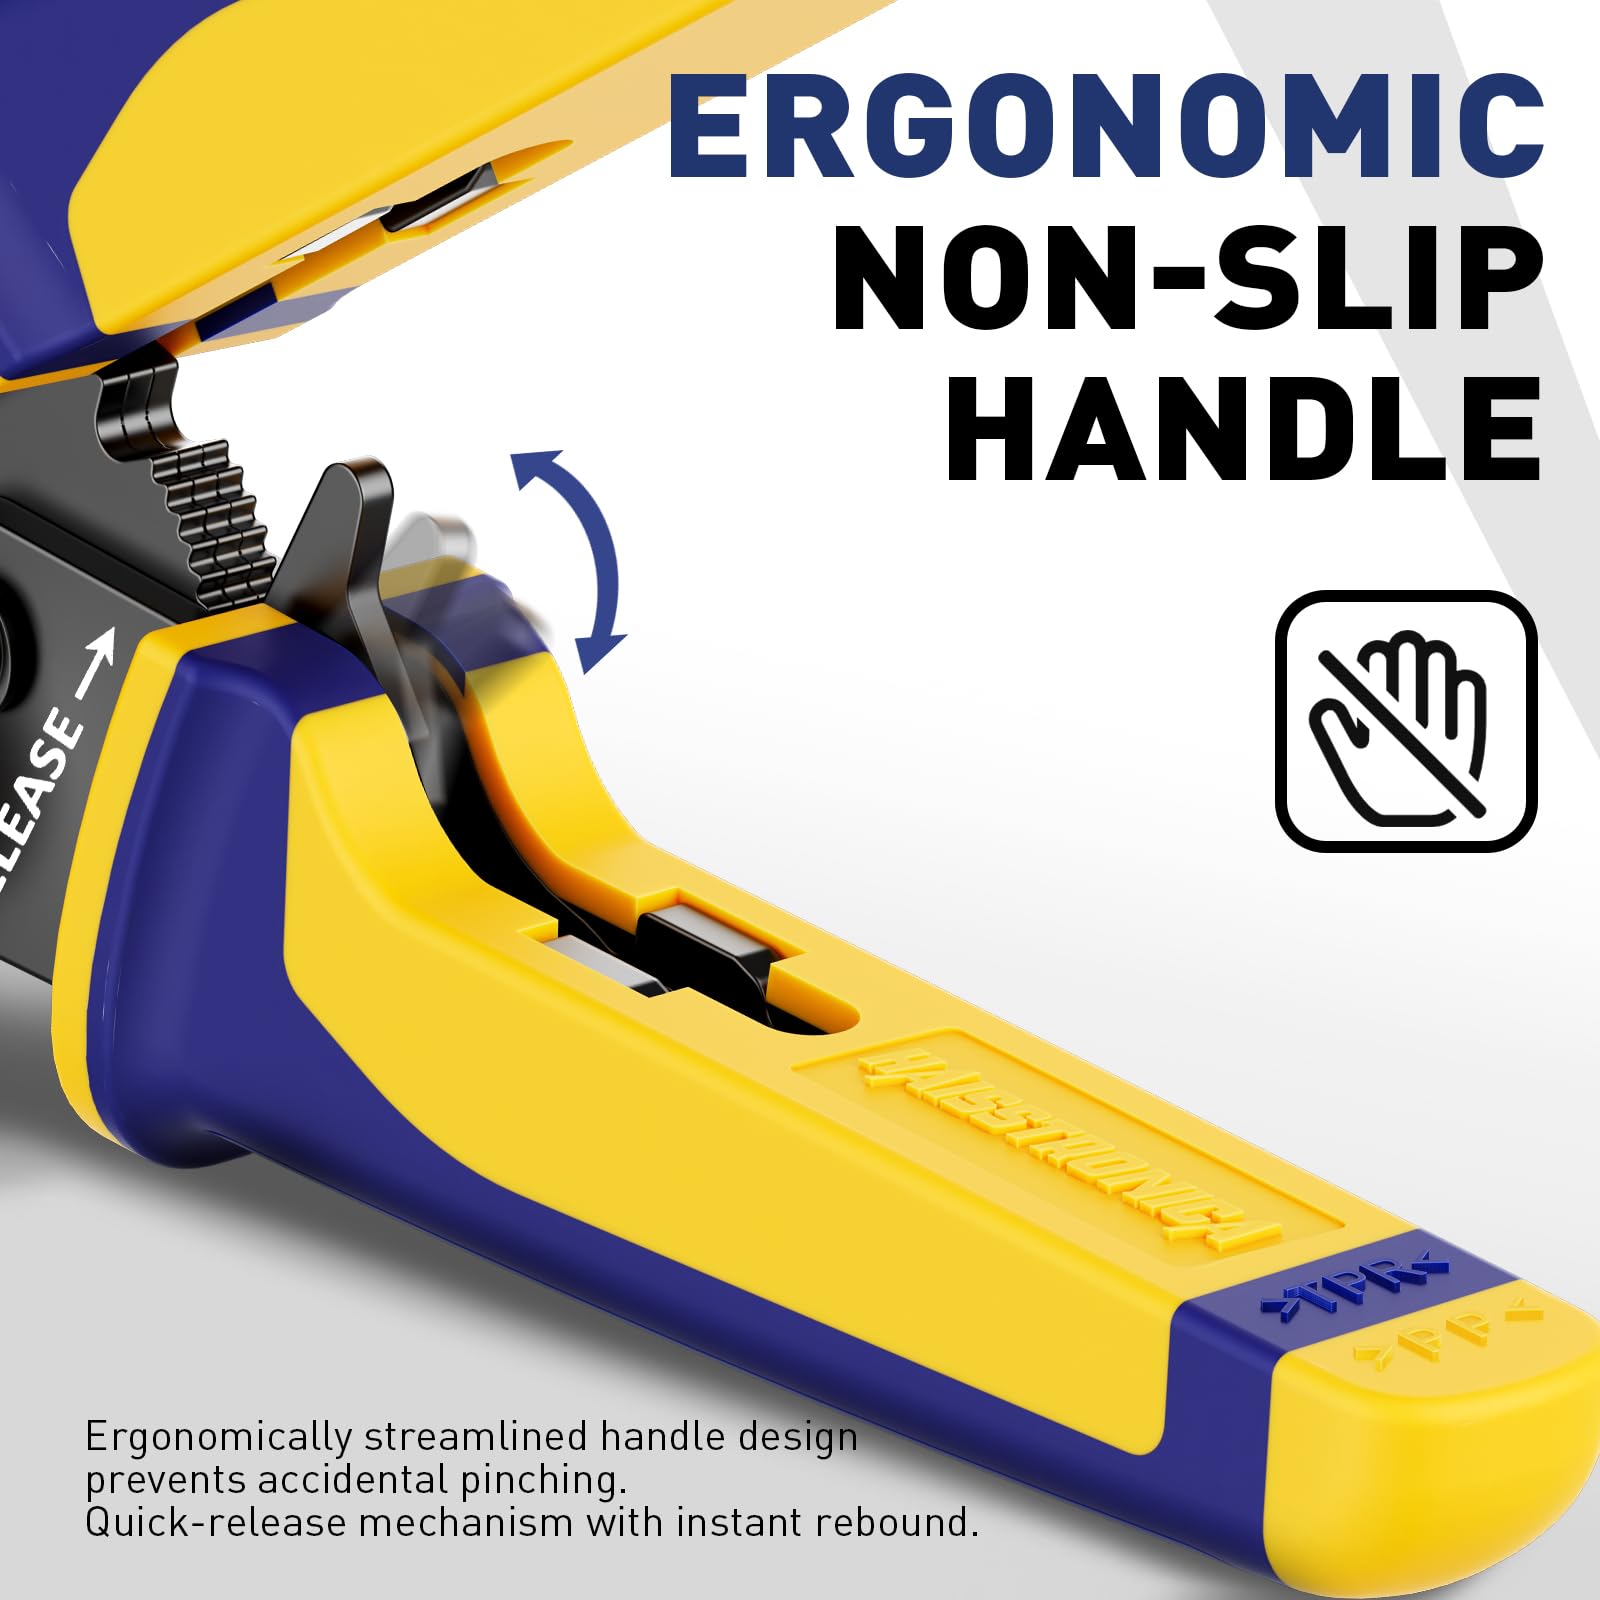
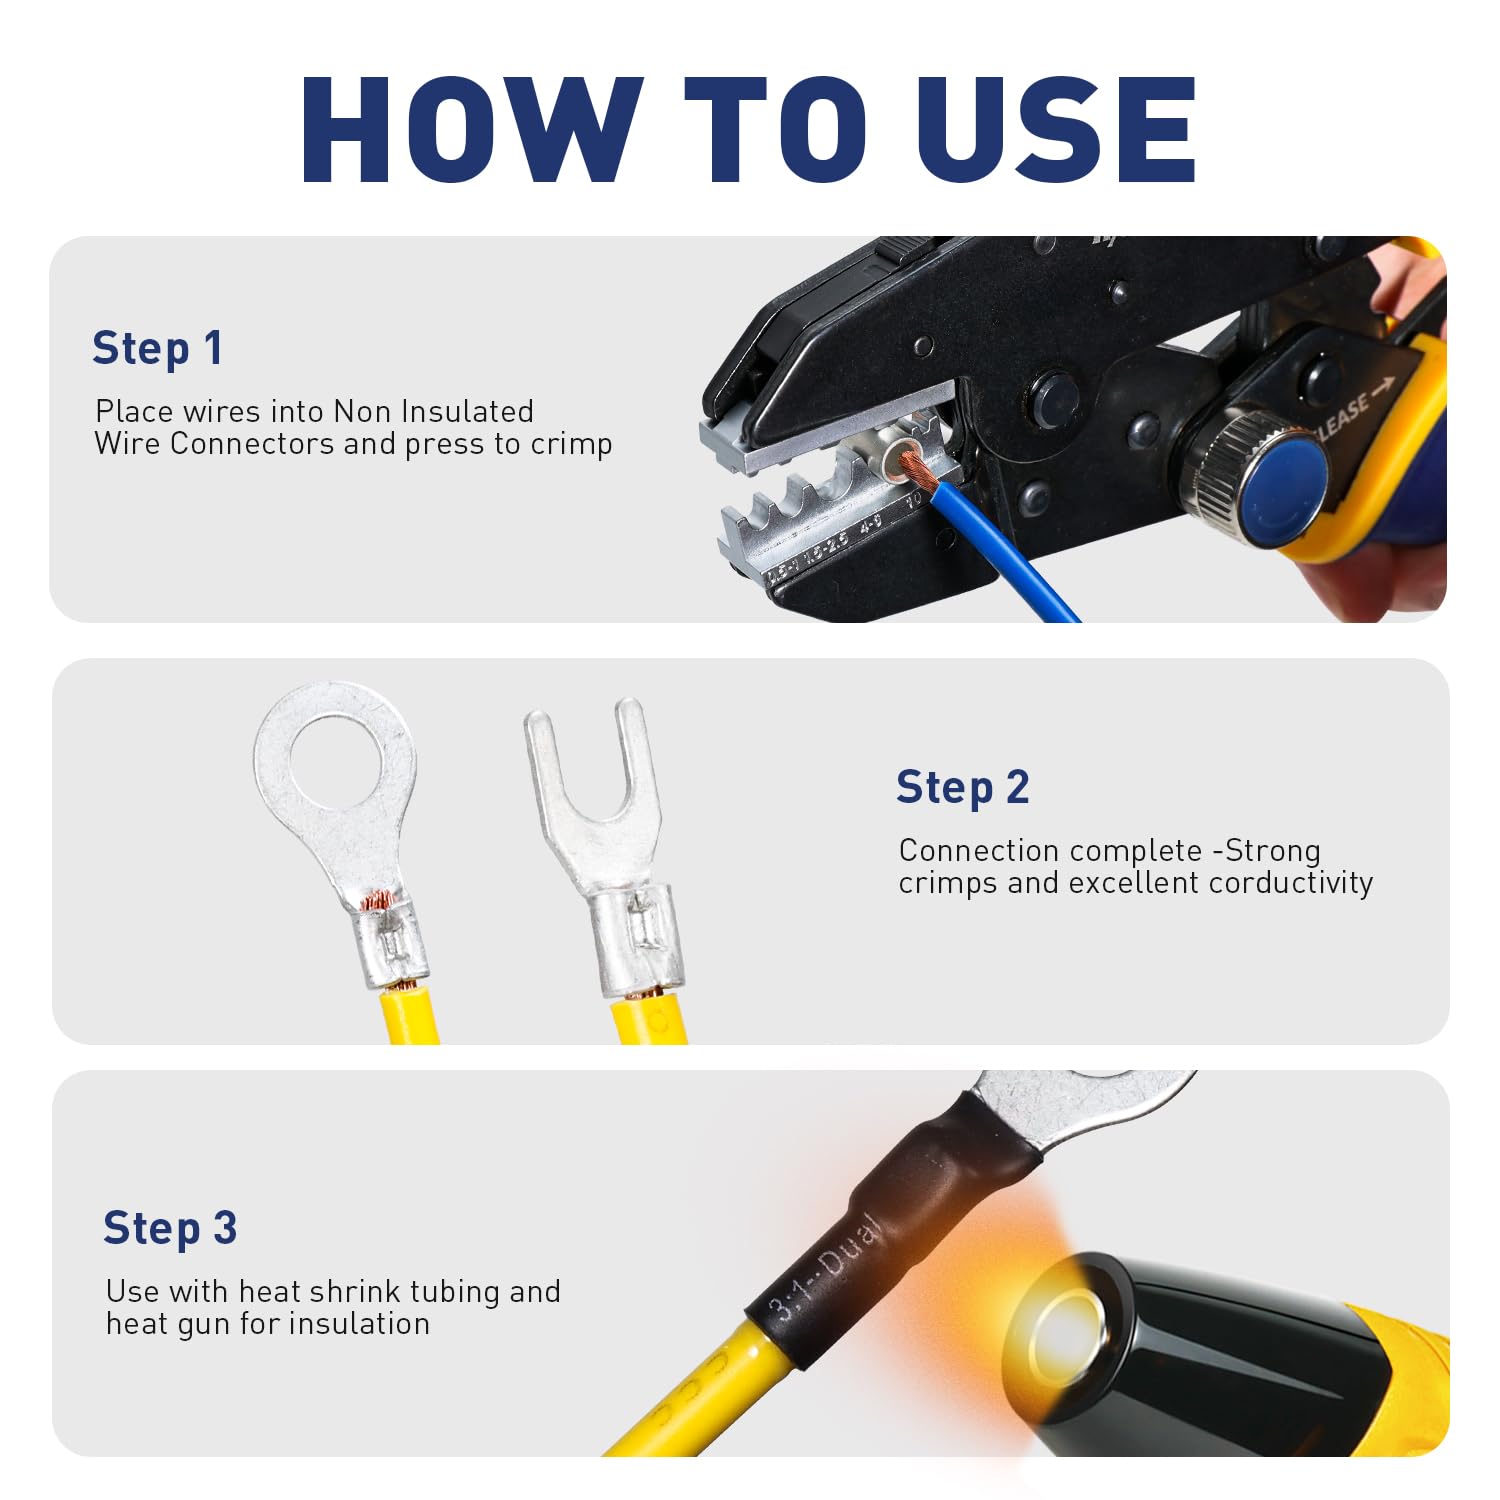
Position the connector in the crimping tool and crimp firmly: Open your crimping tool (crimping pliers) to the correct die opening for your connector. Most handheld wire crimpers have multiple notches or die sizes marked by wire gauge or connector color. For instance, use the “red” die slot for a red 22–16 AWG connector, “blue” slot for 16–14 AWG, etc. Place the connector (with the wire still inserted) into the appropriate slot of the crimper jaws. Ensure the connector is oriented correctly – on many terminal crimpers, there’s a crimping nest that should align with the seam or the solid part of the connector depending on design (consult your tool instructions; typically the dent from the crimper should impress on the side opposite the factory seam for an insulated terminal). Once aligned, squeeze the crimper handles steadily and firmly. If you’re using a ratchet crimping tool, it will lock as you compress and only release when the crimp is fully complete, which helps apply consistent pressure. Apply force until the tool either releases (ratchet type) or until you’ve fully compressed the connector crimp. Do not stop halfway – a partial crimp can be worse than none. Conversely, avoid excessive force beyond what’s needed; a good crimping tool is designed to exert just the right amount of pressure. Over-crimping (squeezing too hard or using too small a die) can crack the connector or cut into the wire strands, while under-crimping leaves the connector loose. A ratcheting crimping tool virtually eliminates this guesswork by applying uniform, preset pressure and not releasing until the proper compression is achieved. If you’re using a non-ratchet crimper or crimping with pliers (not recommended), be extra careful to squeeze completely with an even pressure. Never use ordinary pliers or a hammer to crimp – these tools cannot apply the precise, evenly-distributed force needed and often result in a weak crimp. When done, release the tool and remove the now-crimped connector. You should see an indentation where the die compressed it. The connector’s insulation may have a slight impression but shouldn’t be crushed or cracked. Using a professional ratcheting wire crimper from Haisstronica makes this step easy – the tool’s mechanism ensures you get a perfect crimp every time and prevents over/under-crimping, unlike cheap crimpers or makeshift methods. Investing in a good crimp tool guarantees consistency and safety in your wiring projects.
-
Inspect the crimp and perform a pull test: After crimping, it’s important to check the quality of the crimp before declaring the job done. First, visually inspect the crimped connector. A proper crimp will have the connector’s metal barrel neatly compressed around the wire with no gaps. The wire’s insulation should be right up to the edge of the barrel, and you should not see any stray wire strands poking out. Critically, no part of the plastic insulation should be caught in the crimped portion – the crimp should only be on the bare metal conductor, not on the insulation. The connector’s insulating sleeve should also be intact (not split or damaged). Next, give the wire a firm tug test: grip the connector with one hand and the wire with the other, then tug as if you’re trying to pull them apart (within reason). The wire should not slide out or feel loose in the connector at all. Even a slight movement is a sign of a poor crimp. If the wire pops out or feels wobbly, the crimp is definitely bad – you’ll need to cut off that connector and redo it with a fresh one. It’s far better to remake a crimp now than to have it fail in service. If the crimp passes the pull test, you can optionally perform an electrical test for extra assurance: use a multimeter to check continuity through the connector, or measure the resistance across the crimp. A good crimp connection should show continuity (essentially zero or very low resistance). However, note that a weak crimp might still pass an initial continuity test but fail under real-world conditions. That’s why the mechanical pull test and visual inspection are so important. If you want to be thorough, flex the wire back and forth a little while watching that the connection remains tight, and do a continuity check while flexing – this can reveal any intermittent contact issues. Finally, if you used a heat-shrink connector or sleeve, now is the time to shrink it. Apply heat (using a heat gun or appropriate tool) evenly around the tubing until it fully shrinks and adhesive (if present) flows, sealing the connection. This provides strain relief and environmental protection. Taking a moment to inspect and test each crimped wire ensures your work is reliable. Haisstronica’s insulated connectors are designed with see-through sleeves and adhesive-lined heat shrink, making it easier to verify a good crimp and create a waterproof seal when heated – an extra level of quality assurance for your electrical connections.
With these steps, you’ve crimped a small insulated wire like a pro! Practice on some scrap wires if you’re new to get a feel for how much force to apply and how a good crimp should look. Each step – from choosing the connector to the final inspection – is vital for a dependable result. By using the proper crimping tools and techniques, you’ll have a secure connection that can handle vibration, tugging, and environmental stress without failing.

Quality Checks: Inspecting Crimped Wires for Reliability
Even after following the crimping steps, it’s wise to perform dedicated quality checks on each crimped connection, especially if the wiring is for a critical application (like vehicle electronics or household wiring). Small mistakes can sometimes slip by, so thorough inspection ensures peace of mind and prevents problems later. Here are the key quality checks for crimped wires:
Visual Inspection: Take a close look at the crimped connector under good lighting. Verify that the connector’s barrel is fully crimped onto the wire — it should appear compressed with a uniform indent, and there should be no remaining gap between the barrel and the wire inside. The outline of the wire strands may be slightly visible pressed into the metal if the insulation is translucent. Check that the wire’s insulation is not pinched into the crimp; the insulation should end right at the edge of the metal barrel, and only bare conductor is crimped inside. Also, look for any cracks or deformation in the connector’s metal or plastic. If the connector’s insulation sleeve cracked during crimping, or the metal barrel is bent out of shape, that’s a red flag — often due to using the wrong die size or too much force. Ensure that no copper strands are exposed beyond the connector on either side. A strand sticking out could potentially cause a short or indicate that not all strands were captured properly. Everything should look tight and neatly in place. If something looks off (for example, the crimp indentation is not centered, or you can visibly see loose strands), consider recrimping with a new connector. Experienced electricians know that a quick visual check can catch many issues; that’s why Haisstronica’s crimp connectors are built with quality materials that crimp cleanly, making visual inspection easier and more reliable.
Mechanical Pull Test: This is perhaps the most important test for crimp quality. As mentioned earlier, grab the crimped connector and the wire and tug firmly to ensure they hold together. The force you apply should be similar to what the wire might experience if yanked during installation or operation – it should withstand a decent pull. According to industry practice, a properly crimped connection should be at least as strong as the wire itself (in a pull test, the wire strands would break before they pull out of the crimp, in an ideal scenario). If the wire does slip out with moderate force, or if you notice any movement at all, the crimp is insufficient. Don’t try to “re-crimp” the same connector in place if it’s loose; cut it off, strip the wire again, and crimp on a new connector with proper technique. This might seem like extra work, but it’s far better than a connection failing when the equipment is in use. A quick tug test on every crimped wire is a simple yet effective quality assurance step. Haisstronica’s ratcheting crimpers are factory-calibrated to apply the right amount of pressure, greatly reducing the chance of a weak crimp – but we still recommend performing a tug test, as a final confirmation that your crimp is rock-solid.
Electrical Test (Continuity/Resistance): Once the crimp passes the mechanical tests, it’s optional but useful to do an electrical check, especially for important connections. Use a digital multimeter to perform a continuity test across the crimped connection (one probe on the connector metal, the other on the wire a short distance away). You should get a reading of near zero ohms, indicating a good low-resistance connection. Wiggle or flex the wire while checking continuity; the reading should remain constant and not cut out – this checks for any intermittent contact. If you measure a significant resistance (more than a few milliohms for small wires) or the continuity beeper cuts in and out as you move the wire, the crimp may be poor or some strands might be broken. In critical systems, there are standards and even pull-force specifications for crimped terminals (for example, aerospace or automotive standards require crimps to meet certain tensile strength and electrical resistance criteria). While you might not need to formally measure all that for a DIY project, it’s good to know that a properly crimped wire effectively behaves like a continuous piece of wire electrically. Remember, as noted before, a crimp that seems okay in a quick electrical test could still be mechanically weak – that’s why combining visual, mechanical, and electrical checks gives the best assurance of quality. For professional or high-stakes projects, Haisstronica’s professional crimping tools and connectors are engineered to meet industry standards, giving you confidence that your crimped connections will pass any inspection or test for electrical integrity.
If all the inspections pass, you have a quality crimped wire connection. You can now install the wire into your project knowing it will perform reliably. Taking the time to do these quality checks is well worth it. It prevents the scenario of a hidden bad crimp causing an electrical fault or failure later on. In summary, a good crimp is one where the connector and wire are effectively fused together – mechanically tight and electrically sound. By choosing the right components, using a proper crimping tool, and verifying the outcome, you ensure every crimped wire in your project is safe and long-lasting.
(As a final note, using quality equipment and connectors makes a big difference in crimp consistency. Haisstronica’s electrical crimping tools are designed for reliability, and when combined with our top-grade connectors, they help every user – from hobbyists to professional electricians – crimp with confidence and meet rigorous quality standards.)

Conclusion
Crimping small insulated wires may seem daunting at first, but with the right approach it becomes an easy and reliable process. By carefully choosing the correct connector for your wire, preparing the wire properly, and using a good wire crimper tool with the proper technique, you can create connections that are as strong as the original wire. Always remember to inspect your work – a quick visual check and tug test will catch any issues before they become failures. When done correctly, crimped connections offer excellent electrical conductivity and mechanical durability, even in demanding conditions. Whether you’re wiring a car stereo, repairing an appliance, or working on a DIY electronics project, these crimping best practices will ensure your electrical connections are safe and long-lasting.
By following the guidelines in this article, you’ll avoid common mistakes and gain the know-how to crimp wires like a pro. Crimping is an indispensable skill for electricians and tinkerers alike, and mastering it opens the door to tackling all sorts of wiring tasks with confidence. So next time you need to attach a connector to a small wire, reach for a quality crimping tool instead of twisting or soldering – you’ll get a cleaner, more dependable result. Happy crimping! (And remember, investing in a high-quality ratcheting crimper tool and premium connectors – such as those from Haisstronica – will make the job easier and ensure every crimp you make is a secure one. Upgrade your toolkit with the right crimping gear and you’ll be ready for any wiring project!)
References: