Que sont les embouts de fil et pourquoi les utiliser (embout de fil • sertissage d'embout • sertisseuse d'embout)
Une ferrule est un manchon métallique fin et ductile, généralement en cuivre étamé, muni (en option) d'une bague moulée qui se glisse sur un conducteur toronné dénudé. Lors d'un sertissage correct, la ferrule s'enroule autour des brins pour former une terminaison compacte et étanche au gaz. Le résultat est une broche unique et uniforme qui s'insère parfaitement sous les vis de serrage, les ressorts à cage et les bornes à insertion.
Pourquoi les embouts existent (et où ils brillent)
-
Empêche l'écartement des brins. Les conducteurs multibrins de classe 5/6 peuvent s'évaser sous les vis, créant une pression inégale, une surface de contact réduite et des connexions lâches. Les embouts « contiennent » les brins.
-
Offre une pression de contact répétable. La section sertie est uniforme, ce qui améliore la répartition de la force de serrage, notamment dans les environnements soumis à de fortes vibrations ou à des cycles thermiques (machines, véhicules, toits).
-
Réduit les reprises. Sur le terrain, la réinstallation des conducteurs devient rapide et prévisible. Finis les extrémités effilochées, moins de moustaches, étiquetage plus clair.
-
Compatible avec les bornes à insertion et à ressort. De nombreuses bornes modernes sont conçues avec des embouts, minimisant ainsi la force d'insertion et maximisant la rétention.
-
Améliore la fiabilité à long terme. Un sertissage de ferrule correctement réalisé est étanche au gaz, ce qui atténue l'oxydation et le micro-frottement, qui augmentent la résistance au fil du temps.
Normes et conseils (ce que suivent les professionnels)
La norme IPC/WHMA-A-620 traite de la qualité du sertissage, de l'inspection et des tests de traction pour les terminaisons de fils.
La série UL 486 couvre les connecteurs de fils ; la série UL 508A/NFPA 79 guide les panneaux industriels nord-américains.
Les principaux fabricants de terminaux (WAGO, Phoenix Contact, Weidmüller, TE) publient des notes d'application sur les embouts.
Dans ces sources, vous verrez les mêmes thèmes : faire correspondre la virole à la section du conducteur, utiliser un outil dont la géométrie de la matrice correspond à la famille de bornes, sertir une fois et vérifier la résistance à la traction.
Lorsque des ferrules sont recommandées ou requises
-
Bornes à vis sur composants à rail DIN, alimentations, relais, VFD et E/S PLC.
-
Bornes à ressort / CAGE CLAMP® / enfichables — les embouts facilitent l'insertion et empêchent d'endommager les brins.
-
Câble flexible à brins fins (classe 5/6) — typique de la robotique, des chaînes porte-câbles et du mouvement.
-
Les environnements difficiles (marins, boîtiers de combinaison PV sur toit et machines à fortes vibrations) bénéficient de terminaisons stabilisées.
⚠️ Notes sur les pratiques locales
Sur les marchés métriques (IEC), les embouts sont couramment utilisés pour la fabrication de panneaux ; en Amérique du Nord, ils sont de plus en plus utilisés dans les contrôles industriels, mais leur utilisation n'est pas universellement obligatoire. Reportez-vous toujours aux instructions du fabricant de l'appareil et à la réglementation locale.
Rendez chaque terminaison propre et répétable :
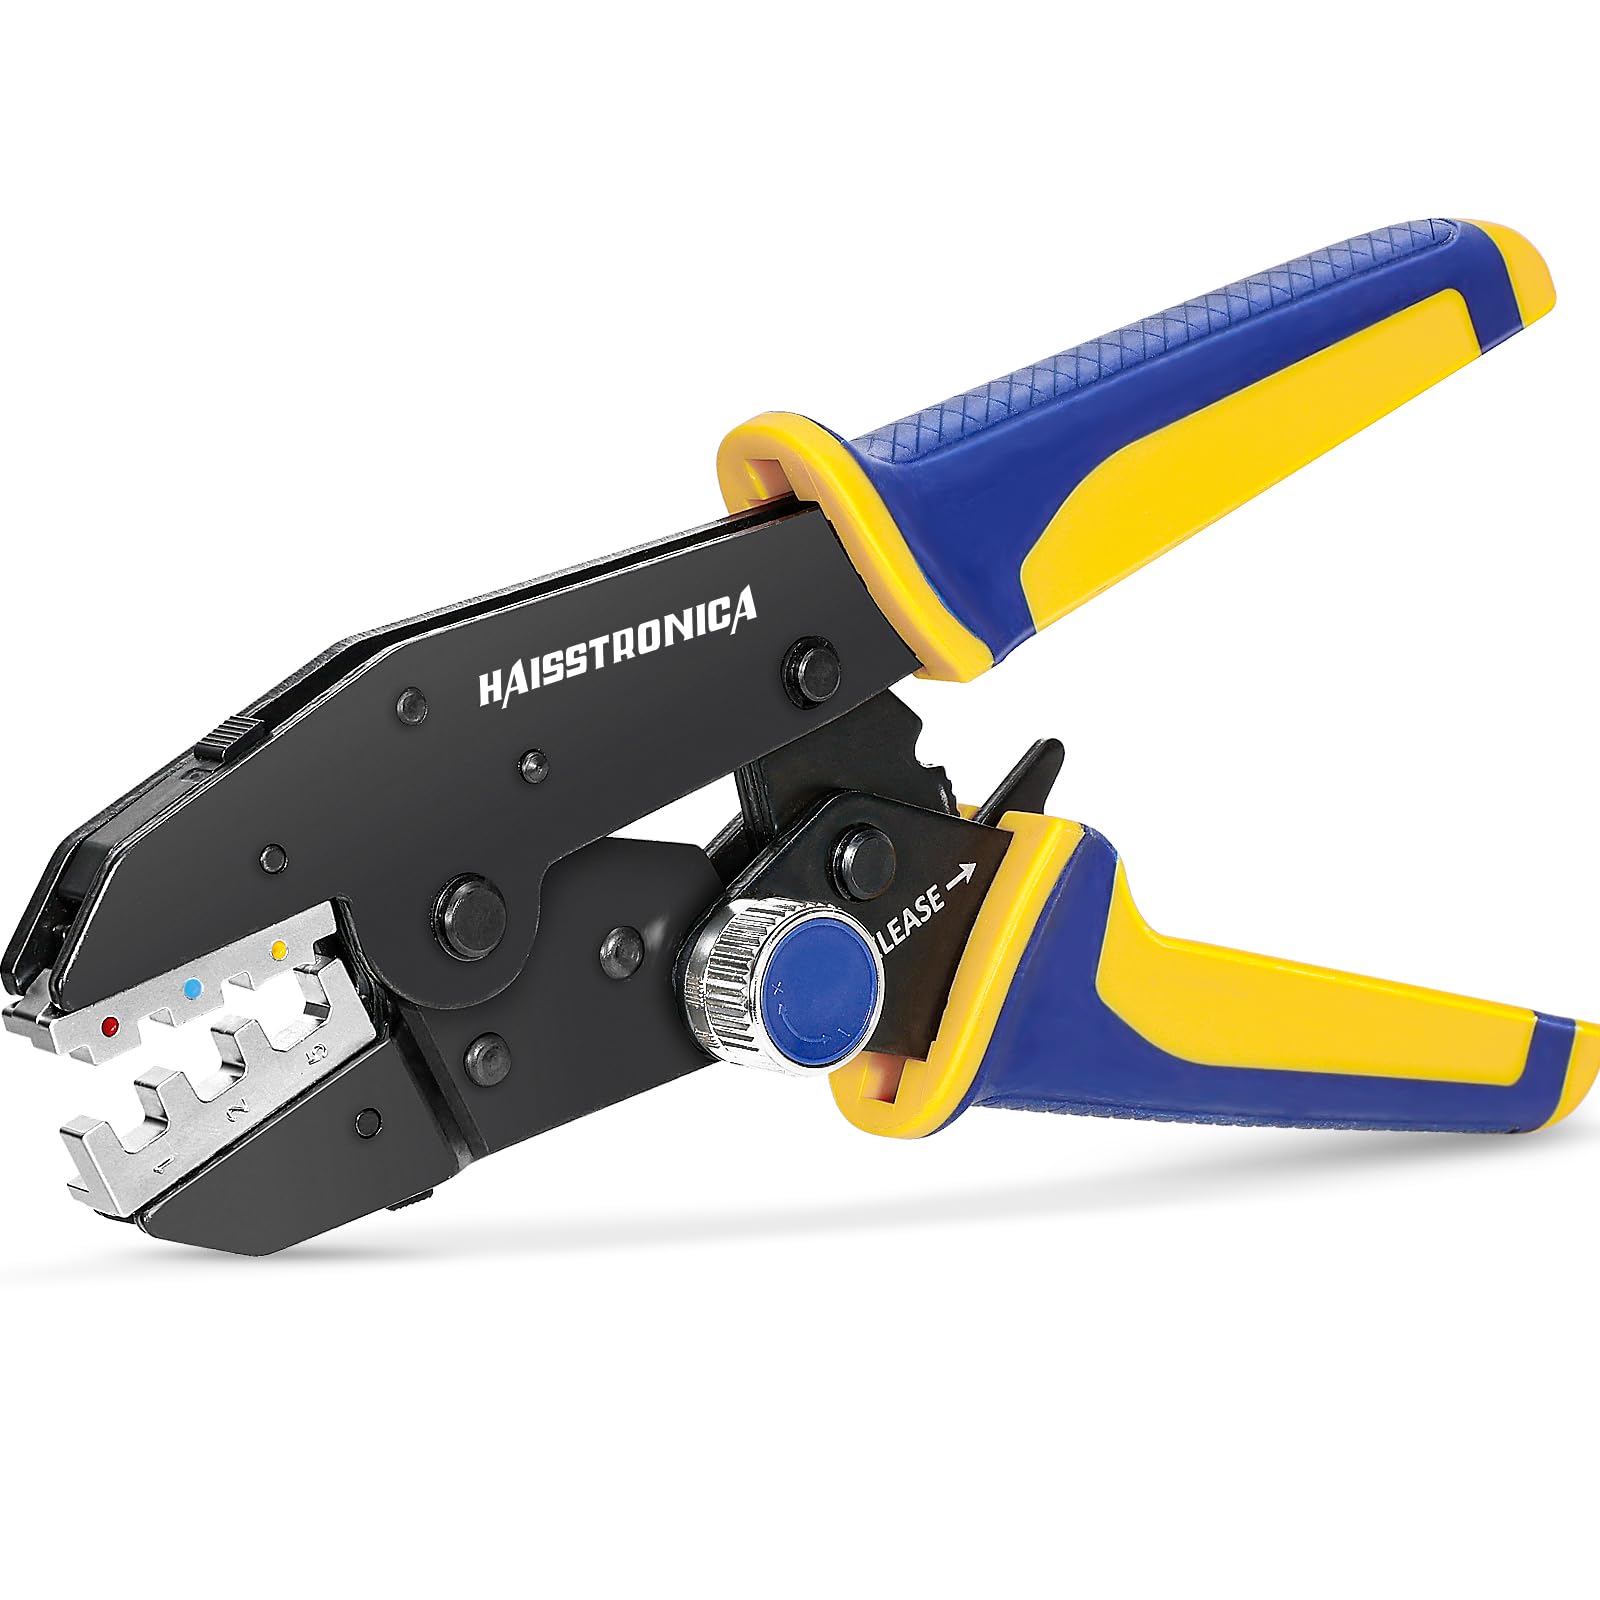
Pince à sertir pour embouts de fil Haisstronica (profil carré, cliquet auto-ajustable)

Types et dimensions des embouts (embouts de fil • outil de sertissage des embouts • code couleur des embouts AWG)
Choisir la bonne ferrule représente 80 % du travail. Le reste repose sur un outil de sertissage calibré et une bonne technique. Voici comment obtenir la bonne correspondance du premier coup.
1) Familles de viroles de noyau
-
Ferrules non isolées. Manchons métalliques simples. Fins et économiques ; vous pouvez les recouvrir d'une gaine thermorétractable séparée si nécessaire.
-
Ferrules isolées. Ajoutez un collier moulé (souvent en nylon ou en PP) qui guide l'insertion, soutient la gaine et fournit un code couleur.
-
Ferrules doubles (duplex). Un corps long accepte deux conducteurs de même section (par exemple, pour ponter une alimentation). Le collier est oblong.
-
Colliers longs ou courts. Les colliers longs supportent les gaines de câbles très flexibles et permettent aux opérateurs de porter des gants ; les colliers courts permettent de gagner de la place dans les borniers denses.
2) Matériaux et placage
-
Fût : Presque toujours en cuivre étamé pour la conductivité et la résistance à la corrosion.
-
Collier : Nylon/PP ; des variantes haute température existent pour les enceintes chaudes.
-
Environnement : Pour les atmosphères agressives (sel/engrais), associer du cuivre étamé à des boîtiers étanches ; envisager un revêtement conforme ou des bornes étanches en amont si nécessaire.
3) Dimensionnement — avec mm² comme boussole principale
Les embouts sont fabriqués en fonction de la section (mm²). Des équivalences AWG existent, mais le même AWG peut varier en termes de nombre de brins et de diamètre extérieur selon la marque de câble. Utilisez les mm² autant que possible :
-
Mappages courants (approximatifs) :
-
0,5 mm² ≈ 20 AWG
-
0,75 mm² ≈ 18 AWG
-
1,0 mm² ≈ 17–18 AWG (variable)
-
1,5 mm² ≈ 16 AWG
-
2,5 mm² ≈ 14 AWG
-
4 mm² ≈ 12 AWG
-
6 mm² ≈ 10 AWG
-
10 mm² ≈ 8 AWG
-
Règle d'ajustement : le conducteur doit remplir le fût sans former de plis ni de vides. Si des angles vides apparaissent après le sertissage, la férule est trop large. Si les brins se rasent à l'entrée, elle est trop petite.
4) Les codes couleurs (et pourquoi ne pas leur faire aveuglément confiance)
-
Les couleurs DIN 46228-4 correspondent aux tailles métriques (par exemple, le gris mesure généralement 2,5 mm²).
-
Les kits de couleurs AWG en Amérique du Nord ne sont pas standardisés entre les marques.
-
Bonne pratique : Lisez la taille imprimée sur la bobine/boîte ; considérez la couleur comme une commodité, et non comme une spécification. Des termes de recherche comme « code couleur de virole » (AWG) afficheront de nombreux tableaux spécifiques à chaque fournisseur ; à utiliser avec prudence.
5) Faites correspondre la virole au style de borne
-
Serre-joint à vis / serre-joint à boîte : les profils hexagonaux ou carrés fonctionnent tous les deux ; le carré permet de créer un cube bien rangé qui repose à plat.
-
Pince à ressort / CAGE CLAMP® / enfichable : De nombreux fournisseurs préfèrent les sertissages carrés pour une insertion et une rétention idéales.
-
Cosses à anneau/fourche : il ne s'agit pas d'un cas d'utilisation de virole ; choisissez plutôt la cosse à anneau/fourche appropriée.
6) Longueur et préparation de la bande
-
Dénudez jusqu'à la profondeur du canon de sorte que les extrémités en cuivre soient presque au ras du nez de la virole ; un cheveu à l'intérieur est plus sûr qu'un cheveu qui dépasse.
-
Ne pas étamer les fils toronnés avant le sertissage (la soudure flue et peut se desserrer dans les vis).
-
Peignez légèrement les mèches mal compactées ; ne les tordez pas trop fort : la torsion peut biaiser le frisage.
7) Indices d'acceptation
-
Le col repose contre la veste sans aucun cuivre nu exposé derrière lui.
-
La forme ondulée est symétrique avec des plats nets - pas d'ouverture en bouche de poisson.
-
Test de traction : une traction ferme ne doit pas déplacer le conducteur ; la défaillance doit être due à une rupture du fil et non à un arrachement.
-
Pas de mèches coupées au niveau du nez ; si vous voyez du rasage, vous avez sous-dimensionné la virole ou endommagé la bande.
Stockez un outil qui « se dimensionne tout seul » pour les panneaux courants :
Pince à sertir pour embouts de fil Haisstronica (matrice carrée auto-ajustable)

Sélecteur d'outils — Quelle pince à sertir pour quel travail (pince à sertir pour virole • pince à sertir pour virole hexagonale • pince à sertir pour virole carrée)
La qualité du sertissage dépend de la géométrie de la matrice, du contrôle du cycle et de la régularité. Utilisez une pince à sertir pour ferrules spécialement conçue, et non une pince standard.
1) Sertisseuses à cliquet et à réglage automatique des viroles (travaux de contrôle quotidiens)
-
Fonctionnement : dimensionnement automatique de la fenêtre de la matrice autour de la virole lors de la compression. Un cliquet assure l'exécution complète du cycle.
-
Idéal pour : les constructeurs de panneaux et les techniciens de terrain manipulant des câbles de 0,25 à 10 mm² (AWG 23-7) sur de nombreuses marques de connecteurs : un seul outil, plusieurs tailles.
-
Forme de la matrice : Souvent carrée ; produit un cube compact qui s'adapte bien aux pinces à ressort et à vis.
2) Pinces à sertir à matrice interchangeable (lorsque les spécifications exigent une forme)
-
Pourquoi : Certains fabricants d'appareils recommandent des bornes hexagonales plutôt que carrées . Une pince à sertir à embout hexagonal se rapproche d'une broche ronde et peut maximiser l'enroulement de la pince dans certaines bornes à vis.
-
Contenu du kit : Corps + jeux de matrices de 0,25 mm² à 16 mm² ; recherchez les matrices étiquetées et les détentes positives.
-
Exemples : sertisseuse à virole carrée pour blocs enfichables ; sertisseuse à virole hexagonale lorsqu'une cosse presque cylindrique est souhaitable.
3) Volume élevé et spécialité
-
Sertisseuse automatique de viroles / machine de sertissage de viroles : pour les cellules de harnais de production ; puissante, répétable et traçable.
-
Outils d'établi pneumatiques : Réduisez la fatigue de l'opérateur sur les longs trajets.
-
Embouts de gros calibre (≥ 10 mm² / 8 AWG) : utilisez des embouts à canon long et le profil de matrice spécifié par le fabricant ; certains magasins disposent d'une sertisseuse d'embouts 4 AWG dédiée ou d'une sertisseuse d'embouts 2 AWG .
-
Ne pas confondre avec la pince à sertir les embouts de câbles métalliques ou l'outil de sertissage des embouts de tuyaux : ceux-ci sont destinés aux manchons mécaniques et aux raccords hydrauliques, et non aux terminaisons électriques.
4) La séquence de sertissage (étape par étape)
-
Sélectionnez la virole par mm² (ou son équivalent AWG), le style de borne et la longueur du collier.
-
Dénudez le conducteur jusqu'à la profondeur du fût ; évitez d'entailler les brins.
-
Insérez complètement le fil dénudé jusqu'à ce que le cuivre touche le cône de la virole.
-
Chargez la virole dans l'outil : pour les matrices carrées, le collier est orienté vers l'extérieur ; gardez le canon centré.
-
Sertissage jusqu'à libération complète du cliquet, sans jeu partiel. Avec une pince à sertir pour virole à cliquet , la poignée ne s'ouvrira pas prématurément.
-
Inspectez la forme (hexagonale ou carrée), confirmez qu'il n'y a pas de cuivre exposé derrière le collier.
-
Effectuez un test de traction sur chaque joint ; mesurez la hauteur de sertissage si votre contrôle qualité l'exige.
-
Étiquetez et fixez le fil ; resserrez-le conformément aux spécifications de l'appareil s'il s'agit d'une pince à vis.
5) Erreurs courantes et comment les éviter
-
Taille de virole incorrecte. Vides ou ouverture en forme de gueule de poisson = trop grande ; brins rasés = trop petite. Solution : changer de taille.
-
Géométrie de matrice incorrecte. Si les spécifications d'un terminal indiquent un carré, n'utilisez pas hexadécimal par habitude.
-
Cycle partiel. Un outil sans cliquet ou une pression trop brusque laisse un bouchon lâche. Utilisez une pince à sertir à cliquet et écoutez le clic final.
-
Fil étamé sous une férule. À éviter : la soudure coule à froid et se détache sous l'effet de la force de serrage.
-
Sélection de couleur uniquement. Toujours lire les valeurs imprimées en mm²/AWG ; la couleur est une indication, et non une règle.
6) Entretien, étalonnage et cycle de vie
-
Gardez les matrices propres et légèrement huilées ; le gravier abîme les matrices et marque les barils.
-
Vérifiez périodiquement la force de déverrouillage du cliquet ; de nombreux outils disposent d'une molette de réglage.
-
Remplacez les matrices usées ; une matrice arrondie peut se sous-comprimer même avec une course complète.
-
Tests d'extraction de documents sur de nouveaux lots de ferrules et de fils : une assurance qualité simple et rentable.
Conseil technique : pour les empilements de bornes denses, une pince à sertir à virole carrée auto-ajustable avec un nez étroit facilite l'alignement du corps sans heurter les conducteurs adjacents.
Un outil, plusieurs tailles, des résultats cohérents :
Outil de sertissage de virole de fil Haisstronica

Conclusion : Une formule simple pour des terminaisons soignées et durables
Les embouts transforment les conducteurs flexibles en terminaisons fiables et faciles à entretenir. Choisissez le fût adapté en mm² , adaptez la géométrie de la matrice à votre type de borne, effectuez un seul sertissage complet de l'embout et vérifiez par un essai de traction. Grâce à cela, vos armoires d'automates, panneaux de machines, boîtiers photovoltaïques et boîtiers marins fonctionneront à une température plus basse, résisteront aux vibrations et supporteront des cycles de service répétés sans problème.
Si votre objectif est d'obtenir des constructions plus propres et de réduire les rappels, adoptez des embouts et faites d'une sertisseuse à cliquet auto-ajustable votre outil quotidien.
Prêt pour des panneaux plus propres ?
Pince à sertir pour embouts de fil Haisstronica (AWG 23–7 / 0,25–10 mm²)