Solder butt connectors are an essential tool in the world of electrical wiring, offering a combination of mechanical strength and electrical conductivity that is crucial for various applications. Whether you are working on a car, boat, or home wiring project, understanding how to use solder butt connectors correctly can make all the difference in creating safe and reliable connections.
In this guide, we will break down the process of installing solder butt connectors, including the tools and materials you need, the best practices, and the common mistakes to avoid.
What You Need for a Clean, Sealed Connection
Match the connector to the wire gauge, then use a controlled heat source so the solder ring melts and the adhesive rings seal evenly.
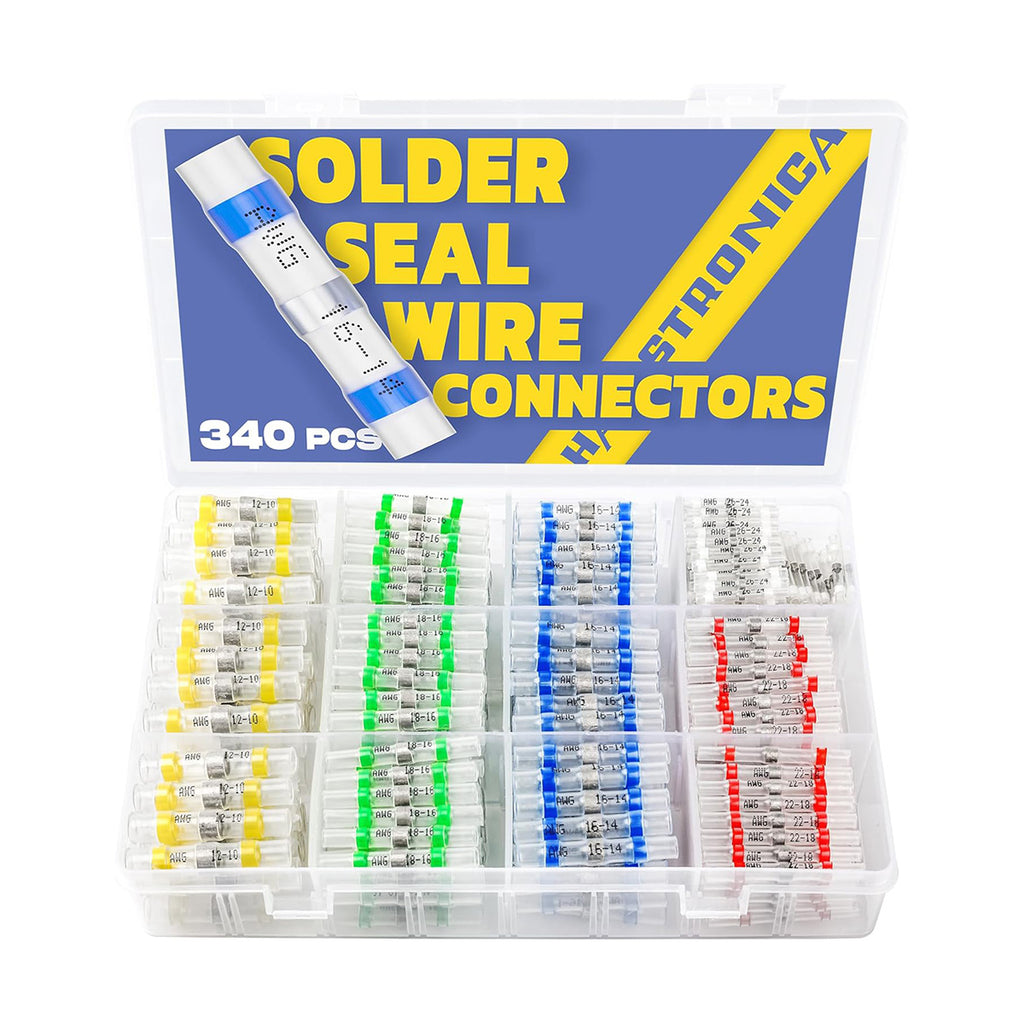
340PCS Solder Seal Connector Kit
A color-coded assortment covering AWG 26–10, useful when a project includes several wire sizes.
View Connector Kit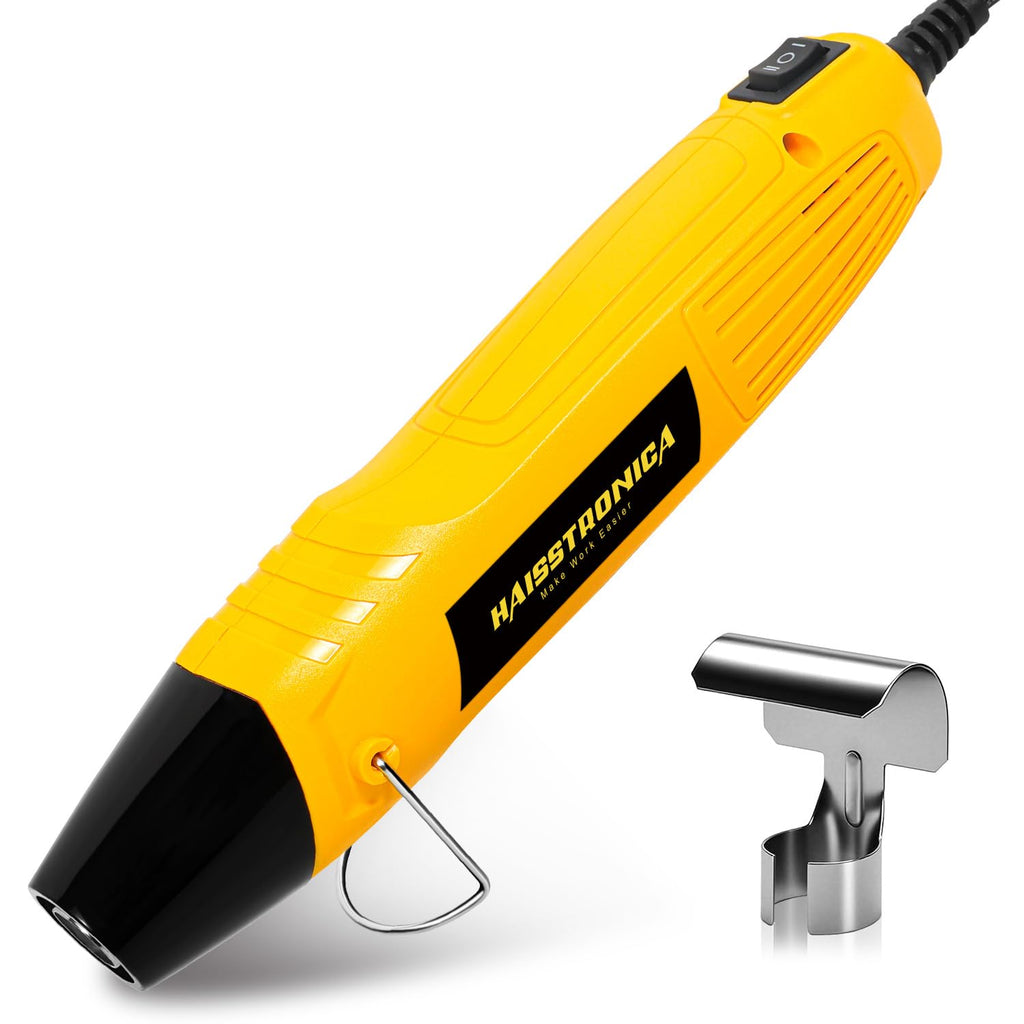
350W Mini Heat Gun
A compact heat source for controlled, even heating around the solder ring and sealing rings.
View Mini Heat Gun
680/960PCS Solder Seal & Heat Shrink Kit
A color-sorted set of solder seal connectors and 3:1 heat shrink tubing for joining, insulating and finishing multiple wire sizes.
View the 680/960PCS KitWhat Are Solder Butt Connectors? (Solder Terminals)
Solder butt connectors are specialized connectors that are used to join two pieces of wire together in a splice. These connectors consist of a metal sleeve that is typically made of copper or a similar conductive material, with a ring of solder inside the sleeve. The connector also has heat-shrink tubing that, when heated, shrinks to create a tight seal around the wire.
The main benefits of using solder butt connectors are:
Reliable electrical conductivity due to the solder, which creates a strong connection between the wires.
Moisture and corrosion resistance when using heat-shrink tubing, which seals the joint tightly and protects against environmental damage.
Simple installation using a heat source, without the need for complex crimping tools or soldering irons.
When installed correctly, solder butt connectors ensure long-lasting, reliable connections that are particularly important in environments with vibration, moisture, or extreme temperatures. They are commonly used in automotive, marine, and low-voltage wiring systems.
Haisstronica Tip:
For a seamless, professional-grade result, choose high-quality solder butt connectors, such as Haisstronica’s heat shrink solder sleeves, which provide a reliable seal and strong mechanical strength.

Two Connection Methods in One Kit
Use solder seal connectors for quick sealed splices, or use the included 3:1 tubing to insulate and protect crimped terminals.
See Kit OptionsWhen You Should (and Shouldn’t) Use Solder Butt Connectors
Solder butt connectors are versatile and can be used in a variety of situations, but there are certain scenarios where they excel and others where they might not be the best choice.
When to use solder butt connectors:
Low to medium current applications: These connectors are ideal for wiring projects that involve lower current loads (under 15 amps). The solder provides a stable and secure connection for these types of circuits.
Environmental sealing needed: If the connection will be exposed to moisture or harsh conditions (such as automotive, marine, or outdoor lighting), the heat-shrink sleeve will provide essential protection against corrosion and environmental damage.
When you need both conductivity and mechanical strength: The solder inside the connector ensures a solid electrical connection, while the heat-shrink tube helps to secure the wires physically.
When not to use solder butt connectors:
High current applications: For high-current connections, such as power distribution systems, solder butt connectors may not provide the necessary mechanical strength, as the solder could weaken over time under heavy strain.
Vibration-prone areas: In environments where there is excessive vibration (such as engine compartments), crimp connectors are often a better choice, as they provide a more secure mechanical connection than solder alone.
Fast-moving or temporary connections: If the connection is temporary or needs to be frequently disconnected, solder butt connectors are not ideal. Crimp connectors or twist-on connectors may be more suitable.
Haisstronica Tip:
If you’re working on high-voltage or critical circuits, consider using Haisstronica’s sealed crimp connectors for superior mechanical strength in high-vibration environments.

3:1 Heat Shrink for Sealed Terminations
The included tubing shrinks tightly around terminals to add insulation, moisture protection and strain relief.
Shop the Complete KitTools and Materials You Need Before You Start (Soldering Connections)
Before you start installing solder butt connectors, make sure you have the proper tools and materials. Using the right equipment will ensure a smooth and effective installation process.
Essential tools and materials:
Heat gun or lighter – To shrink the heat-shrink tubing and melt the solder inside the connector. A heat gun is preferred for better control, but a lighter can also work in some cases.
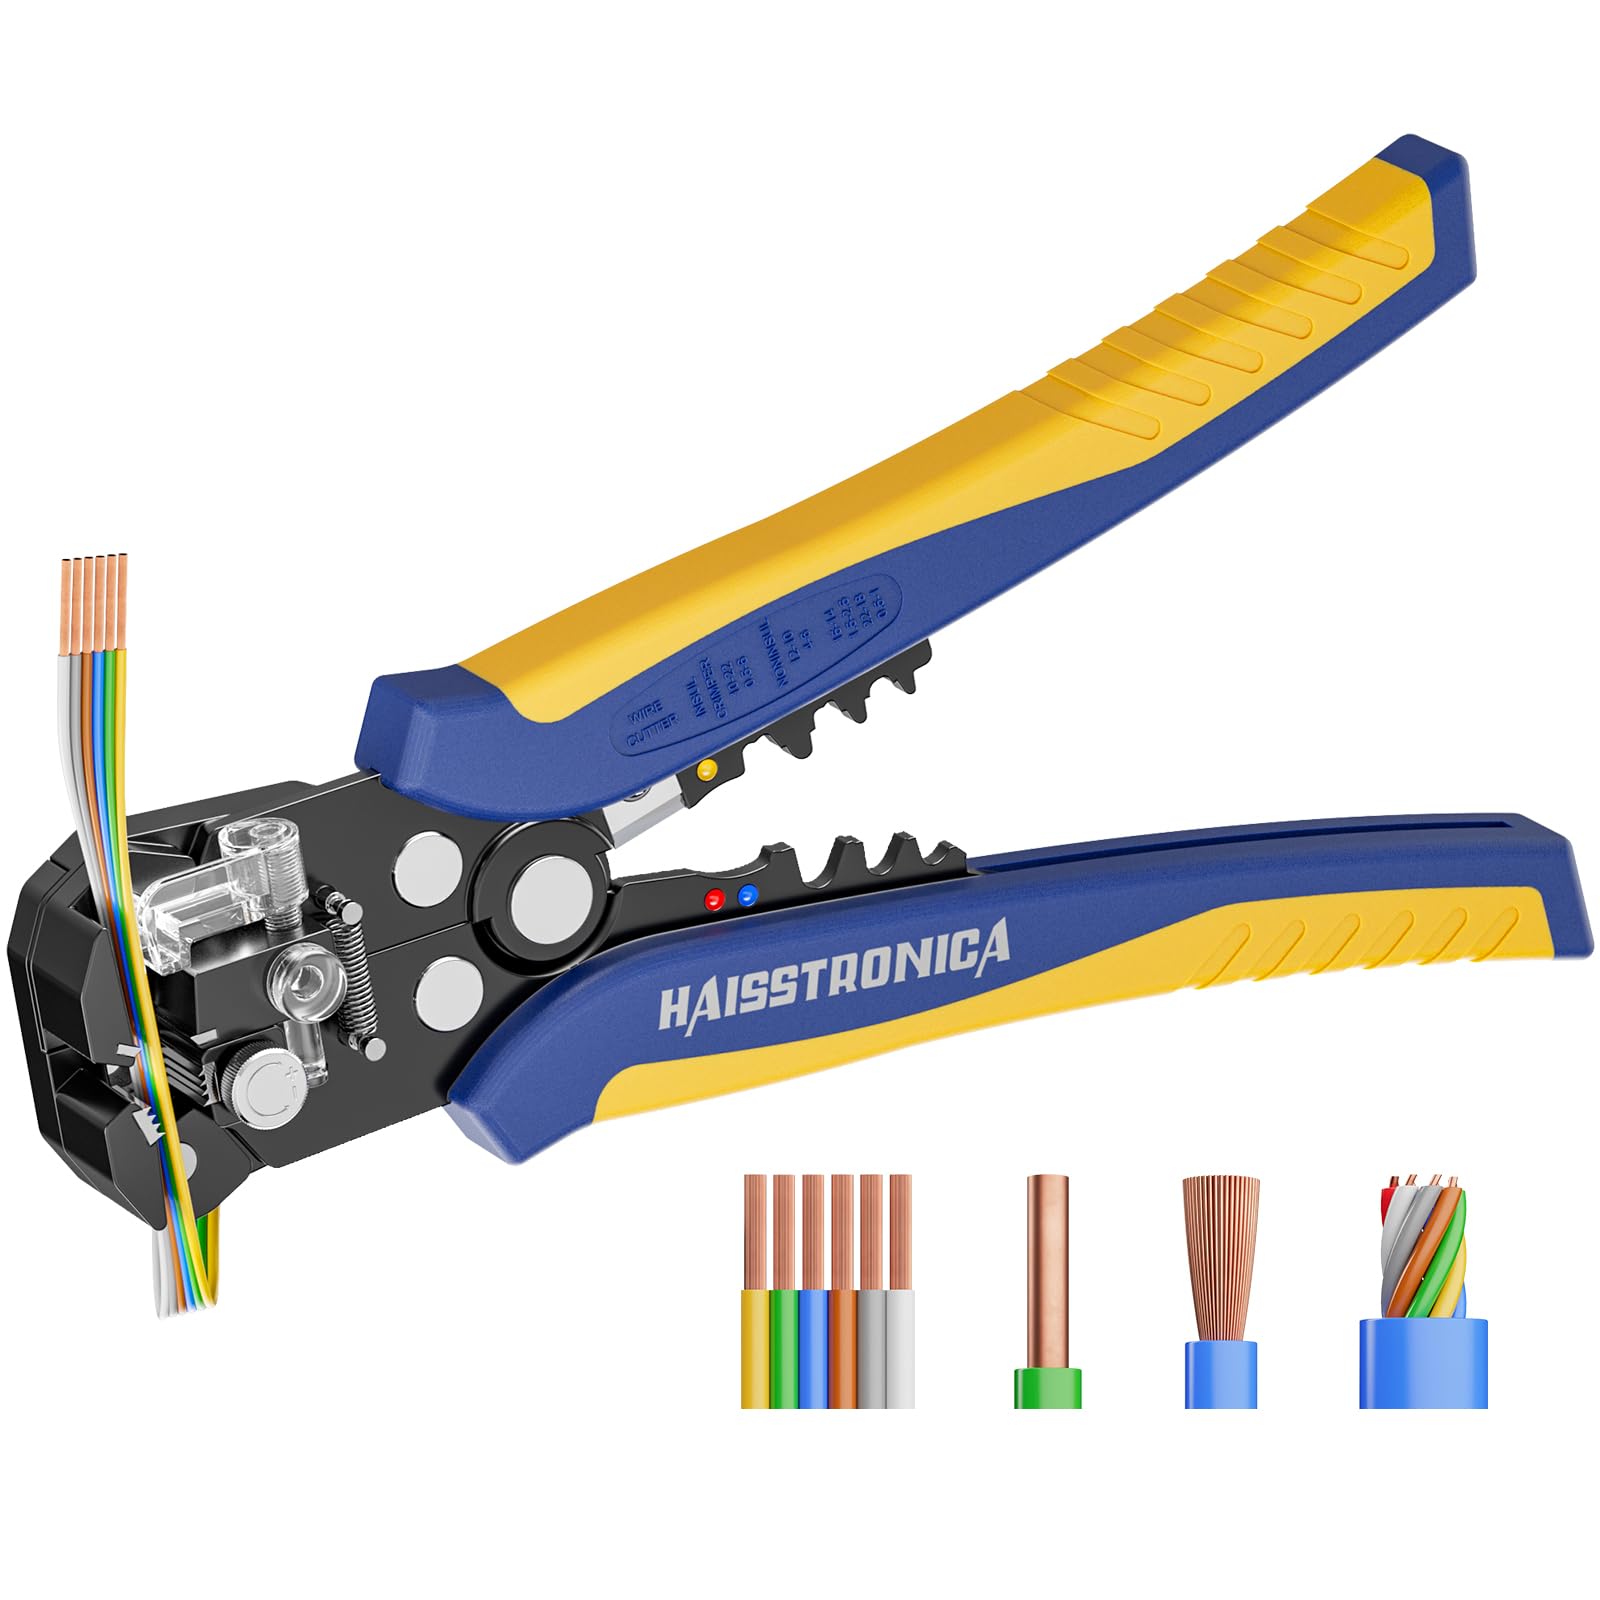
Wire stripper – To strip the insulation off the ends of the wires to expose the copper. Make sure to strip the wire to the correct length according to the connector’s specifications.
Solder butt connectors – Choose connectors that are the correct size for your wire. Using the wrong size can result in poor connections.
Wire cutter – To trim the wire to the desired length.
Electrical tape or heat shrink tubing – For additional insulation if needed.
Match the Connector Color to Your Wire Gauge
The connector should fit the conductor closely before heat is applied. Use this quick guide to select the correct size.
| Connector color | Wire range | Best next step |
|---|---|---|
| White | AWG 26–24 | Find this size in the kit |
| Red | AWG 22–18 | Find this size in the kit |
| Blue | AWG 16–14 | Find this size in the kit |
| Yellow | AWG 12–10 | Find this size in the kit |
Step-by-Step Process:
Prep the wires:
Use the wire stripper to remove about 1/2 inch (or the recommended length) of insulation from the end of each wire. Be careful not to nick or damage the copper strands.Insert the wires into the connector:
Slide the stripped ends of the wires into the solder butt connector until they reach the center of the solder ring. Ensure that the wires are properly aligned, and the copper strands are inside the connector.Apply heat:
Use a heat gun or lighter to heat the solder butt connector evenly. Start from one end and move to the other to ensure the heat-shrink tubing shrinks properly. As the connector heats up, the solder will melt, bonding the wires together. The adhesive inside the connector will flow and create a seal.Allow to cool:
Once the connector has shrunk and the solder has fully melted, allow the connection to cool for a few minutes. Check the connection to ensure that the wires are securely attached and that there are no gaps in the seal.Test the connection:
Finally, test the connection by gently pulling on the wires to make sure they are securely attached. Use a multimeter to check for continuity and ensure that the solder joint is functioning properly.
Start at the Solder Ring, Then Seal the Ends
Keep the heat moving and rotate the connection. First confirm that the solder has flowed through the wire strands, then heat the adhesive rings until both ends seal.
Haisstronica Tip:
For enhanced performance, consider using soldering terminals and solder sleeves that are designed to offer even more durability and sealing, ensuring a long-lasting, reliable connection.

Organized Sizes, Ready for the Job
The portable case keeps connectors and heat shrink tubing separated by size, helping you choose the right part faster.
View Product DetailsSummary: Mastering Solder Butt Connectors for Reliable Splicing
Solder butt connectors are an excellent choice for many wiring applications, providing a strong, secure, and environmentally sealed electrical connection. By following the proper installation process and using high-quality connectors, you can ensure that your electrical joints remain reliable and durable.
Remember to:
Choose the right size solder butt connectors for your wire gauge.
Use the proper tools for wire preparation and heat application.
Install the connector carefully and allow it to cool before testing.
By taking the time to properly install solder butt connectors, you can create high-quality electrical connections that will stand the test of time and environmental challenges.
Haisstronica Tip:
If you're working on automotive, marine, or low-voltage wiring projects, Haisstronica's solder seal butt connectors offer superior sealing and mechanical strength for long-lasting results.