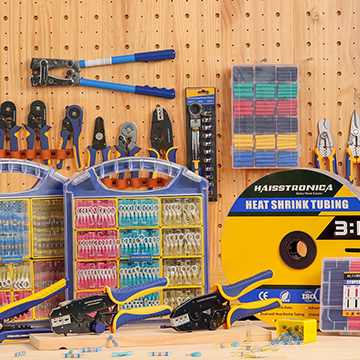
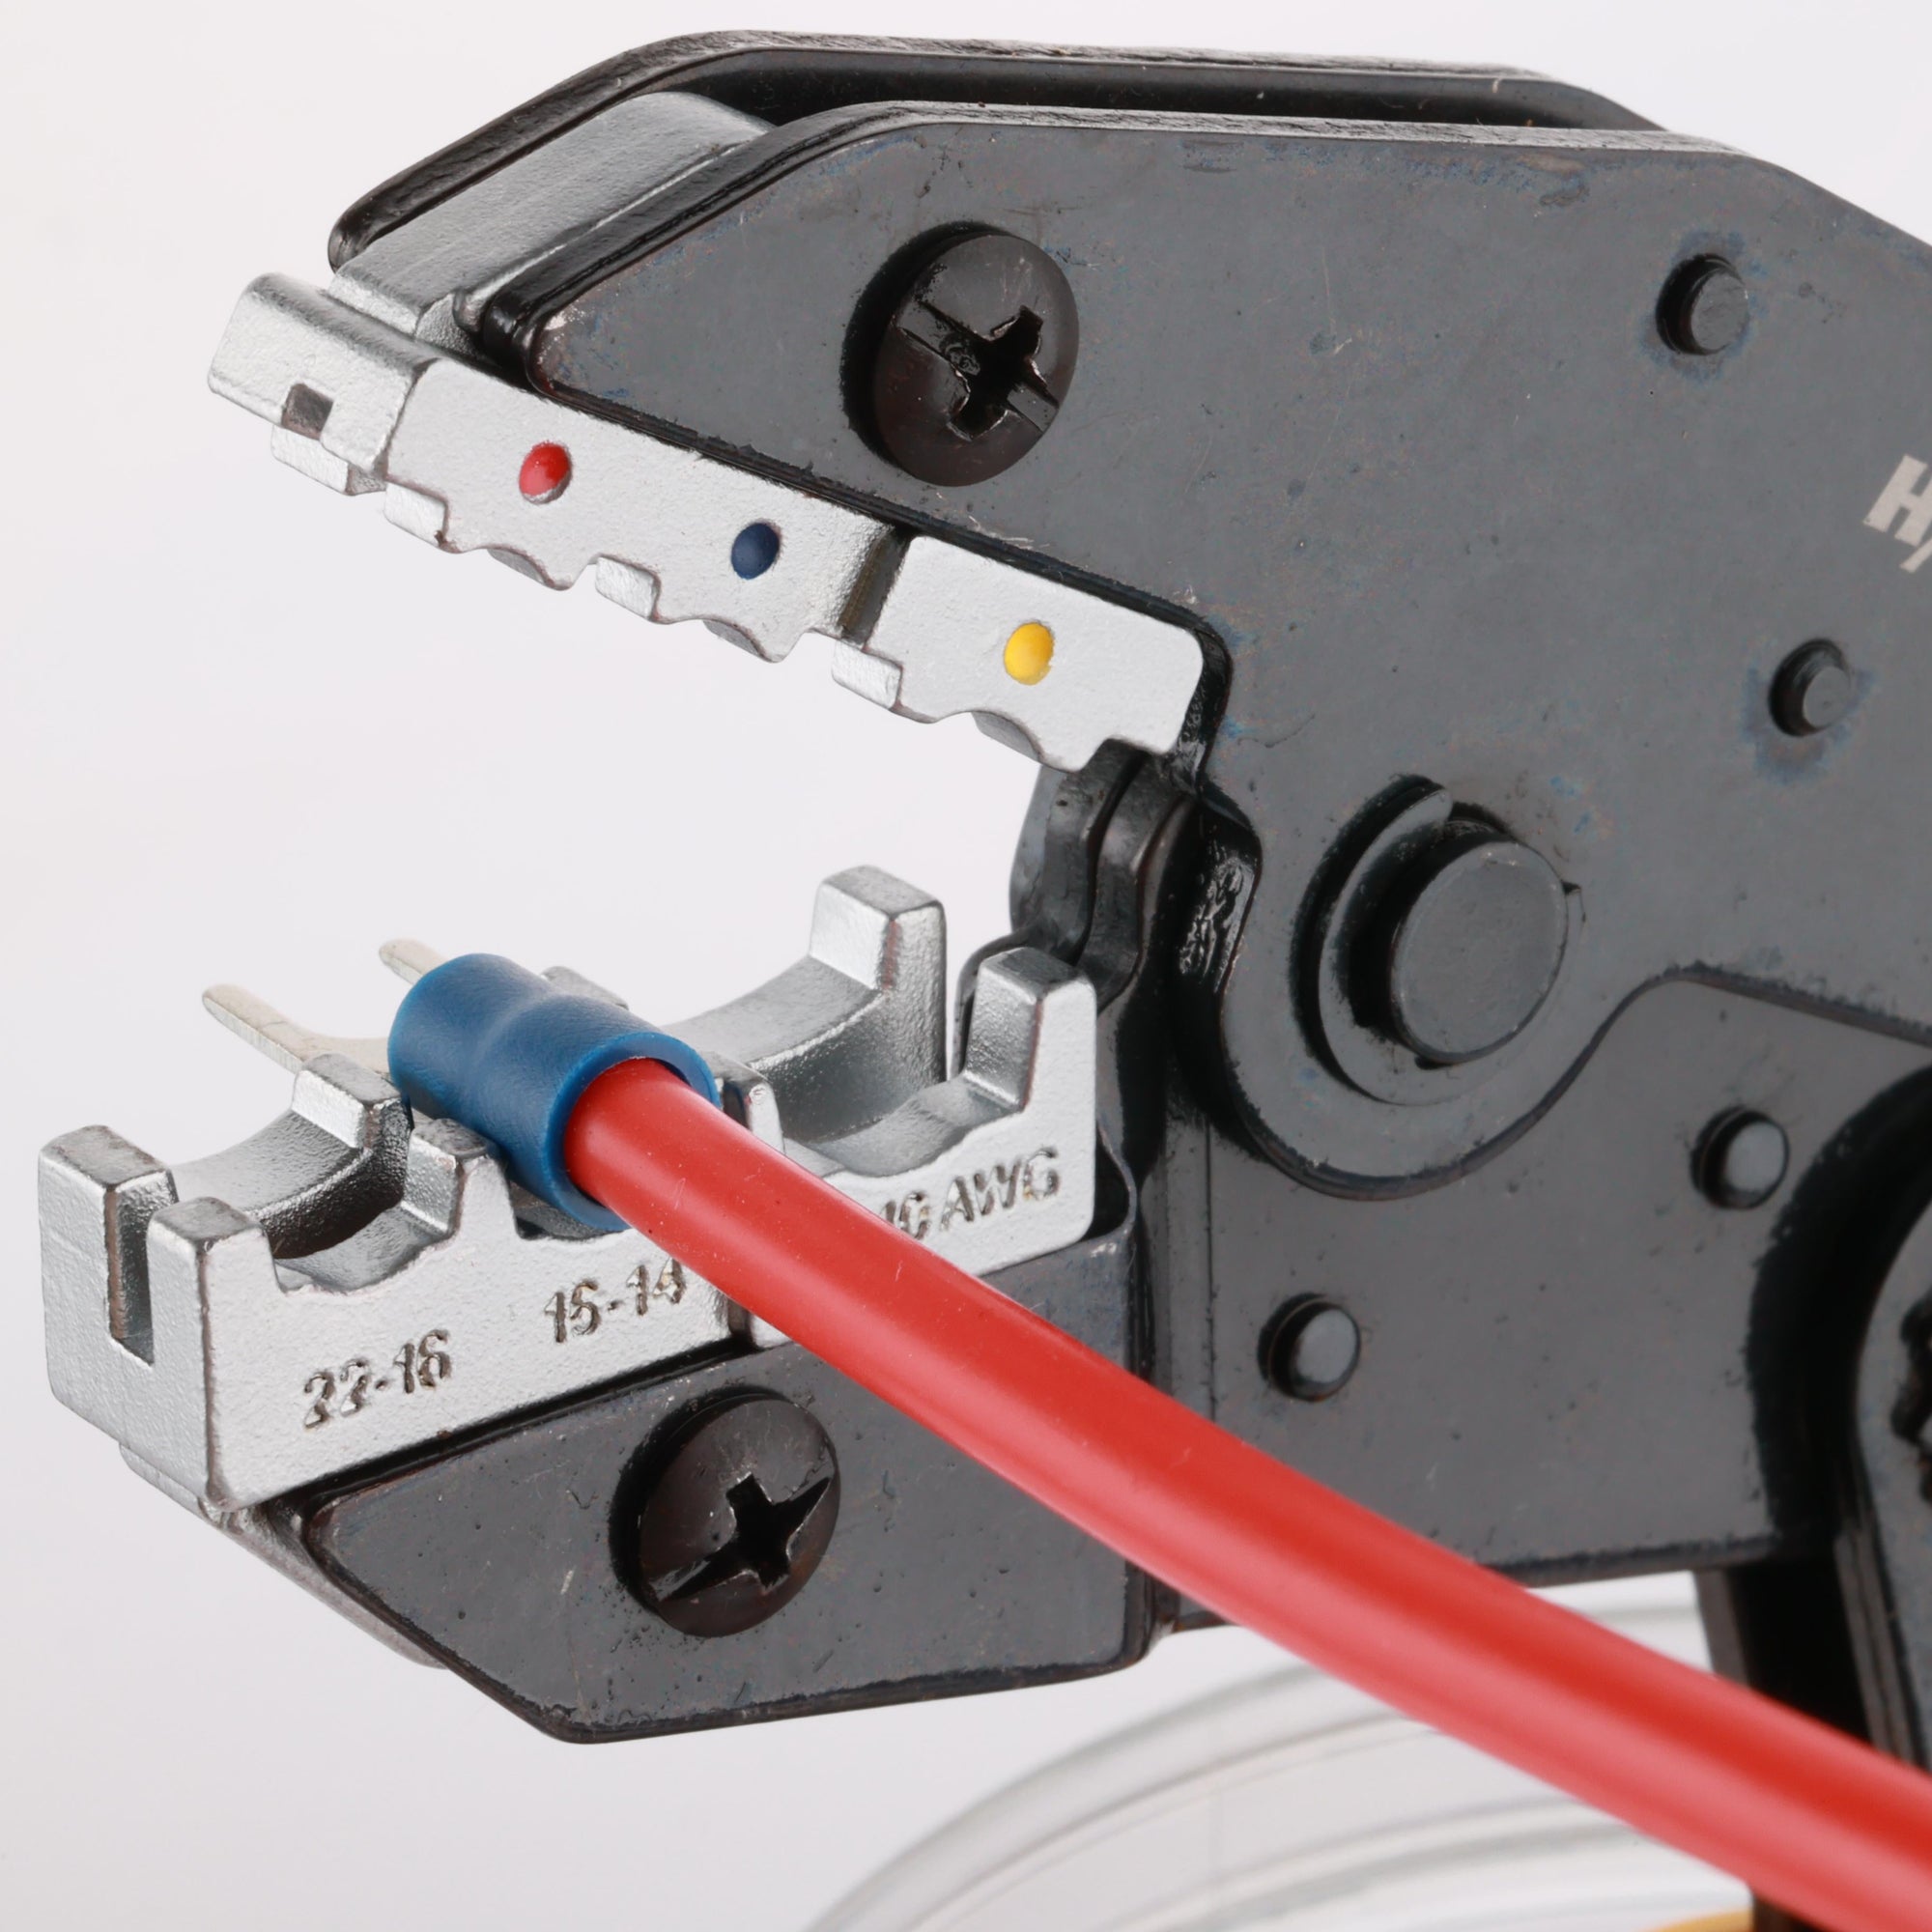
5 Common Crimping Mistakes—and How to Avoid Them.
A reliable crimp depends on five decisions: the correct connector and AWG, a clean strip, the right die, a full ratchet cycle, and sealing that matches the environment.
The Five Mistakes and Their Direct Fixes
Mismatched Connector and AWG
A barrel that is too large will not grip the conductor. One that is too small can bend or cut strands.
Fix: read the printed AWG, confirm the conductor material and strand count, and choose the manufacturer-specified range.
Choose a Multi-Size Kit →Strip Length Too Short, Too Long, or Too Aggressive
Copper should fill the barrel without remaining exposed outside the sleeve. Cut strands reduce the usable conductor area.
Fix: match the strip length to the barrel and confirm that every strand remains intact.
Use a Self-Adjusting Wire Stripper →Wrong Die or Incomplete Pressure
A pointed jaw, the wrong cavity, or stopping halfway through the cycle can deform the barrel without producing controlled compression.
Fix: center the metal barrel in the correct cavity and complete the full ratchet cycle.
Choose a Ratchet Crimper →Incomplete Sealing or Excessive Heat
Moisture enters through an incomplete seal; excessive heat scorches insulation or displaces adhesive.
Fix: finish the crimp first, then apply slow, even heat until the entire sleeve recovers.
Review the Sealing Checklist ↓No Inspection, Pull Test, or Organized Storage
A crimp can look correct while hiding partial insertion, exposed copper, or a punctured sleeve. Mixing sizes increases mistakes on the next job.
Fix: perform a pull test, visual inspection, polarity check, and separate storage by AWG and connector type.
Use the Final Inspection Checklist ↓Quick Reference: Color, AWG, and Use
Color is a quick reference. The printed gauge and connector specification are the final authority.
| Common color | Typical range | Check before crimping | Product route |
|---|---|---|---|
| White | AWG 26–24 | Confirm compatibility with fine wire and verify that the conductor fills the barrel. | Browse Kits → |
| Red | AWG 22–16 | Use the specified cavity and keep every strand inside the sleeve. | Choose a Kit → |
| Blue | AWG 16–14 | Verify full insertion, a centered barrel, and a complete ratchet cycle. | Choose a Kit → |
| Yellow | AWG 12–10 | Confirm the connector rating, circuit load, and tool compatibility. | Choose a Kit → |
The Correct Strip Length
Too Short
The conductor does not reach the full barrel compression zone.
Result: partial grip.Correct
Copper fills the barrel and stops inside the sleeve, with no cut strands.
Result: even compression.Too Long
Bare copper remains outside the connector or under an unsupported section.
Result: exposed conductor and a weak point.Why Ratchet Action and Position Matter
Compress the Barrel, Not the Sleeve Edge
Locate the hidden metal barrel and center it in the die. Keep both sleeve edges outside the primary compression point.
Use a Matched Die →Do Not Stop Halfway
Squeeze until the mechanism releases the tool. Do not repair a partial crimp with multiple misaligned compressions.
Shop the AWG 22–10 Crimper →Crimp and Seal in Seven Steps
Confirm AWG and Environment
Read the cable marking. Decide whether the joint will be dry, damp, exposed to vibration, or near heat.
Select the Connector
Match range, material, geometry, and sealing method to the conductor and application.
Choose a Connector Kit →Set the Strip Length
Remove only the insulation required and keep every strand intact.
Use the Wire Stripper →Insert the Conductor Fully
Push the conductor to the internal stop. No copper should remain exposed outside the sleeve.
Complete the Ratchet Cycle
Center the barrel in the correct cavity and finish the cycle without changing position.
Use the Ratchet Crimper →Pull-Test and Seal
Perform a firm pull test. Then apply gradual, even heat until the adhesive seal is complete.
Inspect and Organize
Check alignment, exposed copper, damage, and sleeve closure, then store each size in its own compartment.

Keep Connector Sizes Organized
Separate AWG sizes so the correct connector is easy to identify before every crimp.
View the Connector Kit →Pre-Crimp and Final Inspection Checklist
Before Applying Heat
- Connector matches AWG
- All strands are inside the barrel
- Barrel is centered in the die
- Ratchet cycle is complete
- Pull test passed
After Sealing
- Sleeve recovered evenly
- Adhesive is visible at the ends
- No scorching or discoloration
- No exposed copper
- Joint is supported and strain-free
Recommended Tools and Kits
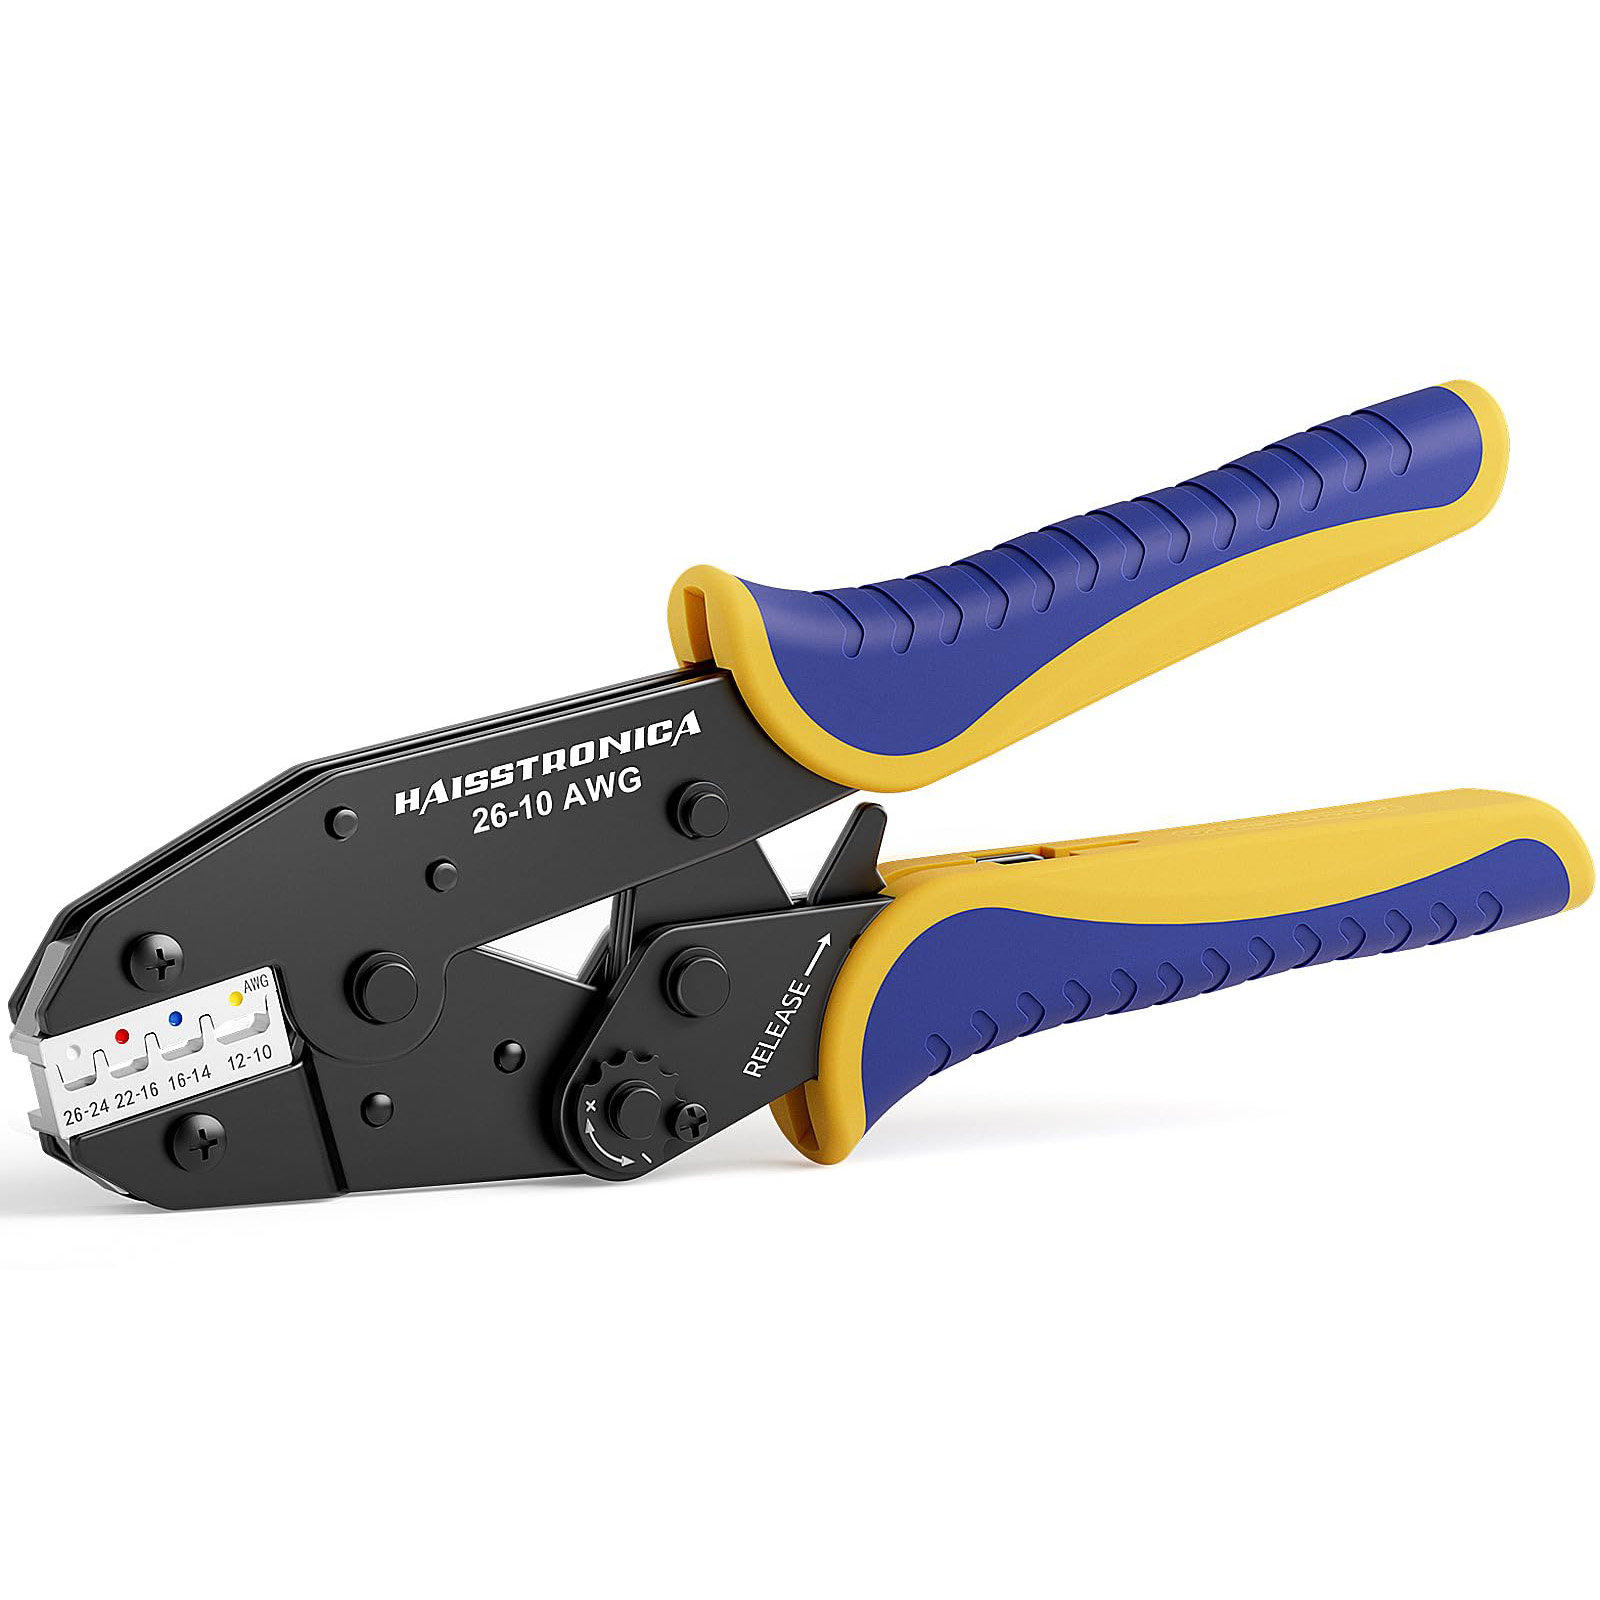
AWG 22–10 Ratchet Crimper
For repeatable compression on compatible insulated connectors.
Shop the Crimper →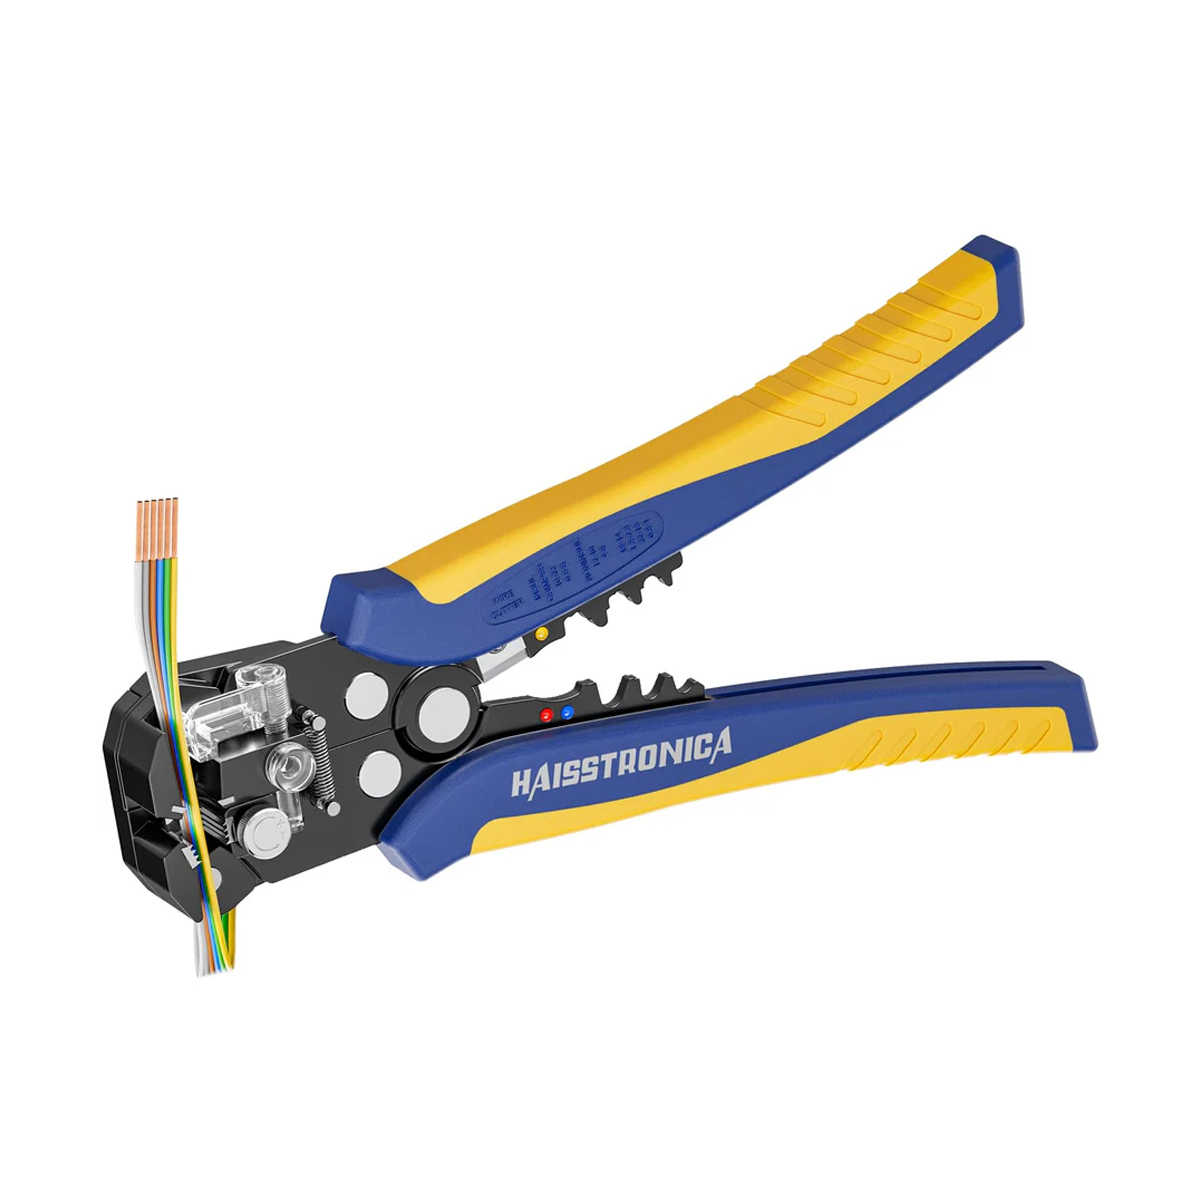
Self-Adjusting Wire Stripper AWG 24–10
Helps control strip length without cutting conductor strands.
Shop the Wire Stripper →
Heat Shrink Connector Kit
Organized sizes help you select the correct barrel before crimping.
Shop the Kit →
Complete Crimping Tool Kit
A matched crimper, connector assortment, and organized storage for repeatable work.
Shop the Complete Kit →Fix the System, Not Just the Last Crimp
The best result combines AWG-based selection, a clean strip, a matched die, a full ratchet cycle, controlled sealing, and inspection. An organized kit reduces the chance of improvising with the wrong size or tool.