Step-by-Step Installation Video 🎥
Want a foolproof way to install heat shrink connectors? Watch this 15-second quick tutorial demonstrating the full process:
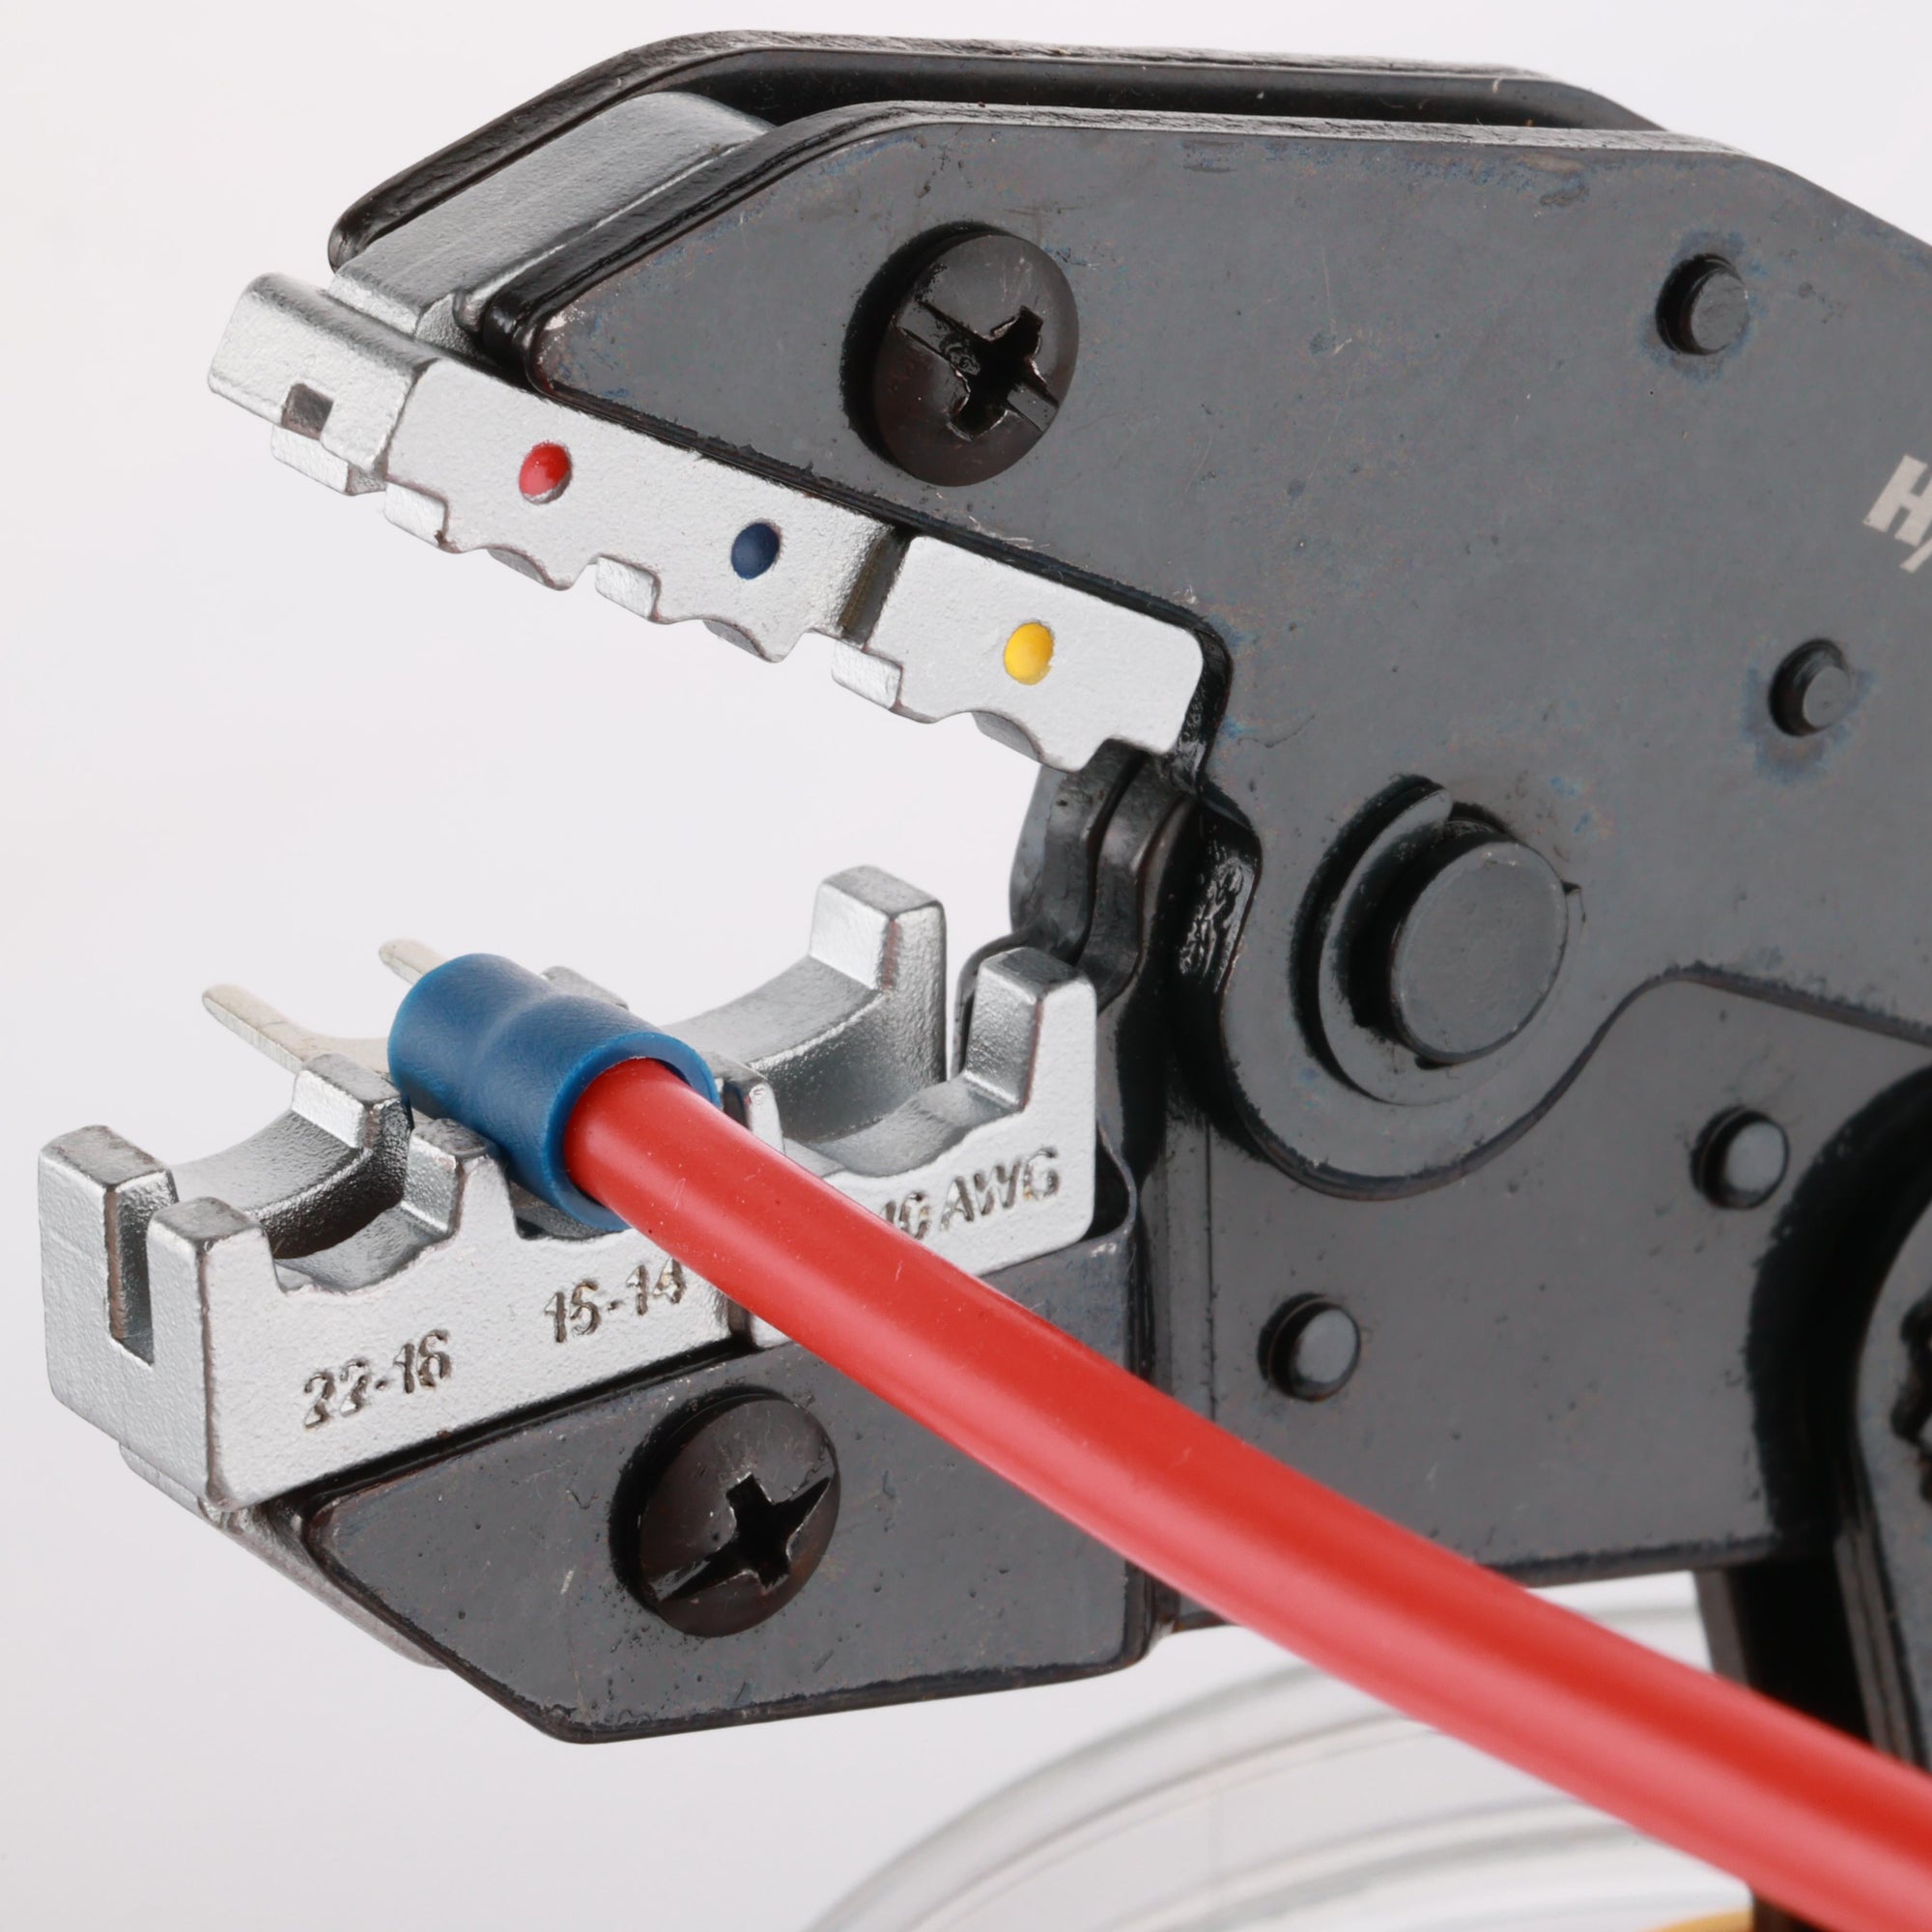
🔧 Strip the wire → 🔗 Insert into the connector → 🔥 Apply heat with a heat gun
▶️ Watch the Quick Video Tutorial
Common Installation Mistakes & How to Avoid Them ❌✅
Even a small mistake can lead to circuit failures. Here are some key errors to watch out for:
| ❌ Incorrect Installation | ✅ Correct Installation |
|---|---|
| Wire not stripped properly, leaving an unstable connection | Strip 1/4 inch of insulation for a solid connection |
| Shrink tubing cut too short, leading to poor sealing | Leave extra length to ensure full coverage |
| Overheating the tube, causing insulation to burn | Use a heat gun at proper distance & temperature |
🚨 Customer Testimonial: “I used to struggle with loose connections, but after following this guide, my installations are rock solid!” – Mike, DIY Enthusiast
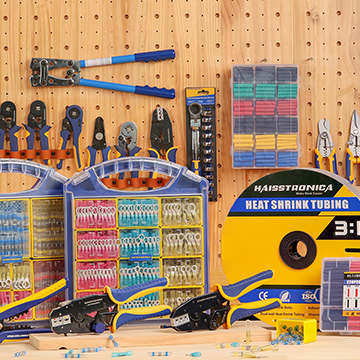
The Best Tools for a Professional Installation 🛠️
For a perfect installation, make sure you have the right tools! Our recommended kit includes:
✅ Premium Heat Shrink Connectors – Reliable and durable Shop Now
✅ Precision Wire Stripper – Get the perfect strip every time Get One Here
✅ Adjustable Heat Gun – Prevent overheating & achieve a secure shrink See Options
🎁 Exclusive Offer: Use code Blog for 6% OFF your first purchase!
Share & Win! 🎉
Have installation tips or success stories? Drop a comment below and share your experience! We’re giving away a FREE professional tool kit to one lucky commenter!
🔥 Start Your Installation the Right Way! Explore our premium heat shrink connectors: Shop Now