Butt connector buyer guide
Choose the splice method before you buy the connector
“Soldering” and “solderless” butt connectors can both produce a sealed inline splice, but the joint is created differently. A solder-seal sleeve depends on solder wetting plus controlled hot air. A heat-shrink butt connector depends on a matched mechanical crimp, followed by heat to recover the sleeve.
Choose a crimp-style splice
A matched ratchet die forms the barrel while the conductor remains flexible beyond the connector.
Choose a solder-seal sleeve
Use when the circuit allows it and there is room to heat the solder ring and adhesive bands evenly.
Both paths can seal
The sleeve rating and installation quality matter more than the label. Confirm full recovery and adhesive at both ends.
Follow the required method
Connector instructions and governing standards override a generic claim that one type is always better.
Your 5-step buying path
Rate the job before comparing kits
A connector assortment is only useful when its wire range, joint method and installation tool match the actual project.
Side-by-side comparison
Solder-seal versus solderless heat-shrink butt connectors
Use this table to identify the practical tradeoff. It does not replace connector instructions or project standards.
| Buying factor | Solder-seal butt connector | Solderless heat-shrink butt connector |
|---|---|---|
| How the joint is made | Solder ring melts and wets overlapped conductors inside the sleeve. | Metal barrel is mechanically compressed around both conductors. |
| Primary installation tool | Controlled hot-air gun with enough access to heat the full sleeve. | Matched ratchet crimper; hot air then recovers the outer sleeve. |
| Best-fit work | Compact inline repair, low tool count and compatible field splices. | High vibration, repeat harness work and standardized installations. |
| Critical inspection | Conductor overlap, solder wet-out, sleeve recovery and adhesive at both ends. | Correct die impression, conductor capture, pull resistance and adhesive seal. |
| Main installation risk | Underheating, overheating or incomplete solder wetting. | Wrong die, partial ratchet cycle or crimping outside the barrel. |
| Flex transition | Solder can stiffen the wire beyond the joint if heat or solder travel is excessive. | A correct crimp keeps the wire flexible beyond the barrel when properly supported. |
Two product paths
Keep the connector and its installation tool together
The correct tool should follow the chosen connector path. Do not buy the sleeve first and improvise the installation method later.
Path 1 · compact soldered inline splice
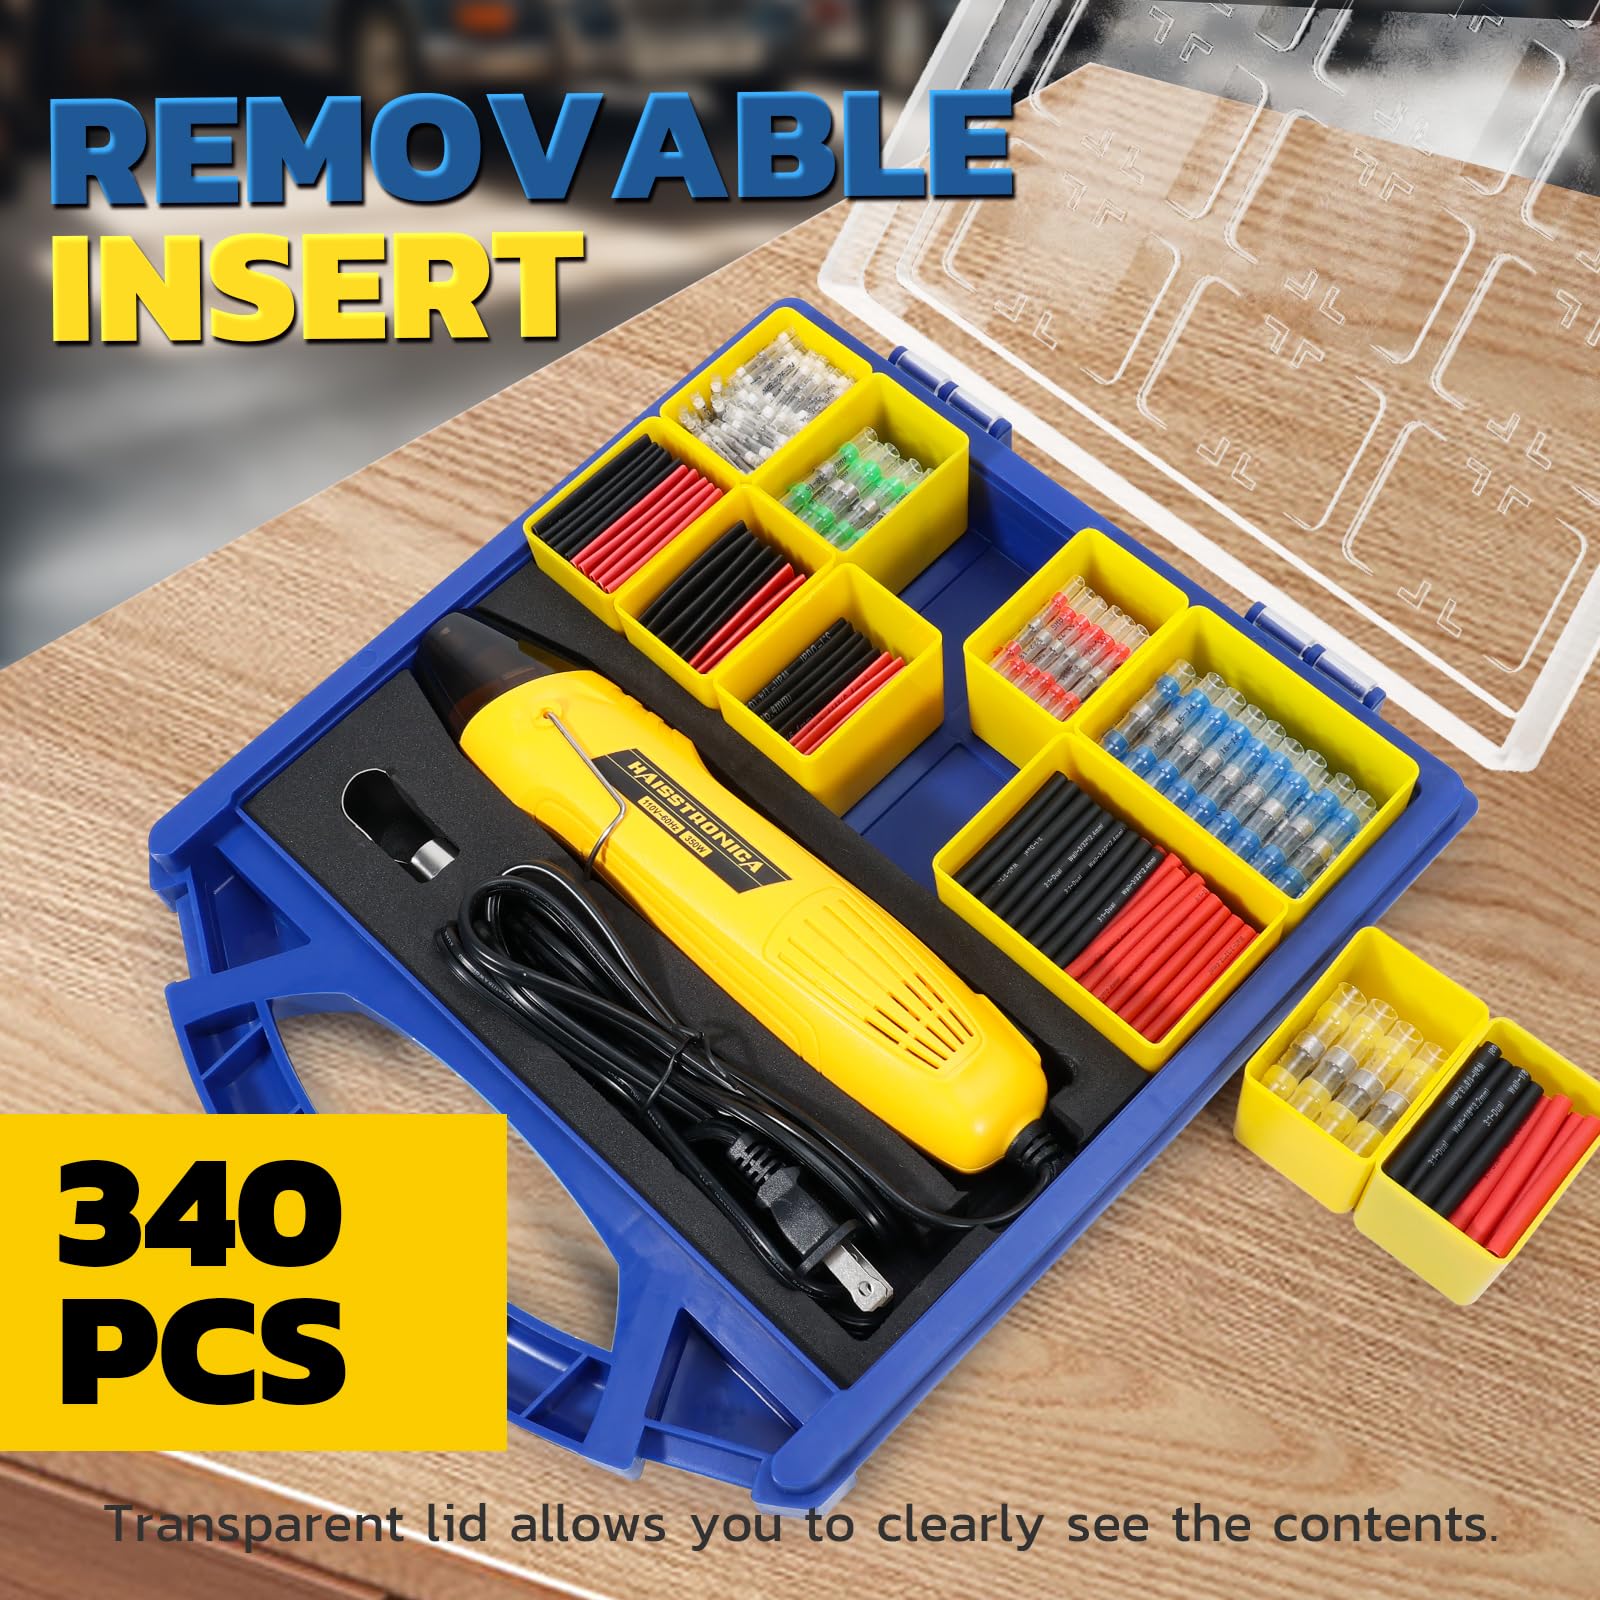
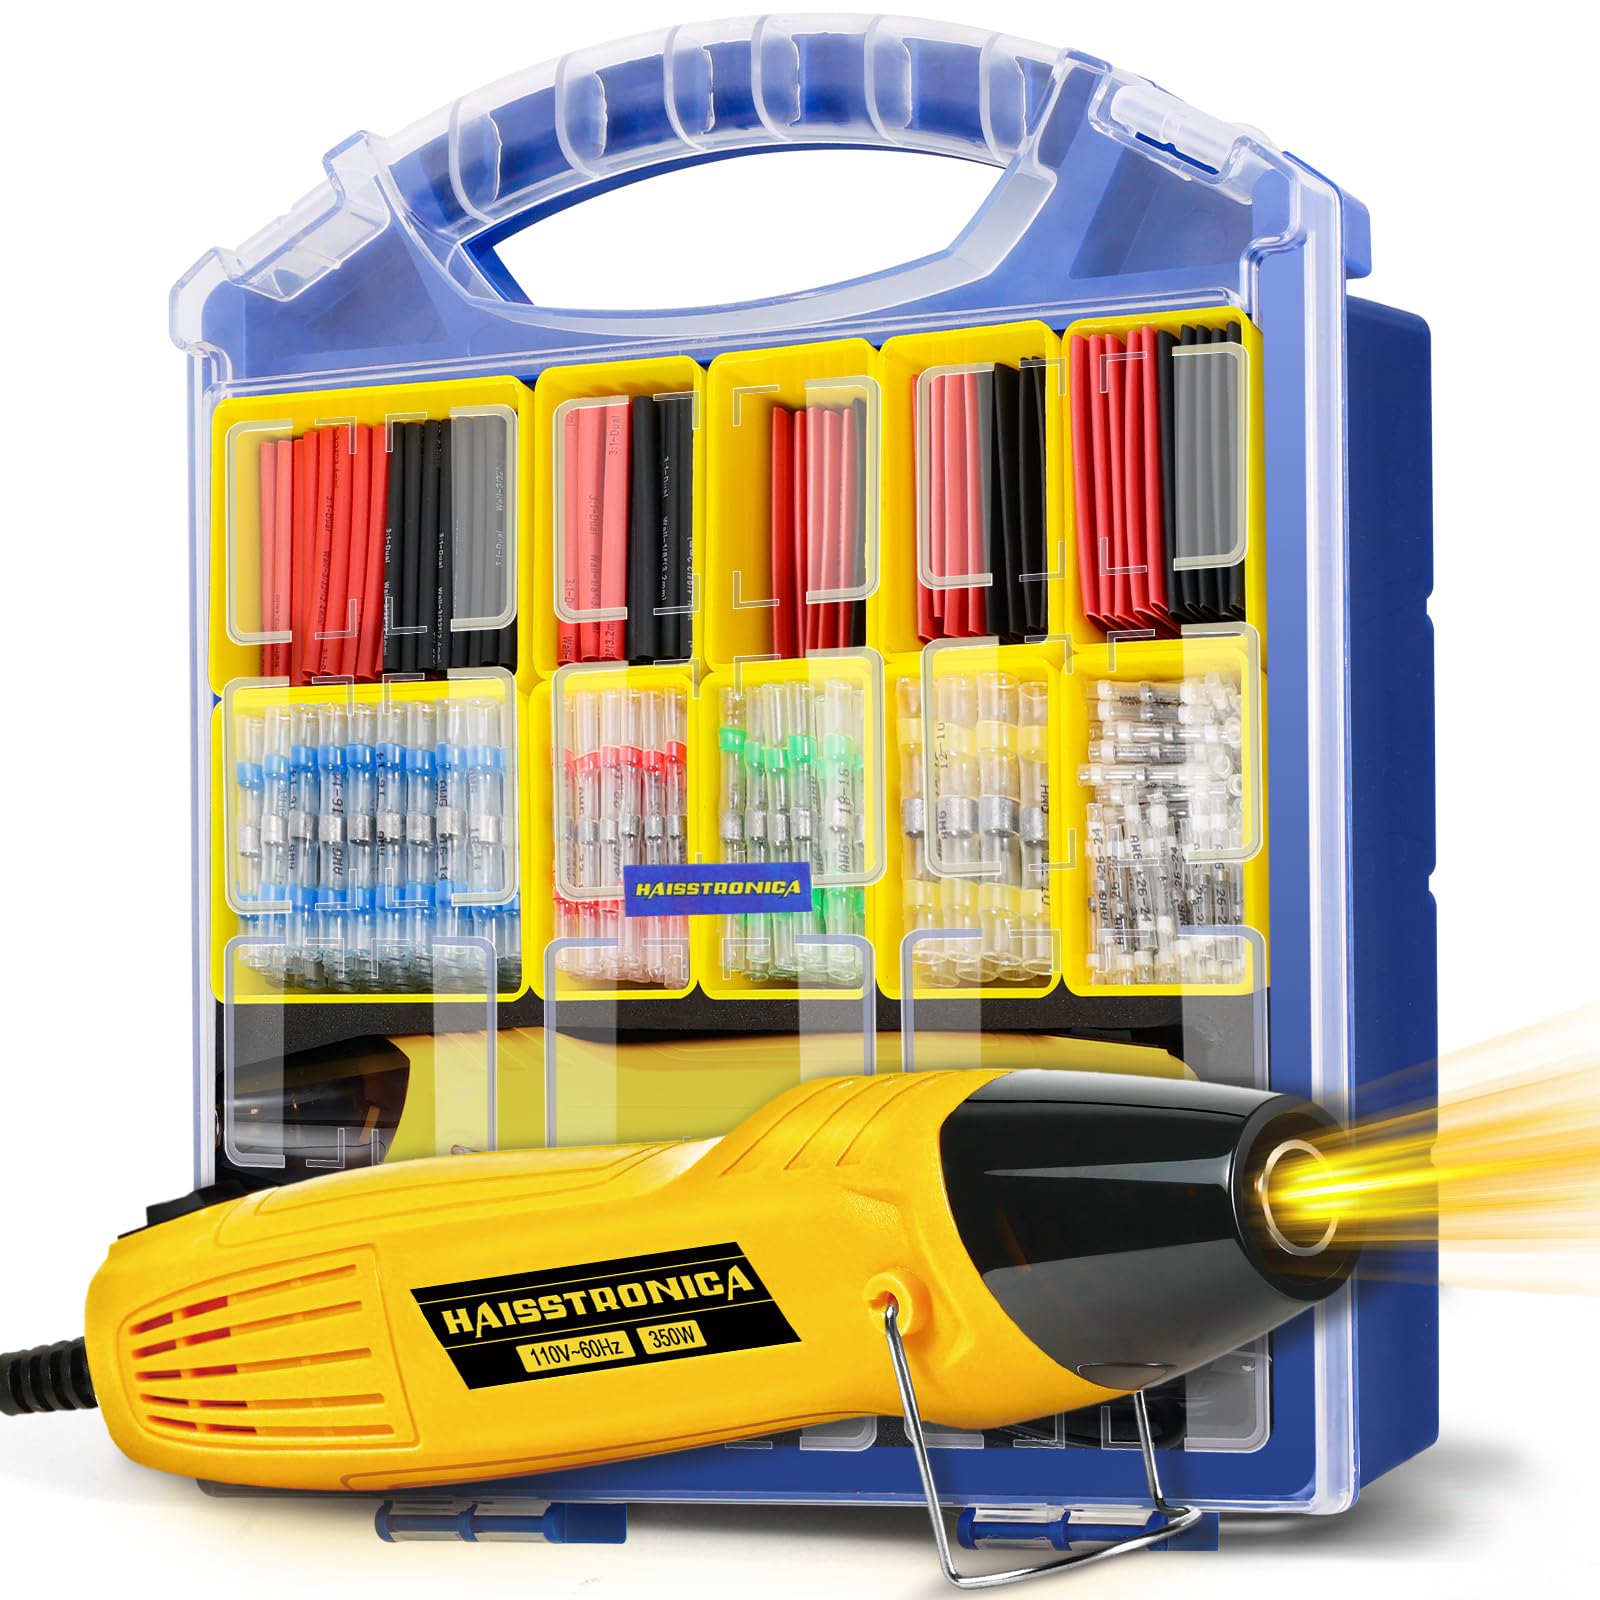
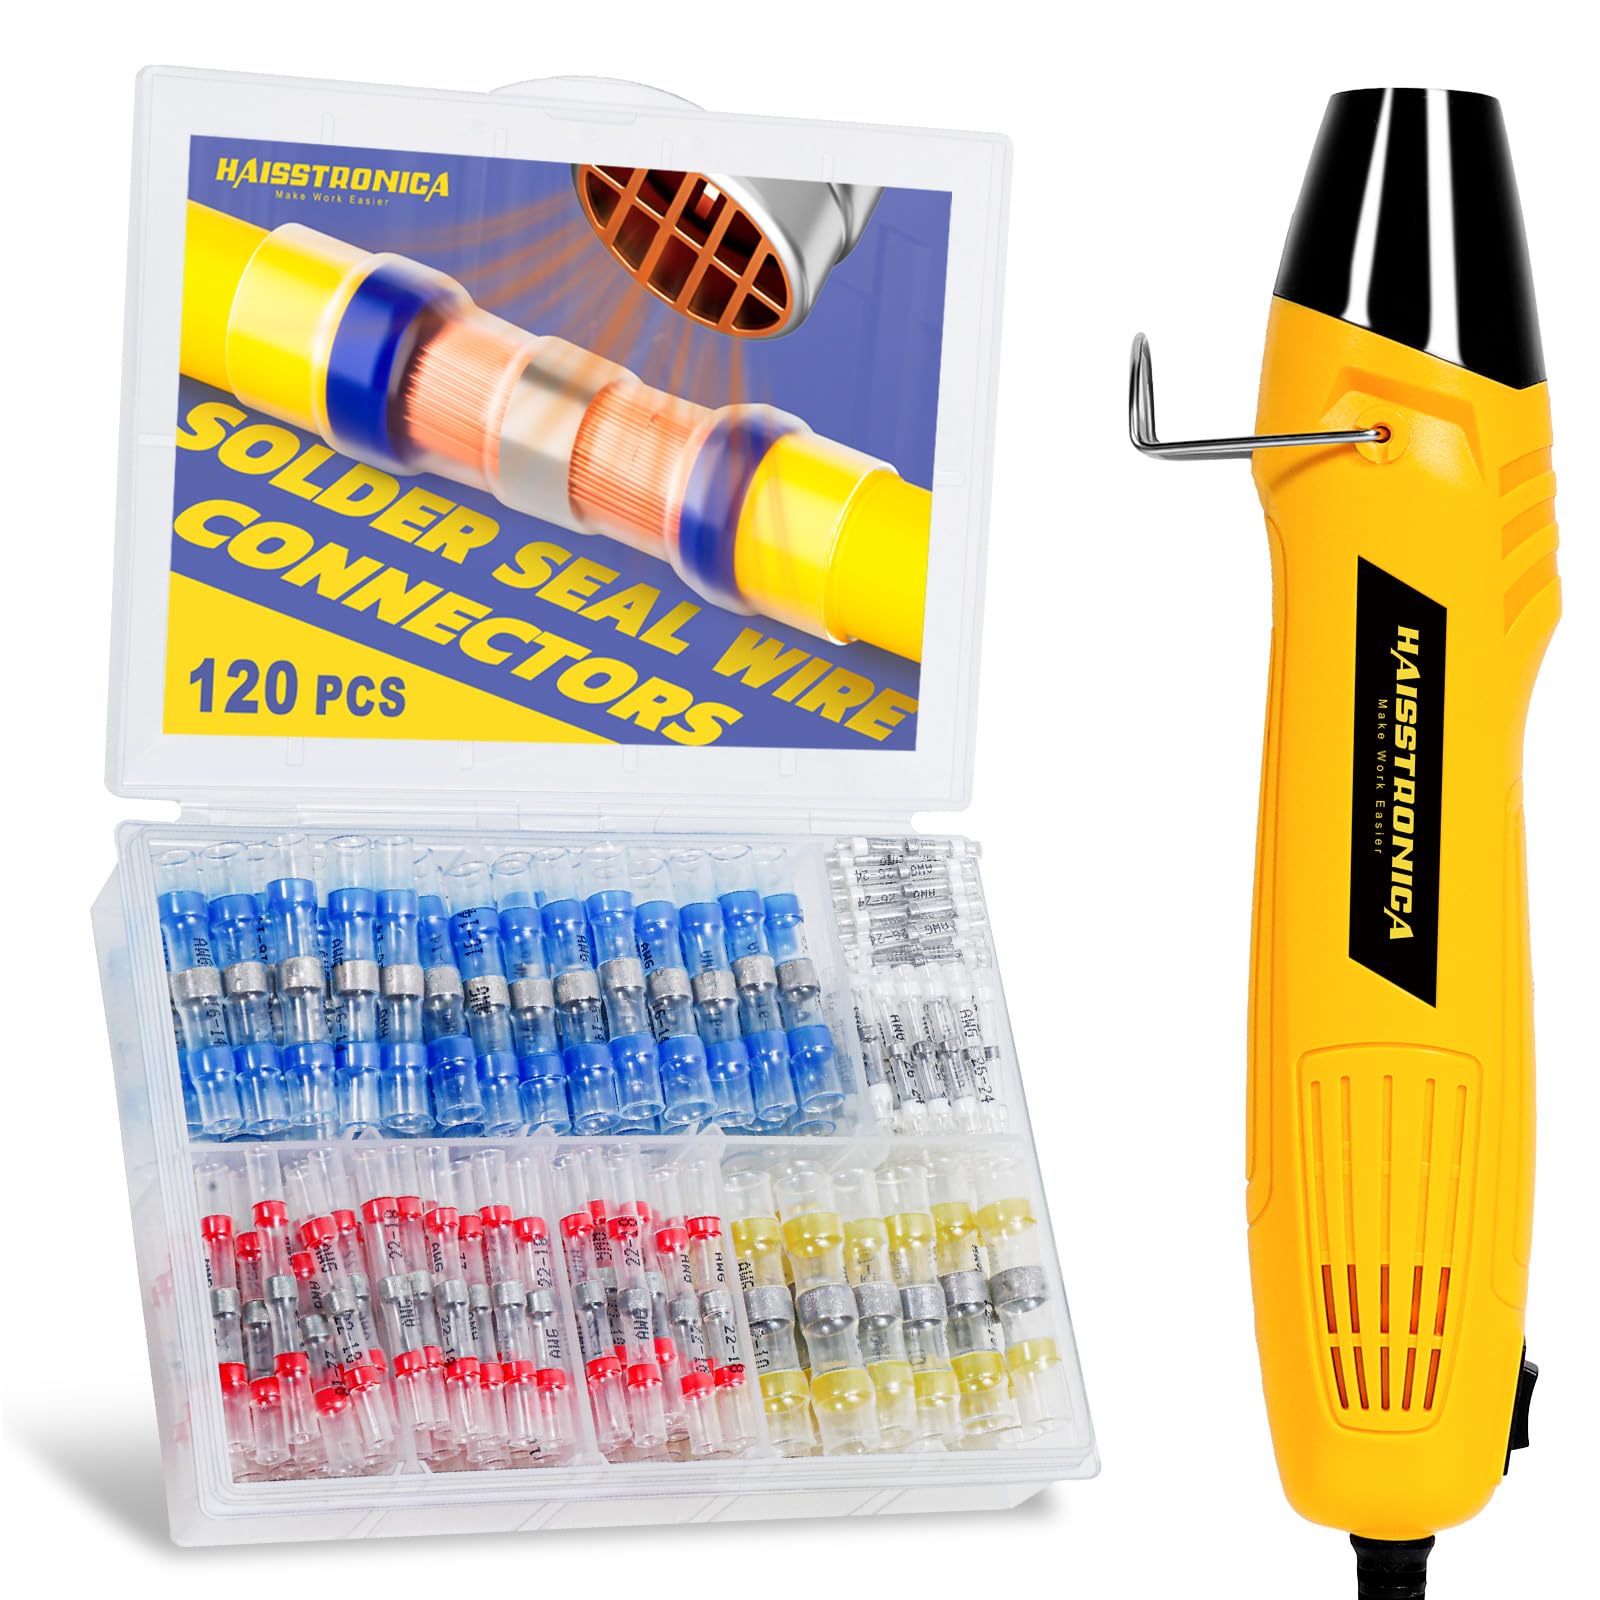
Solder-seal connector kit + controlled heat gun
Choose this route when a sleeve-style solder splice is allowed, the wire range matches and a crimper is unavailable or impractical. The tool is part of the system: uneven flame or uncontrolled heat can damage the sleeve before the solder has properly wetted the conductors.
- Strip cleanly and overlap the conductors inside the solder ring.
- Center the ring over the conductor overlap; keep strands inside the sleeve.
- Heat with controlled hot air while moving around the sleeve.
- Accept the splice only after solder flow, full recovery and adhesive sealing are visible.
Path 2 · vibration and repeat harness work
Heat-shrink butt connectors + matched ratchet crimper
Choose this route for repeatable mechanical splices where vibration, production consistency or inspection favors a crimped barrel. Match the connector color and conductor AWG to the die profile before starting.
- Insert each conductor fully until it reaches the barrel stop or center.
- Place the metal barrel—not the sleeve edge—in the correct die cavity.
- Complete the ratchet cycle and inspect the crimp impression.
- Pull-test first, then recover the sleeve from the center outward.
Tool selection follows the connector
Prepare the complete installation system
For solder-seal sleeves
Prepare a wire stripper, correctly sized sleeves and a controlled heat gun. Use a reflector or nozzle only if it helps distribute heat without concentrating it on one spot.
For solderless butt connectors
Prepare a wire stripper, matched heat-shrink butt connectors, a ratchet crimper with the correct die profile and a heat gun for the sealing step.
Support the finished splice so movement is not concentrated at either sleeve edge.
Verify both installation heat limits and the connector's rated operating temperature.
Match conductor AWG and insulation diameter; color alone is not a complete specification.
Reject exposed copper, split sleeves, scorched insulation, incomplete adhesive flow or a splice that fails a pull test.
Choose one complete splice path
Use the two independent routes below to avoid mixing a connector with the wrong installation tool.

Frequently asked questions
Buying soldering or solderless butt connectors
Are solder-seal butt connectors better than crimp connectors?
Not universally. Solder-seal sleeves reduce tool count for compatible inline repairs, while matched crimp connectors are easier to standardize for repeat work and high-vibration environments. The project specification and installation quality decide reliability.
Which connector is better outdoors?
Either can be suitable when the product is rated for the environment and installed correctly. Judge the connection method by vibration and tool access, then confirm the sleeve has fully recovered and adhesive has sealed both ends.
Do solderless butt connectors still need heat?
Heat-shrink butt connectors need mechanical crimping to create the electrical joint and controlled heat to recover the protective sleeve. The heat step seals the connection; it does not replace the crimp.
Can I use a lighter instead of a heat gun?
An open flame is difficult to control and can scorch insulation or recover the sleeve before the solder or adhesive is ready. Controlled hot air gives more even, repeatable heating.
Safety: de-energize the circuit before work. Follow the connector instructions, equipment-maker requirements and applicable vehicle, marine, aviation or electrical standards.