Qu'est-ce qu'un sertissage approprié ? — anatomie, normes, inspection (outil de sertissage à cliquet • pince à sertir à cliquet • pince à sertir les fils • outil de sertissage)
Un sertissage correct ne consiste pas à « presser jusqu'à obtenir un aspect plat ». Il s'agit d'une soudure à froid , étanche au gaz et mécaniquement solide, formée par la compression d'un fût de cosse autour d'un conducteur correctement dénudé, avec un profil de matrice spécialement conçu pour ce fût. Réalisé correctement, avec un outil de sertissage à cliquet calibré, une pince à sertir à cliquet de qualité ou une pince à sertir spécialement conçue, le joint atteint trois résultats essentiels :
-
Rétention mécanique : répond ou dépasse les exigences de traction du conducteur UL 486A-486B pour le calibre AWG et la borne spécifiés ; le fil ne doit pas se retirer avant que les brins eux-mêmes ne se cassent.
-
Performances électriques : faible résistance de contact à l'interface fil-barillet ; stable malgré les vibrations et les cycles de température ; micro-mouvement minimal pour éviter le frottement.
-
Résilience environnementale : si vous utilisez des connecteurs de fils thermorétractables ou des connecteurs bout à bout thermorétractables , le manchon doublé d'adhésif scelle l'humidité pour les conditions marines/sous le capot ; avec des bornes non scellées, un support d'isolation approprié empêche la fatigue par flexion.
Le « stack » de sertissage : sertissage du conducteur + support d’isolant
-
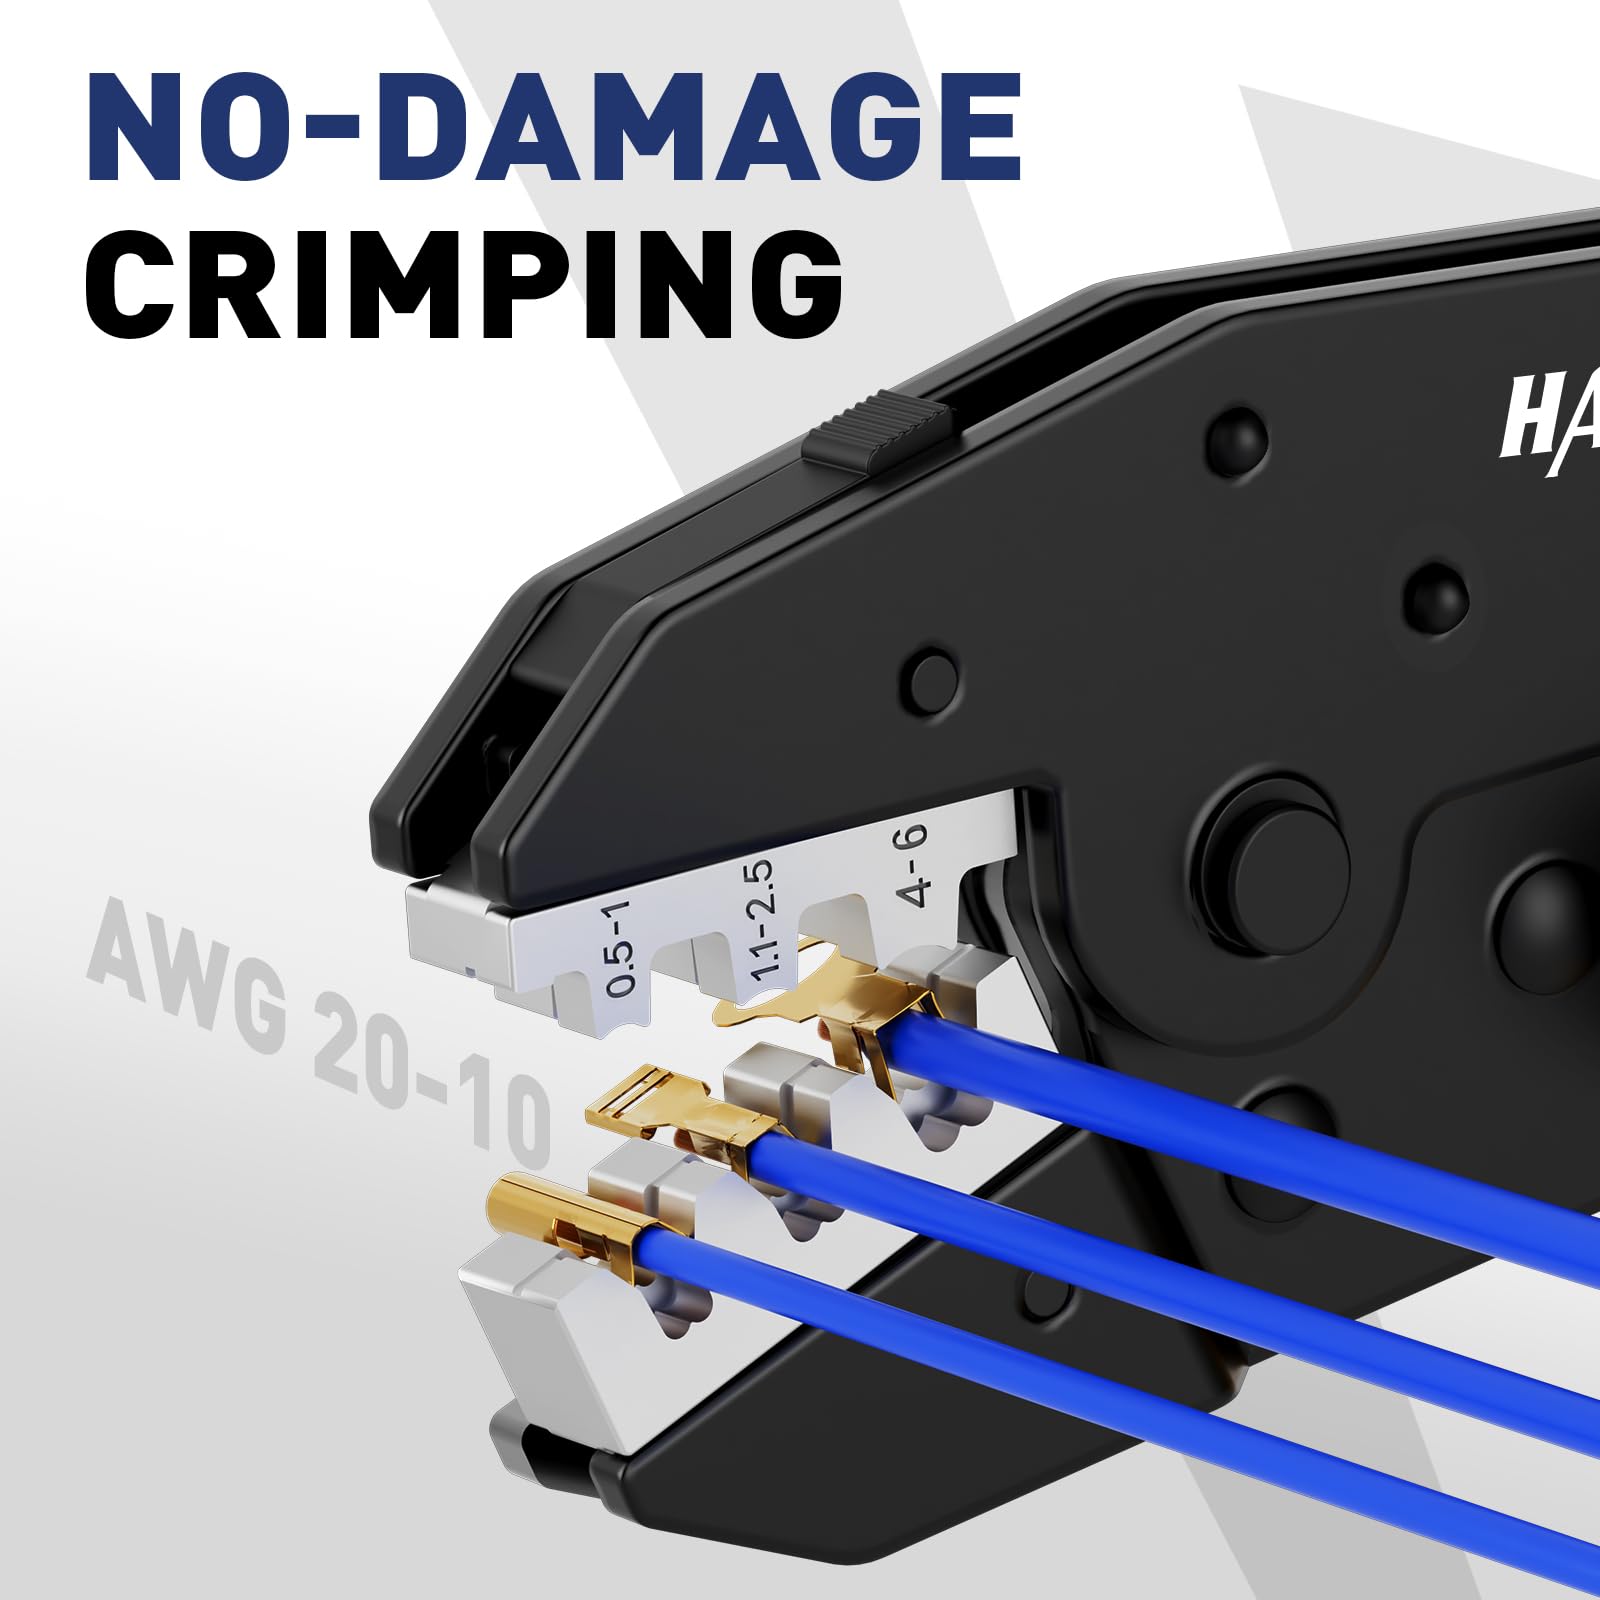
Sertissage du conducteur (face avant) : La matrice comprime les brins en un slug dense et homogène. La hauteur après sertissage (hauteur de sertissage) et la largeur sont contrôlées par la géométrie de la cavité de l'outil. C'est là que l' outil de sertissage (et non la pince) joue un rôle important : le sertissage du fil doit atteindre un taux de compression reproductible.
-
Support d'isolation (arrière) : compression plus légère qui serre la gaine et agit comme un réducteur de tension. De nombreuses pinces à sertir à cliquet disposent d'une seconde cavité prévue à cet effet.
Normes à connaître (et pourquoi elles existent)
-
UL 486A-486B : Bornes et épissures pour conducteurs en cuivre — essais de traction, élévation de température.
-
IPC/WHMA-A-620 : Acceptabilité des assemblages de câbles/faisceaux de fils — classes de fabrication et critères d'inspection.
-
NASA-STD-8739.4 et directives de fabrication : bonnes références pour la géométrie de sertissage, l'inspection et les défauts courants.
-
ABYC E-11 (marine) : Systèmes électriques sur les bateaux — prescrit les connecteurs électriques marins et les stratégies d'étanchéité pour les environnements de cale/salés.
Contrôles visuels et physiques d'un sertissage correct
-
Achèvement du cycle complet : un mécanisme à cliquet de sertissage se verrouille jusqu'à ce que la matrice atteigne la hauteur de sertissage conçue.
-
Aucun conducteur exposé au-delà des spécifications ; aucun brin entaillé ou évasé avant le sertissage d'un fil .
-
La déformation du canon correspond aux spécifications du terminal (par exemple, « sertissage B », « sertissage F », hexagonal ou ovale).
-
Test de traction (contrôle informel en atelier) : le fil doit tenir sans mouvement ; pour les constructions critiques, utilisez un dynamomètre selon le tableau UL.
-
Pas de scintillement brusque qui pourrait couper l'isolant ; pas de décoloration due à un sertissage excessif.
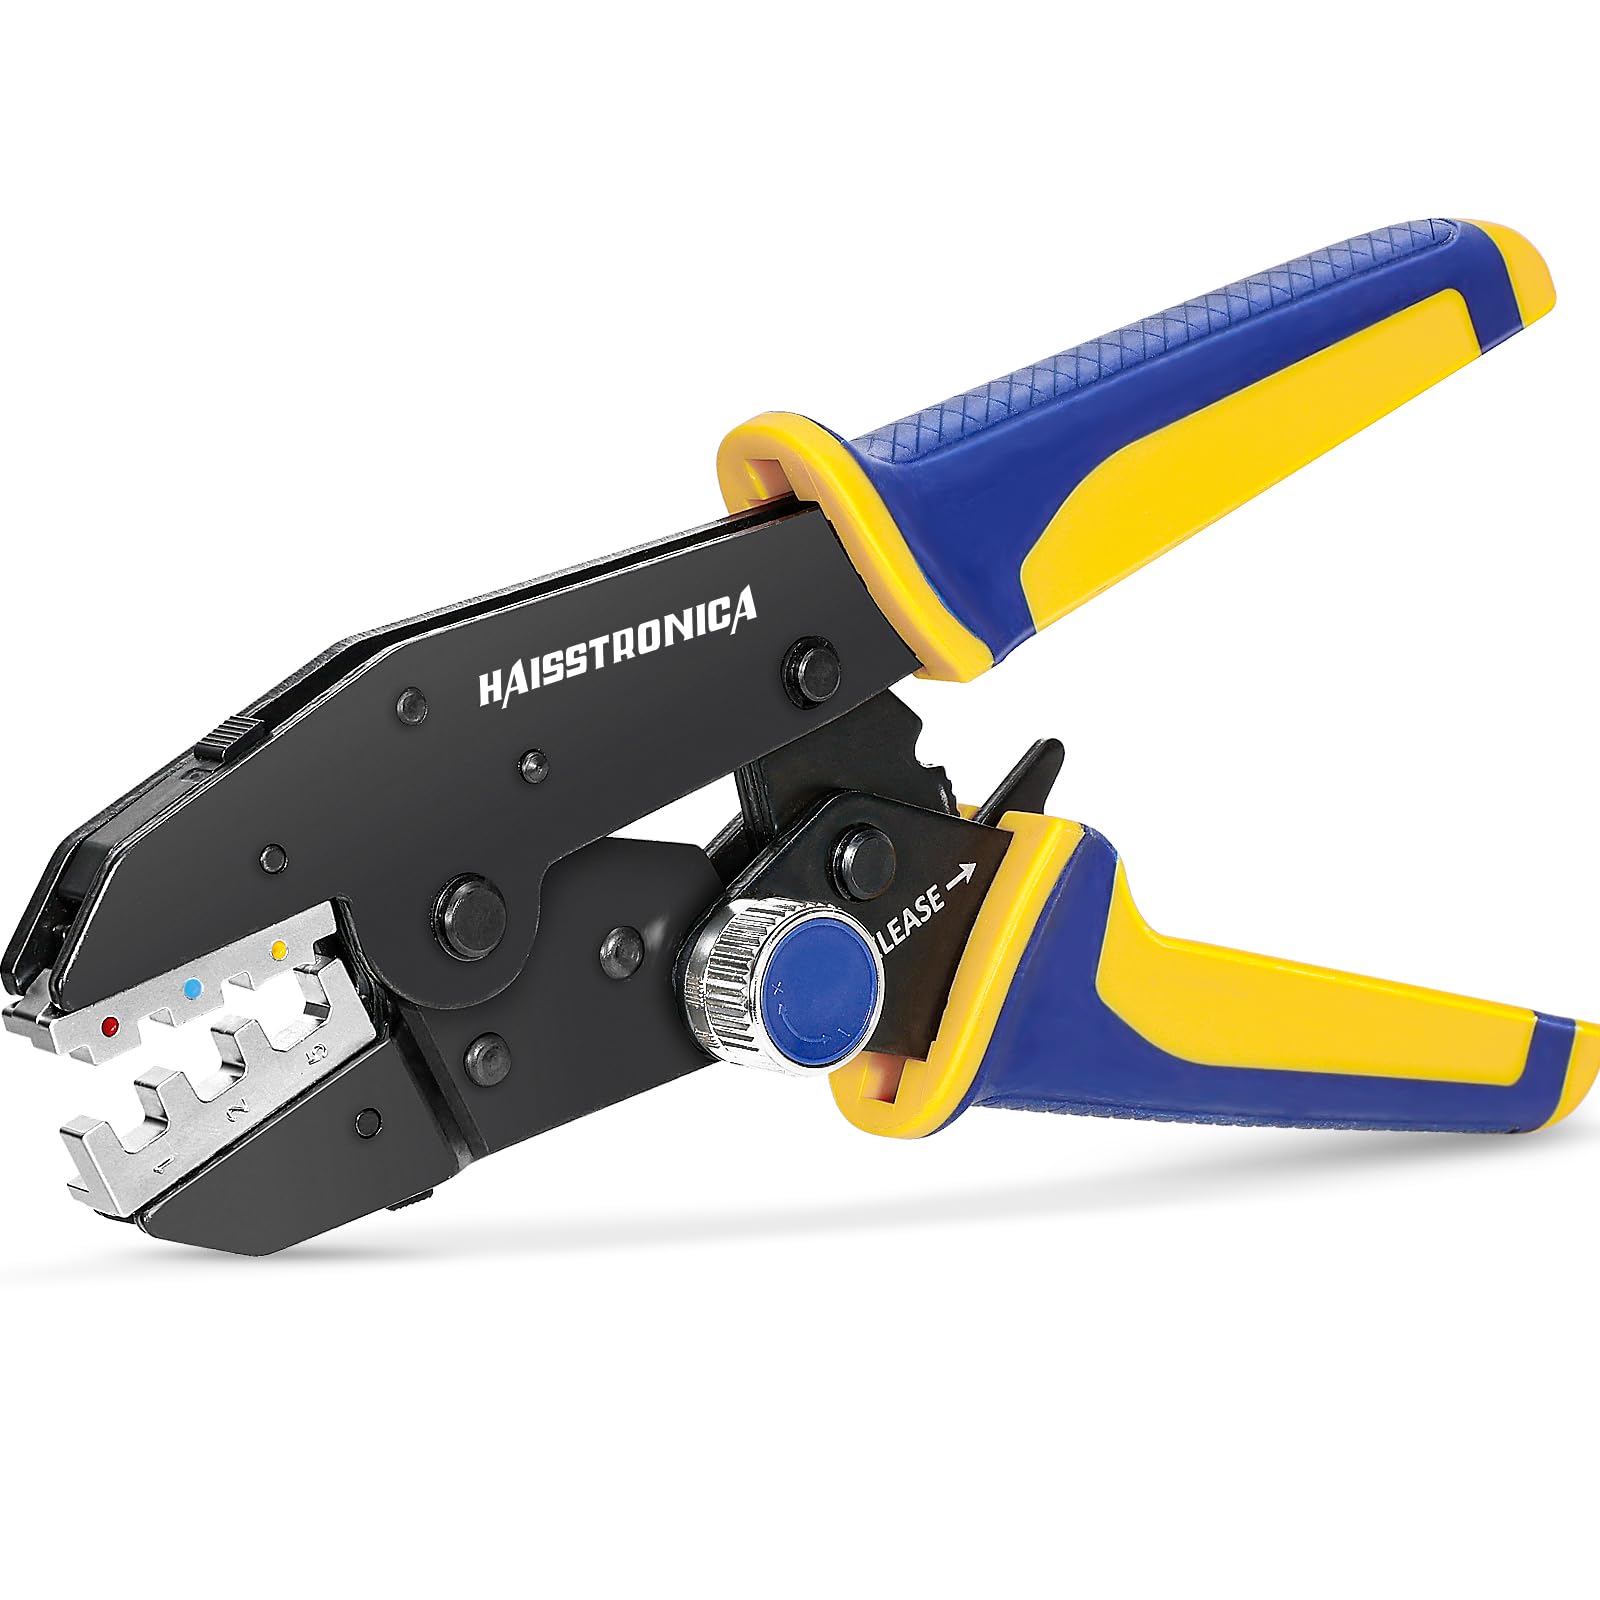
Appel à l'action : Si vous construisez ou réparez des faisceaux de câbles, obtenez des résultats reproductibles avec l' outil à cliquet de sertissage Haisstronica pour bornes thermorétractables AWG 22-10

Pourquoi les pinces ordinaires échouent — géométrie, courbe de force, sécurité (outil à cliquet de sertissage • pince à sertir à cliquet • pince à sertir les fils • outil de sertissage)
« Ne puis-je pas simplement le pincer avec une pince ? » Réponse courte : non , pas si vous recherchez la fiabilité, la conformité ou la sécurité. Les pinces classiques (même les pinces-étaux) ne possèdent pas la géométrie de la matrice , la force contrôlée et le cliquet à cycle complet qu'offrent une pince à sertir à cliquet , une pince à sertir à cliquet ou une pince à sertir standard. Voici ce qui peut poser problème :
1) Mauvaise géométrie = mauvaise métallurgie
Les sertissages sont des déformations artificielles. Le corps et la matrice sont conçus comme un système permettant de compresser les brins en une masse dense. Les pinces créent des charges ponctuelles et des méplats irréguliers, créant des vides propices à l'oxydation. Au lieu d'une interface étanche aux gaz, on obtient une jonction à haute résistance qui peut chauffer sous charge. Résultat : un sertissage défectueux se faisant passer pour une connexion.
2) Pas de contrôle du cycle complet → sous-sertissage ou sur-sertissage
Un cliquet pour outil de sertissage assure un cycle complet ; les pinces s'appuient sur la sensation de votre main.
-
Sous-serti : le fil se détache, forme un arc ou se déconnecte par intermittence pendant les vibrations.
-
Sur-sertissage : coupe les brins, fissure les barils et crée des zones de contrainte ; augmente la résistance et la chaleur.
3) Retour élastique et incohérence
Les métaux reprennent leur forme après compression. Les matrices des pinces à sertir à cliquet sont dimensionnées pour tenir compte de ce phénomène, contrairement aux pinces. Deux compressions « identiques » produisent deux résultats différents, ce qui est inacceptable pour des faisceaux de câbles de qualité.
4) Implications en matière de sécurité et de code
Une résistance élevée implique une chute de tension , une augmentation de la température et un risque potentiel d'incendie . Des joints de mauvaise qualité peuvent enfreindre les conditions d'homologation UL et les exigences de fabrication (IPC/WHMA), ce qui peut entraîner l'annulation des garanties ou l'échec des inspections.
5) L'environnement amplifie les défauts
En utilisation marine, sous le capot ou en extérieur, l'humidité et le sel accélèrent la corrosion dans les espaces vides. C'est pourquoi nous combinons une gaine thermorétractable étanche à une compression adéquate à l'aide d'une pince à sertir à cliquet et, si nécessaire, de connecteurs électriques marins .
Symptômes sur le terrain des « sertissages » à la pince
-
Connecteurs chauds ou chauds sous charge
-
Accessoires intermittents, codes de capteurs, lumières tamisées
-
Corrosion verte/noire rampante provenant des barils
-
Des fils qui se détachent pendant l'entretien
À retenir : une pince peut maintenir deux pièces métalliques ensemble ; elle ne permet pas un sertissage précis . Utilisez un outil de sertissage à cliquet , une pince à sertir à cliquet ou un outil de sertissage spécialisé adapté au type de cosse.
Appel à l'action : Oubliez les pinces ! Optez pour un kit de sertissage à cliquet Haisstronica avec cosses isolées (AWG 22–10) et évitez les pannes.
Les bons outils et leurs assortiments — bornes, matrices et environnements (outil à cliquet de sertissage • pince à sertir à cliquet • pince à sertir les fils • outil de sertissage)
Le moyen le plus rapide d'obtenir un travail fiable est d' associer l'outil, la matrice et la famille de bornes. Vous trouverez ci-dessous une carte testée sur le terrain pour choisir la pince à sertir / les pinces à sertir / l'outil de sertissage adapté à chaque tâche et pour sertir un fil qui reste fixé pendant toute la durée de vie de l'équipement.
A) Cosses à anneau/fourche/bêche/bouton isolées (vinyle/nylon/thermorétractable)
-
Outil : Pince à sertir les fils à cliquet à usage général (également appelée outil de sertissage de fils à cliquet ) avec cavités à code couleur pour le rouge/bleu/jaune (22–10 AWG).
-
Quand utiliser : Automobile, appareils électroménagers, équipement général.
-
Pro move : Privilégiez les connecteurs de fils thermorétractables / connecteurs bout à bout thermorétractables avec adhésif ; ils se ferment automatiquement après chauffage, parfaits pour les éclaboussures, le brouillard salin ou les projections de la route.
-
À faire : Dénuder selon les spécifications ; insérer jusqu'à ce que l'isolant soit en contact avec le manchon métallique ; sertir d'abord le conducteur, puis le support d'isolant (si disponible).
-
Ne pas : mélanger les formes de matrices ; si la cavité de votre outil de sertissage de fil ne correspond pas au profil du canon, changez d'outil.
B) Bornes à barillet ouvert (également appelées F-crimp) et connecteurs OEM
-
Outil : Pince à sertir à cliquet pour bornes non isolées / pince à sertir à cliquet avec la matrice de sertissage F appropriée ; beaucoup sont étiquetés par largeur de languette ou par série.
-
Quand utiliser : Boîtiers de connecteurs automobiles/industriels (fiches de capteurs, cosses à lames).
-
À faire : utilisez la longueur de dénudage du fabricant de la borne ; repliez les languettes sur le conducteur et l'isolant séparément à l'aide d'une pince à sertir à cliquet .
-
À ne pas faire : utiliser de pinces, jamais. Les ailettes du corps sont conçues pour un profil de sertissage à cliquet spécifique.
C) Ferrules pour constructions de panneaux/PLC/IEC
-
Outil : Pince à sertir les viroles avec matrices carrées ou hexagonales pour correspondre aux borniers.
-
Quand utiliser : Panneaux de commande, variateurs de fréquence (VFD), fil à brins fins se plaçant sous les vis.
-
Avantage : Empêche l'écartement des brins et l'écoulement à froid ; améliore la cohérence des terminaisons ; de nombreux inspecteurs préfèrent les ferrules pour les blocs métriques.
D) Grosses cosses (démarreur, onduleur, batterie, treuil)
-
Outil : Pour les calibres 6 AWG et plus, optez pour une pince à sertir hexagonale / à empreinte / hydraulique ou des modèles à empreinte sans matrice adaptés à la cosse que vous utilisez.
-
Quand utiliser : câbles de démarrage, parcs de batteries solaires, sorties d'onduleurs, batteries de bateaux.
-
Solution professionnelle : utilisez des cosses en cuivre étamé et un film thermorétractable adhésif pour la protection contre la corrosion.
E) Environnements marins et difficiles
-
Outil : identique à A ou D, mais à combiner avec des conducteurs thermorétractables étanches et étamés.
-
Quand utiliser : Tout endroit exposé au brouillard salin, cale, pont ou compartiment moteur.
-
À faire : utilisez des connecteurs électriques marins et des gaines thermorétractables doublées d'adhésif ; sertissez avec une pince à sertir à cliquet pour garantir la compression ; puis chauffez pour activer l'adhésif.
F) Alignement des spécialités et des normes
-
UL/IPC/NASA : Suivez les spécifications d'application du fabricant du terminal (notes de sertissage du connecteur , instructions de sertissage des connecteurs de bornes ).
-
Inspection : Pour les faisceaux critiques, mesurez la hauteur de sertissage avec des pieds à coulisse et effectuez des tests de traction périodiques.
-
Documentation : Capture du modèle d'outil, de la matrice, des numéros de lot ; ceci est courant dans l'aérospatiale/le médical pour la traçabilité.
Flux de travail éprouvé et sans échec (enregistrement et partage)
-
Identifiez la famille de bornes. (Bout isolé ? Corps ouvert ? Virole ? Cosse ?)
-
Sélectionnez la cavité de matrice correspondante sur votre outil de sertissage à cliquet / outil de sertissage de fil à cliquet / outil de sertissage de fil .
-
Longueur de dénudage selon les spécifications ; aucune entaille ; torsadez uniquement si les spécifications l'indiquent (la plupart des sertissages supposent des brins non torsadés).
-
Sertir le conducteur jusqu'à ce qu'il soit complètement libéré (le cliquet de l'outil de sertissage doit s'enclencher).
-
Support d'isolation à sertir si présent.
-
Sceller avec du film thermorétractable (avec adhésif dans les zones humides).
-
Vérification : test de traction ; vérification rapide de la résistance sur le joint si vous disposez d'un micro-ohmmètre.

Conclusion — la voie à suivre sûre et conforme aux normes
Vous pouvez tout à fait pincer un connecteur avec une pince, et vous ne devriez absolument pas le faire . Un sertissage conforme est un procédé de formage de précision : assemblage de la matrice, du corps et du fil, réalisé à une hauteur de sertissage contrôlée à l'aide d'un outil de sertissage à cliquet , d'une pince à sertir à cliquet ou d'une pince à sertir de fil correctement spécifiée. Cette combinaison produit un joint étanche au gaz et résistant aux vibrations, qui reste froid sous charge et résiste à l'humidité, au sel et à la chaleur. Qu'il s'agisse de raccorder une pompe de cale, un capteur de compartiment moteur, un combinateur solaire ou un projet domestique avec des connecteurs bout à bout thermorétractables , la formule est la même : la bonne borne, le bon outil de sertissage et la bonne procédure.