Most crimp failures are decided before the handles are squeezed. The wrong connector, die, strip length, or sealing plan can make a connection unreliable even when the crimp looks acceptable. Use this guide as a pre-crimp prevention checklist: complete the seven checks in order before you cut or strip the first wire.
BEFORE YOU CRIMP
The 7-point prevention checklist
□ 1. Connector type and die profile match
□ 2. Wire AWG and connector size match
□ 3. Strip length is set before cutting
□ 4. Bare conductor will seat fully
□ 5. Full ratchet cycle is possible
□ 6. Visual and pull tests are planned
□ 7. Sealing tools are ready if needed
1. Starting With the Wrong Crimping Tool or Die
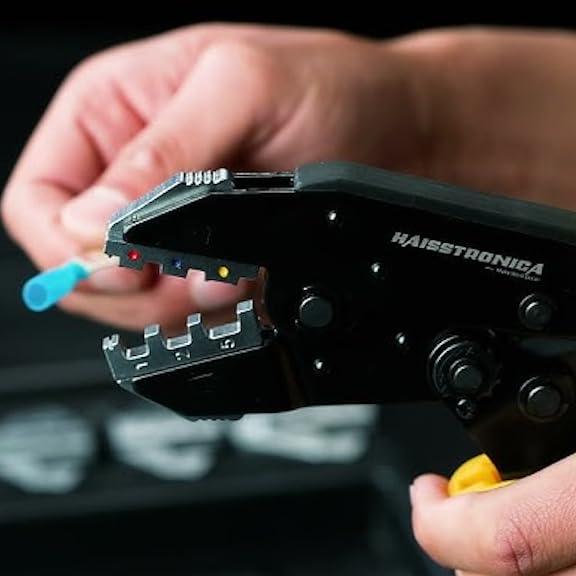
The first prevention decision is not “Which tool is nearby?” It is which die shape matches the connector barrel. Insulated terminals, heat-shrink terminals, open-barrel pins, ferrules, and battery lugs require different crimp profiles. A tool can cover the correct AWG range and still produce a bad crimp if its die shape is wrong.
Prevent it before starting: identify the connector family, confirm the supported AWG range, and compare the die profile with the connector barrel. For standard heat-shrink terminals in AWG 22–10, a matched ratcheting crimper provides repeatable pressure and prevents early release.

2. Choosing the Wrong Wire Gauge or Connector Size
An oversized connector may feel secure at first but can loosen under vibration. An undersized connector can crush strands, restrict insertion, and create excess resistance. Never choose a terminal by color alone when the wire gauge is unknown.
Prevent it before starting: read the wire marking, verify the AWG with a gauge if necessary, and select a connector whose stated range includes that wire. For common insulated and heat-shrink terminals, red is generally AWG 22–16, blue AWG 16–14, and yellow AWG 12–10—but always check the product specification.

3. Stripping Too Much, Too Little, or Nicking the Strands
Strip length determines where the crimp force lands. Too little exposed copper leaves the conductor outside the crimp zone. Too much leaves bare wire exposed beyond the terminal. Nicked strands reduce both mechanical strength and current capacity.
Prevent it before starting: use the connector barrel as the length reference, set the stripper stop if available, and test the setting on one scrap piece of the same wire. The conductor should fill the metal barrel without insulation entering the conductor crimp zone.

4. Crimping Before the Wire Is Fully Seated
A connector can be the correct size and still fail if the conductor is only partly inside the barrel. The crimp may compress an empty section or catch the insulation instead of the copper.
PREVENT IT · CHECK BEFORE SQUEEZING
Insert until the insulation reaches the barrel stop
Confirm the copper is visible through the inspection window or at the barrel end. Keep the wire straight and hold it in position while closing the die. If the strands bunch, fold, or stop short, remove the wire and prepare a fresh end.
5. Applying Incomplete or Uneven Crimp Pressure
Stopping halfway creates an under-crimp that can pass a quick continuity check but fail under load or vibration. Crushing the terminal with excessive or uneven force can damage strands and insulation. Both problems usually come from hand feel, the wrong cavity, or a tool that releases too early.
PREVENT IT · COMPLETE ONE FULL CYCLE
Use the correct cavity and let the ratchet release itself
Do not open the tool early. If repeated crimps are too loose or too tight, stop and verify the die, AWG range, and tension setting before continuing.
Use repeatable ratchet pressure →6. Skipping the Visual Inspection and Pull Test
A crimp is not complete when the tool opens. It is complete when the connection passes inspection. Skipping this step allows reversed terminals, exposed copper, cracked insulation, loose conductors, and incomplete crimps to enter the finished harness.
30-SECOND QUALITY CHECK
✓ Correct terminal orientation
✓ No loose or cut strands
✓ No excess bare copper
✓ Firm pull test passed
If any item fails, cut off the terminal and redo the connection. Do not squeeze the same damaged terminal again; its barrel and insulation have already been deformed.
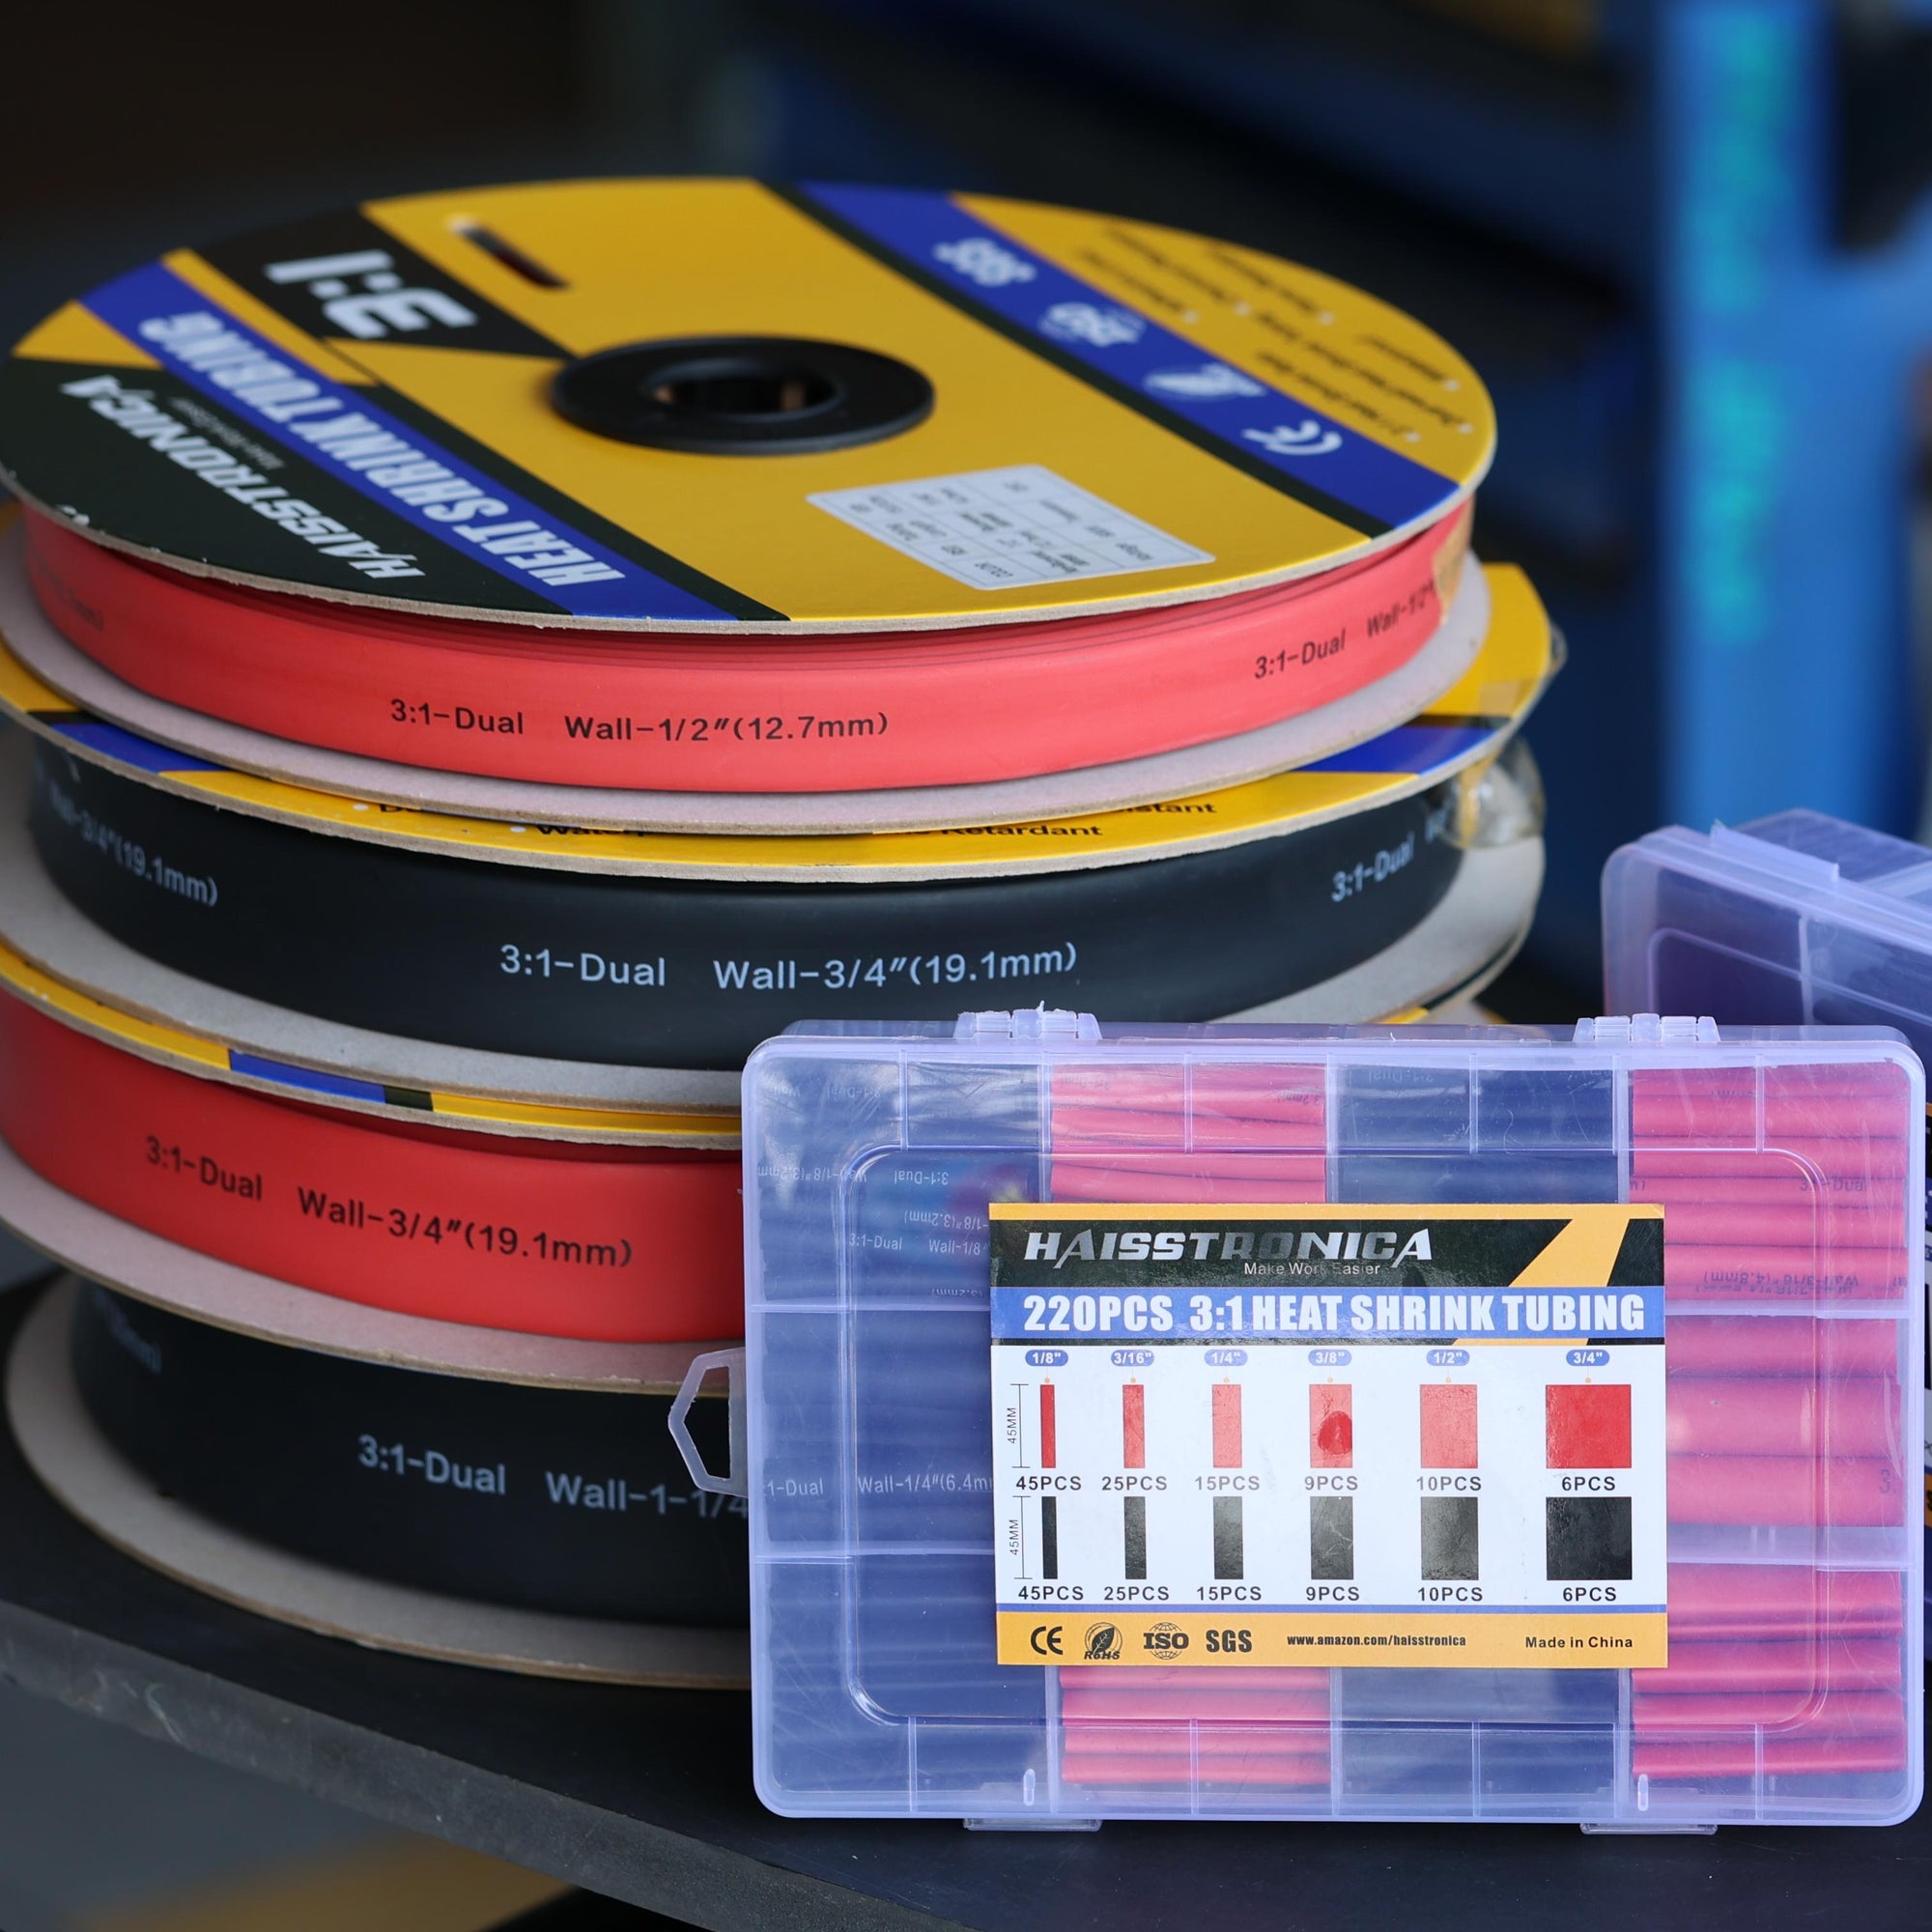
7. Planning the Crimp but Not the Waterproof Seal
Automotive, marine, RV, motorcycle, and outdoor wiring require moisture protection and strain relief. Adding heat shrink after the harness is assembled may be impossible, and using an open flame can scorch insulation or shrink the tubing unevenly.
Prevent it before starting: choose adhesive-lined heat-shrink connectors before cutting the wire, leave enough working space around the joint, and have a controlled heat source ready. Heat from the center outward until the tubing conforms evenly and adhesive appears at the edges.

Quick FAQ: Preventing Bad Crimps
Can I use regular pliers if I only need one crimp?
No. Pliers flatten the barrel instead of applying the controlled die profile required for a gas-tight, mechanically secure connection. Use a crimper matched to the connector type.
How much insulation should I strip?
Match the exposed conductor length to the metal barrel. The copper should fill the conductor crimp zone without leaving excess bare wire outside the connector.
How do I know a crimp is good before installing it?
Confirm the connector size and orientation, inspect for damaged strands or insulation, and perform a firm pull test. For sealed connections, also verify that the tubing has shrunk evenly and adhesive has sealed both wire entry points.