Crimp vs solder decision guide
Choose the connection first—then choose the tool
A crimping tool and a soldering iron are not competing answers to one question. They create different joint geometries. Start with the connector, the project environment and the governing specification; then choose the method that can be installed and inspected correctly.
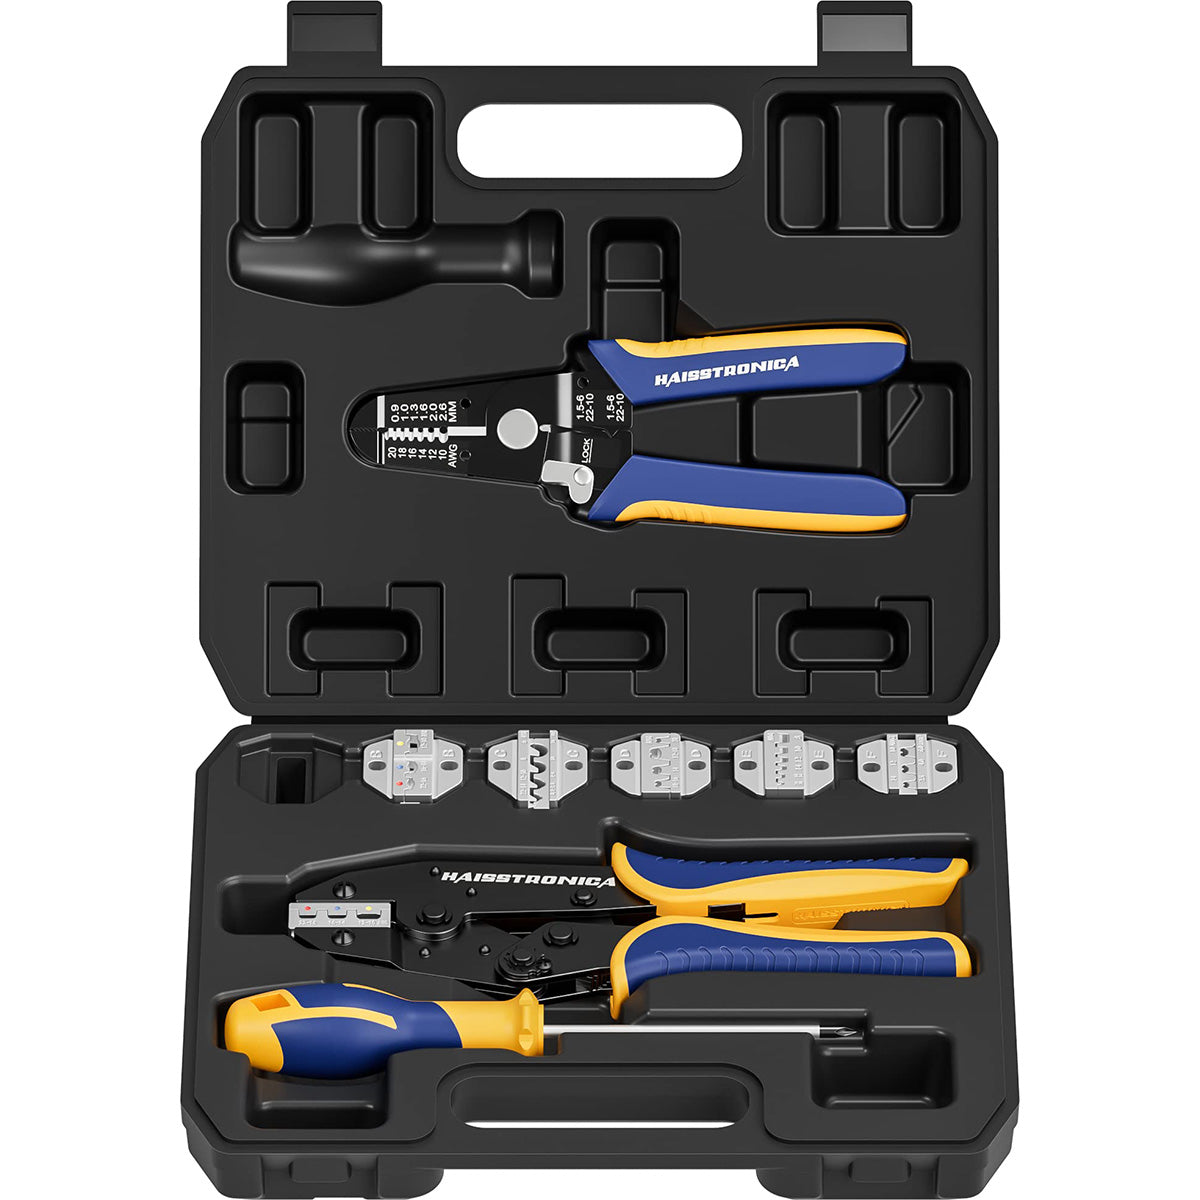
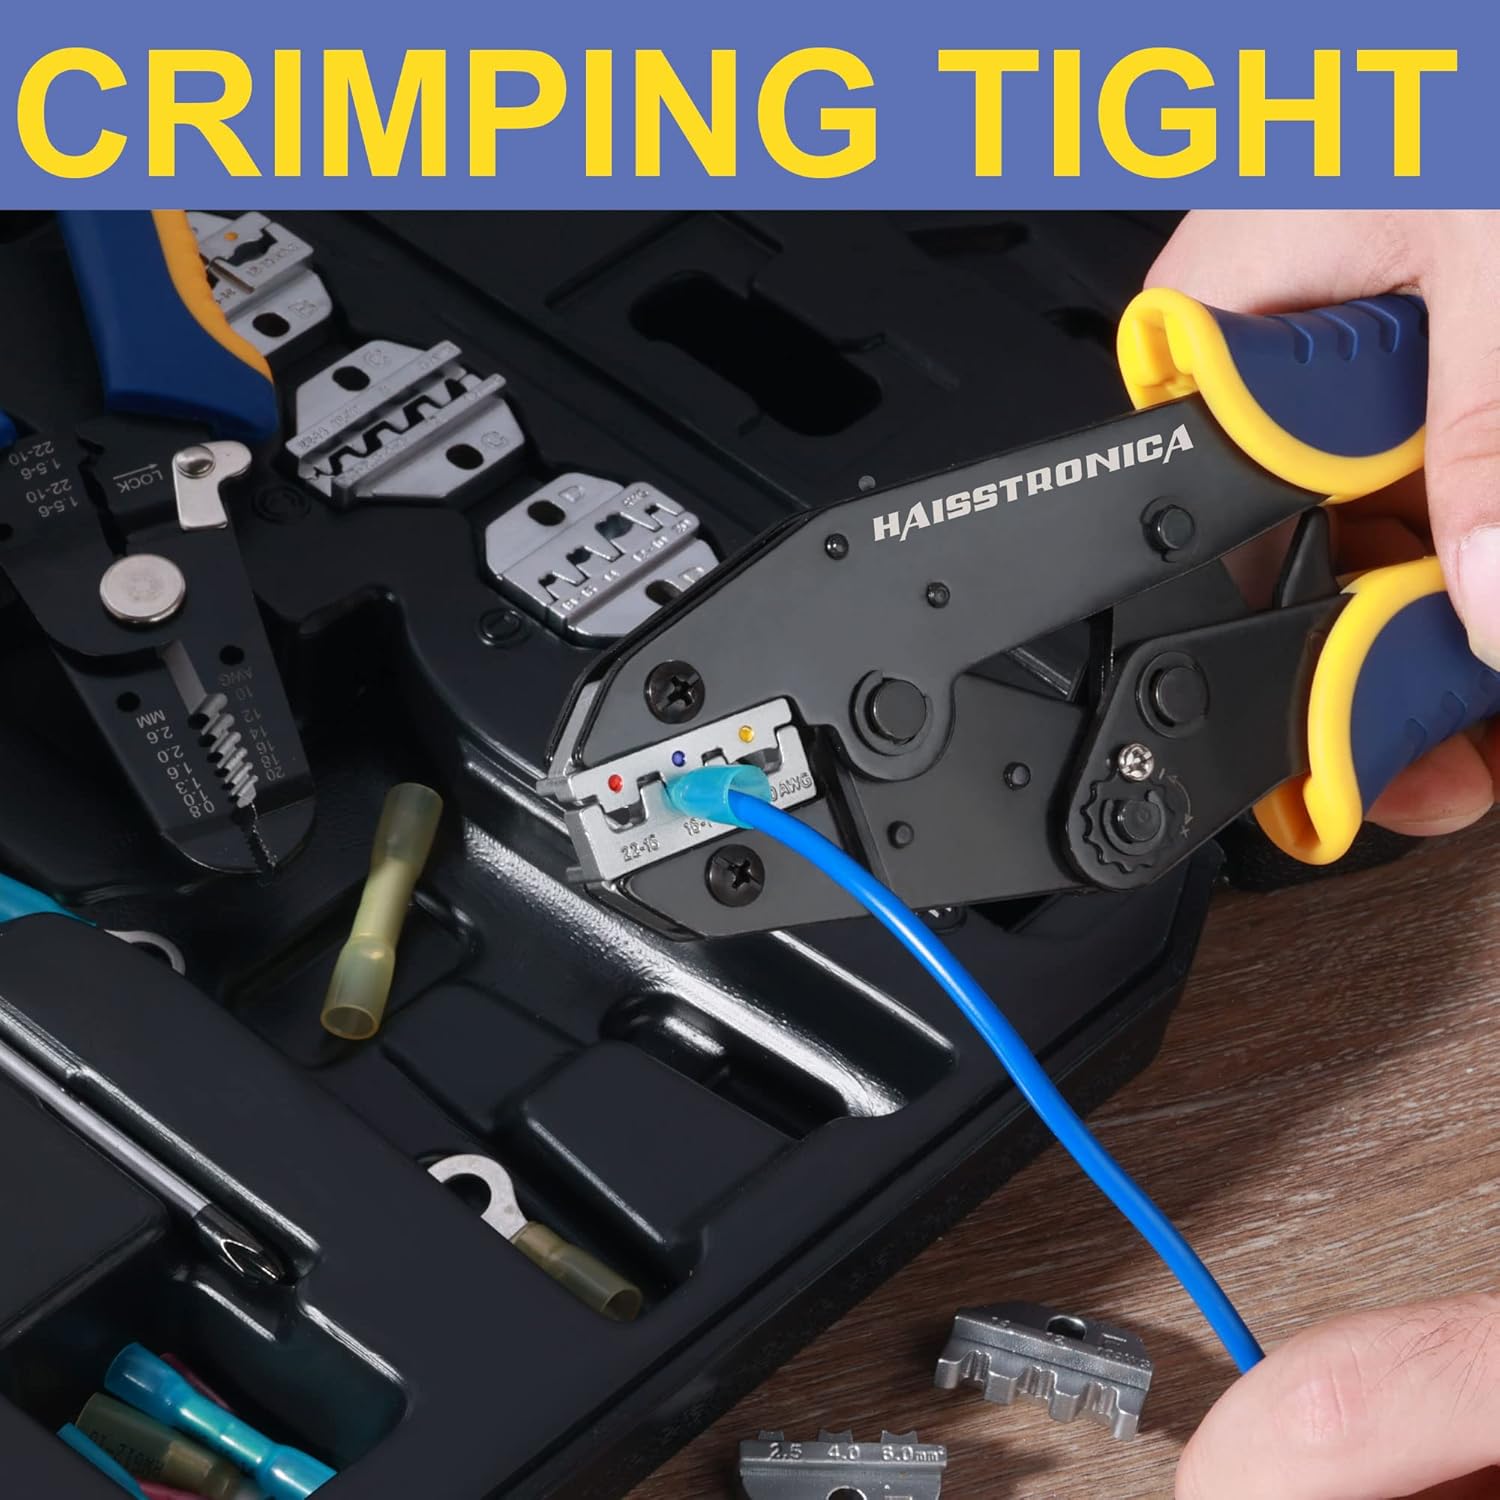
Choose a ratchet crimper
A matched die forms the terminal barrel around the conductor without wicking solder into the flex zone.
Choose solder seal + hot air
Use only when the wire size and circuit specification allow it, and when the sleeve can be heated evenly from every side.
Choose heat-shrink tubing
Tubing protects, insulates and can add strain relief. It does not create the electrical connection underneath it.
Follow the governing standard
Do not substitute a generic “better” method for the connector maker, equipment maker or applicable code.
Your 5-step selection path
Decide before the wire is stripped
The fastest way to avoid rework is to make the method decision while the conductor and connector are still intact.
Compare the forces that matter
Vibration, temperature, speed and serviceability settle the choice
No method wins every category. The right method is the one that fits the connector and remains reliable in the actual operating environment.
Vibration and flex
A correctly supported crimp normally keeps the conductor flexible beyond the barrel. Solder can wick beyond the joint and create a rigid-to-flex transition, so strain relief and routing matter.
Temperature and heat access
A crimp avoids heating the conductor during assembly. Solder seal needs controlled, even hot air; nearby insulation, fuel, trim or heat-sensitive components can change the decision.
Speed and repeatability
A ratchet tool with the matched die is easier to standardize for repeated terminal work. A solder-seal sleeve is convenient for a small field splice but still requires correct sizing and full solder flow.
Serviceability and inspection
Crimp height, barrel impression and pull resistance can be checked consistently. A solder-seal splice must be inspected for conductor overlap, solder wet-out, recovered sleeve and adhesive at both ends.
Three independent product paths
Buy for the joint you are actually making
Keep the terminal, inline-splice and insulation-only paths separate. Mixing them into one “universal” recommendation hides the most important decision.
Path 1 · high vibration and repeat terminal work
Use a ratchet crimper with the matched die
Choose this path for ring, spade, quick-disconnect and butt terminals that specify crimp installation. Match the terminal family and wire gauge to the die profile before making the connection.
- Strip only the specified length; do not nick conductor strands.
- Place the barrel in the correct color- or size-coded cavity.
- Complete the ratchet cycle, then inspect the impression and perform a firm pull test.
- Add heat shrink only after the mechanical crimp is accepted.

Path 2 · compact inline repair without a crimper
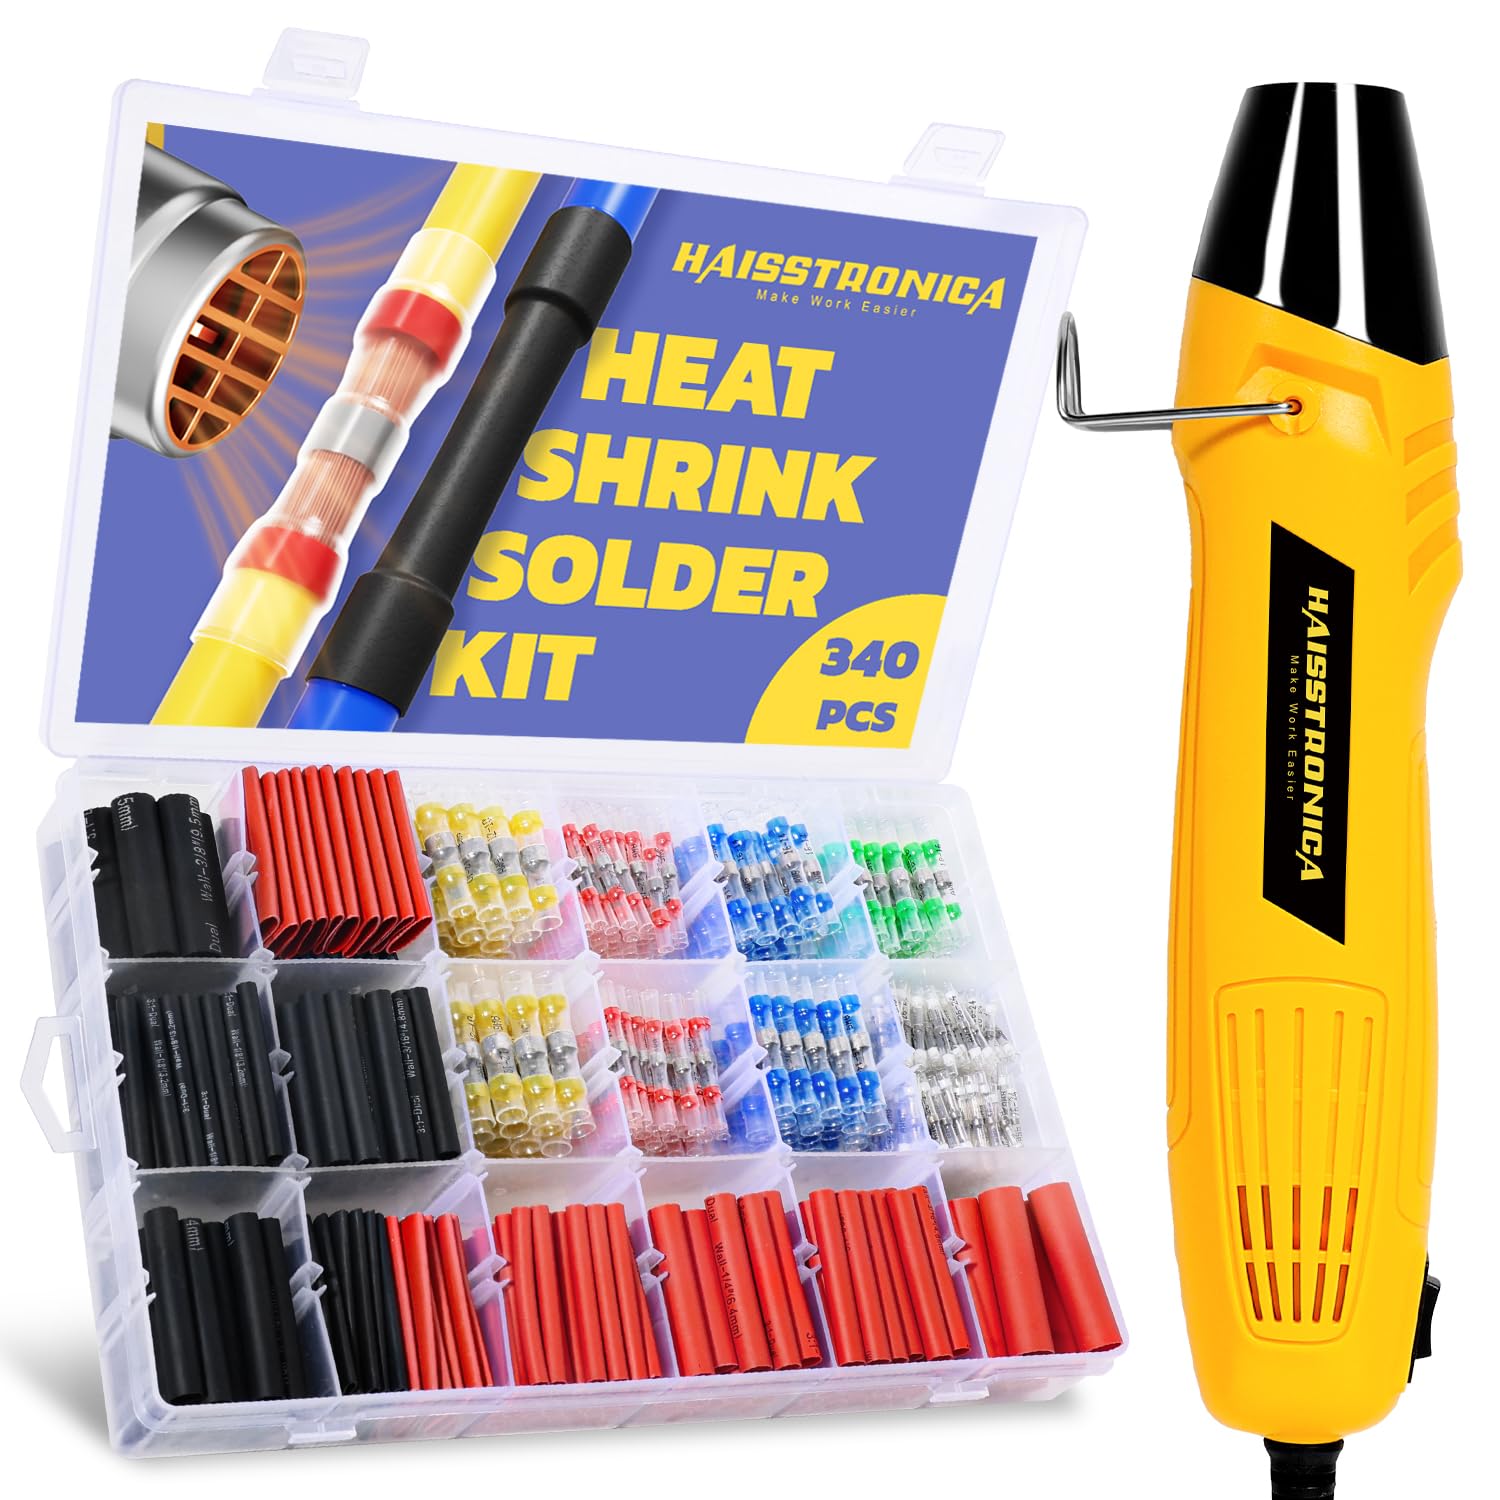
Use a correctly sized solder-seal sleeve and controlled hot air
This path is for compatible inline splices where the circuit rules allow a solder-seal connector and there is enough access to heat the sleeve evenly. It is not a blanket replacement for every crimp terminal.
- Overlap clean conductors inside the solder ring; keep strands inside the sleeve.
- Heat from the center outward while rotating or moving the nozzle.
- Confirm the solder has flowed and the adhesive rings have sealed both ends.
- Support the splice so vibration is not concentrated at the sleeve edge.
Path 3 · insulation, sealing or strain relief only
Use heat-shrink tubing over a completed connection
Choose tubing when the electrical joint already exists and needs insulation, moisture protection or added support. Select the recovered diameter, shrink ratio and adhesive lining for the cable and environment.
- Slide the tubing onto the wire before making a closed-end connection.
- Center it over the accepted joint with overlap onto sound insulation.
- Recover it evenly; avoid bubbles, splits, scorching or exposed conductor.
- Remember: tubing protects a joint—it does not replace the joint.

Quick comparison
Use the method that matches the connector
| Decision | Ratchet crimp | Solder seal + hot air | Heat-shrink tubing |
|---|---|---|---|
| Creates the electrical joint? | Yes, in a crimp-designed terminal | Yes, in a compatible inline sleeve | No—protection only |
| Best-fit job | Terminals, vibration, repeat work | Compact inline field splice | Insulation, sealing, strain relief |
| Critical match | Terminal family + AWG + die | Sleeve size + wire + heat control | Expanded/recovered diameter + environment |
| Primary inspection | Barrel impression + pull test | Solder flow + adhesive seal | Full recovery + no damage |
Choose one path—then build the complete system
Each route below stays independent so you can move directly from the job to the correct product family.
Frequently asked questions
Crimping tool or soldering iron?
Is a crimp stronger than solder?
Not as a universal rule. Reliability depends on connector design, conductor size, tooling, installation quality, vibration, strain relief and the governing specification. For a crimp-designed terminal, a matched crimp is the intended method.
Can a solder-seal connector replace a crimp connector?
Only for a compatible inline splice where the sleeve size, wire type and circuit requirements allow it. It should not be used to replace ring, spade or other terminals that are designed for crimping.
Is heat-shrink tubing a wire connector?
No. Tubing insulates, seals and supports a connection underneath it. The conductor still needs a proper crimp, soldered joint or other approved connection before the tubing is recovered.
Do I really need both a crimper and a heat gun?
A mixed repair bench benefits from both because they solve different steps: the crimper forms mechanical terminal connections, while controlled hot air recovers heat shrink and installs compatible solder-seal sleeves.
Safety: de-energize the circuit before work. Follow the connector instructions, equipment-maker requirements and applicable electrical, marine, vehicle or aviation standards.