BATTERY CABLE / TROUBLESHOOTING GUIDE
Battery Cable Terminal Getting Hot? How to Tell a Bad Crimp from a Loose Connection or Wrong Cable Size

If a battery cable terminal is getting hot, treat the heat as a symptom of resistance, excessive current, or both—not as proof that the crimp is bad. The most common battery terminal overheating causes fall into three places: the crimp between the conductor and lug, the contact surface where the lug meets a battery post, stud, busbar, starter, inverter, or ground point, or the cable itself because the conductor is undersized, damaged, too long for the load, or not what you thought you installed. Victron’s troubleshooting guidance similarly lists insufficient battery-cable cross-section, badly crimped lugs, and loose terminal connections as separate causes of excessive cable voltage drop.
The fastest way to avoid replacing the wrong part is to diagnose the circuit by segments. Look for where the heat is concentrated, then perform voltage-drop testing while the circuit is carrying its normal load. A visual inspection alone can miss corrosion or damaged wire hidden inside a connection or cable.
01 / CHECK
Crimp
Heat concentrated around the lug barrel? Check cable-to-lug compatibility and crimp quality.
02 / CHECK
Contact
Heat around the post or stud? Inspect mating surfaces, hardware, and specified torque.
03 / CHECK
Cable
Heat along the run? Verify gauge, material, length, and actual load.
Heat location is a clue—not a diagnosis. Confirm the suspect segment with a safe loaded voltage-drop test.
Quick diagnosis at a glance
| What Gets Hottest | First Suspect | What to Verify |
|---|---|---|
| Lug barrel or cable immediately behind it | Bad battery cable crimp | Cable-to-lug match, strand condition, die/profile, loaded voltage drop |
| Battery post, clamp, lug tongue, stud, or busbar interface | Loose or dirty contact | Mating surfaces, hardware condition, specified torque, voltage drop across interface |
| Long section of cable | Cable sizing or conductor damage | AWG or mm², conductor material, run length, actual current |
| Whole path during abnormal load | Excessive current or system fault | Load, circuit protection, starter/inverter/winch/charger condition |
Heat location is a clue, not proof, because terminal hardware and copper cable conduct heat away from the original hot spot.
01 / Why a Hot Battery Terminal Is Usually a Resistance Problem
A healthy high-current connection should add very little resistance to the circuit. When corrosion, looseness, damaged strands, an incorrect cable size, or a poor connection increases resistance, electrical energy can be lost as heat. The problem becomes especially noticeable under higher current, which is why a marginal connection may appear acceptable under a light load but show voltage loss and heating during starting or other high-current operation.
A bad battery cable crimp can create that resistance inside the lug barrel. The cable may look secure from the outside while the conductors are not properly compressed against the terminal. TE Connectivity warns that an improperly formed crimp can produce high electrical resistance or failure. Molex likewise defines a properly formed conductor crimp as a low-resistance electrical path and notes that excessive compression can reduce conductor cross-section and cause resistance and heat rise.
A loose battery terminal can overheat for a different reason. The cable-to-lug crimp may be perfectly acceptable while the interface between the lug, clamp, battery post, stud, or busbar has insufficient contact pressure or contaminated mating surfaces. Battery-terminal torque is not universal: ODYSSEY, for example, publishes different torque limits for different terminal designs and warns that both under-tightening and over-tightening can cause problems. That is why copying a torque value from another battery or another piece of equipment is not a reliable fix.
An undersized cable is the third major category. Here, the termination itself may be mechanically sound while the conductor has too much resistance for the combination of current and cable length. Cable size, length, conductor material, and the application all matter; ODYSSEY specifically notes that cables should be sized for expected current and that longer runs may require heavier cable to control voltage drop.
This distinction matters when using a crimper: a tool's die capacity is not an ampacity rating. A die marked 1/0 tells you which cable/lug size the crimper is intended to form when the terminal is otherwise compatible. It does not tell you that 1/0 is electrically large enough for your starter, inverter, winch, charger, or other load.
02 / Diagnose by Where the Heat and Voltage Drop Occur
If the lug barrel is the hottest area, start by investigating the crimp. Look for a barrel that is visibly off-center, cracked, severely distorted, or loose on the conductor. Check whether the cable size matches the lug barrel and whether the crimp profile is appropriate for that specific lug. Also inspect the stripped conductor: missing, cut, folded-back, or damaged strands reduce the conductor mass available inside the termination. Molex identifies correct wire size, undamaged strands, appropriate crimp positioning, and proper wire preparation as important elements of crimp quality.
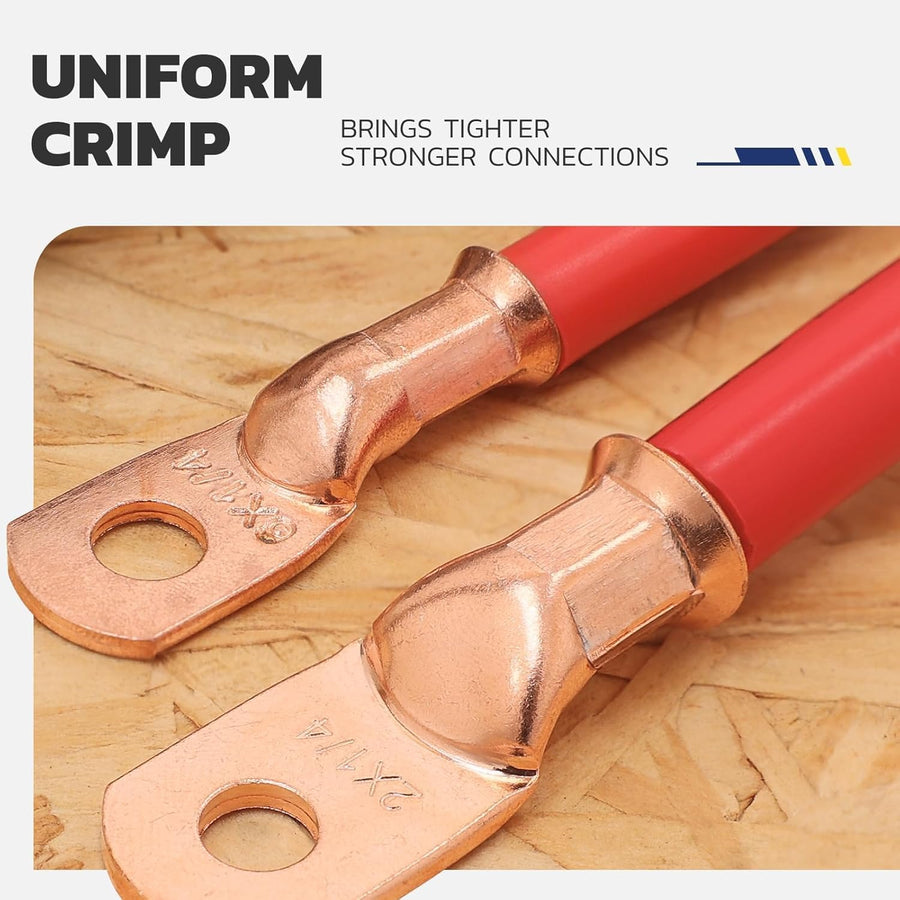
If the battery post, clamp, lug tongue, stud, or busbar area is hottest while the crimp barrel is relatively cooler, investigate the contact interface first. Look for corrosion, contamination, loose or damaged hardware, pitted mating surfaces, distortion, or a lug that cannot sit flat. Do not solve every loose-connection problem by simply tightening harder; use the applicable battery or equipment torque specification.
If a long portion of the cable heats rather than one localized connection, investigate the cable itself. Verify the actual conductor gauge, material, length, and current. AWG refers to conductor size—not the outside diameter of the insulation. Molex describes stranded AWG sizing in terms of the conductor's total cross-sectional area. For cables marked in mm², do not simply choose whichever AWG die looks closest; confirm compatibility among the cable, lug barrel, and crimp-tool specification.
A practical diagnosis uses a digital multimeter to perform a loaded voltage-drop test. Fluke emphasizes that the circuit needs to be carrying current during the test: an unloaded continuity or resistance check may fail to reveal a restriction that becomes significant under operating current.
For an automotive starter circuit, for example, Fluke recommends measuring between the positive battery post and the starter's battery stud during cranking, then testing the ground side separately. Its automotive starter guidance gives roughly 0.2–0.5 V total as an acceptable starter-circuit drop, with approximately 0.3 V on the positive side and approximately 0.2 V or less on the ground side. Those figures are an automotive troubleshooting reference—not a universal specification for every inverter, RV, boat, winch, battery bank, or charging system. Always use a manufacturer-specified limit when one exists.
A useful way to localize the fault is to keep narrowing the voltage-drop measurement.
For the crimp zone, measure across the shortest safely accessible path between the conductor side of the termination and the lug tongue. Only do this where suitable test points are exposed and the probes cannot short to nearby hardware. Do not pierce insulation merely to obtain a reading. This is an application of the same segment-by-segment loaded voltage-drop method Fluke recommends for isolating high-resistance portions of a circuit.
For the contact zone, measure across the mating interface itself—for example, between a battery post and its connected clamp, or across an accessible lug-to-stud connection. If most of the abnormal voltage loss is concentrated at that interface, the problem is more consistent with contact resistance than with the cable gauge.
For the cable zone, measure across the conductor run while excluding connection interfaces as far as the system safely allows. Excessive cable-segment voltage drop combined with distributed cable heating should lead you back to cable size, material, length, physical condition, and actual operating current. Fluke lists conductor resistance, wire length, and high current on inadequately sized wiring among causes of excessive voltage drop.
If you cannot access a segment safely, do not improvise with probe positions that can bridge positive to ground. In that situation, replacing or professionally testing the suspect cable assembly is safer than creating an additional short-circuit risk. Battery manufacturers warn that battery short-circuit current can reach very high levels.
03 / Fix the Right Failure Instead of Re-Crimping Everything
When the crimp is the problem, cut off the failed lug and inspect the conductor before installing another terminal. Do not simply squeeze an already deformed lug again and assume the electrical joint has been restored. Trim back damaged, overheated, or corroded conductor as necessary, then verify cable size, conductor construction, lug barrel, and the crimp profile required by the terminal manufacturer. Molex's guidance emphasizes using the correct wire size for the barrel, properly prepared conductor surfaces, and the correct crimp tooling.
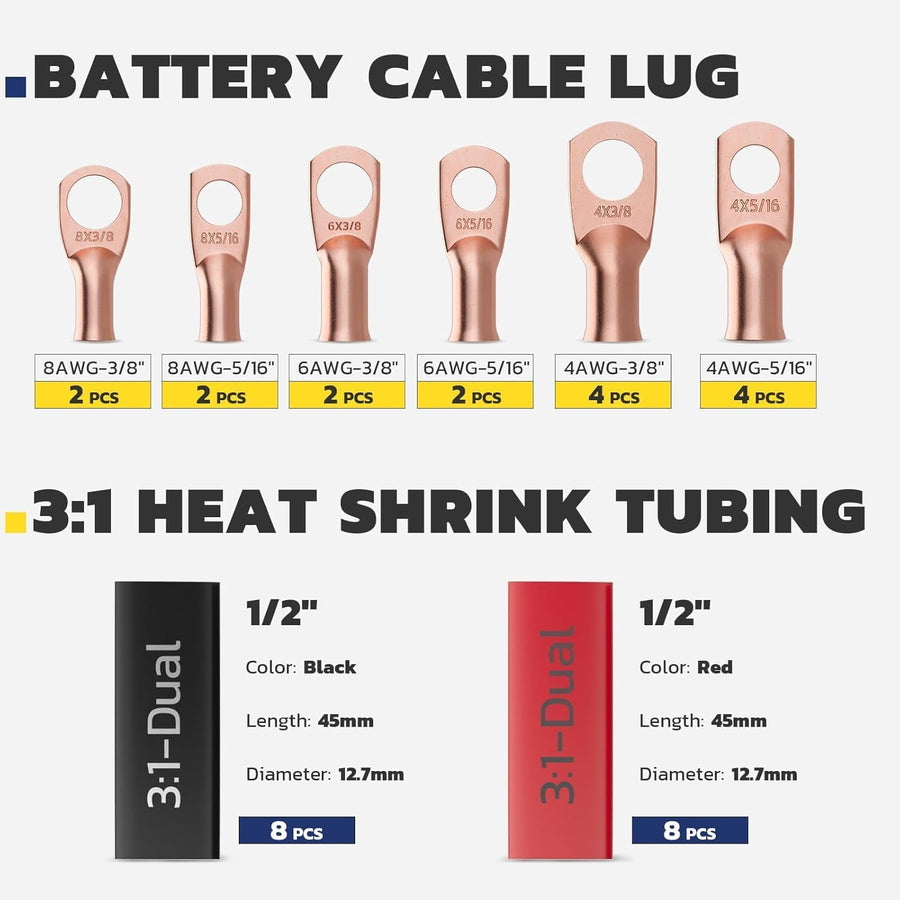
For heavy battery lugs, “the cable fits into the barrel” is not proof of compatibility. Cable cross-section, strand construction, lug barrel dimensions and material, and die geometry all influence the finished termination. Haisstronica's current product instructions similarly tell users to match cable gauge, conductor material, lug barrel, stud size, and required crimp profile rather than selecting only by whether the wire physically fits.
A manual tug after crimping can be a useful screening check for an obviously loose cable, and Haisstronica currently includes a pull check in its basic use instructions. However, do not describe that hand tug as a certified pull test. Formal tensile evaluation uses defined force requirements and controlled procedures; Molex's crimp-quality documentation distinguishes standardized tensile testing from simple inspection.
When the contact interface is the problem, the repair is different. Isolate the system according to the battery, vehicle, or equipment instructions, inspect the actual mating surfaces, and correct corrosion or contamination using a method permitted by the equipment manufacturer. Damaged, severely pitted, cracked, or heat-distorted hardware should be replaced rather than compensated for with additional tightening. Reassemble using the torque requirement for that specific terminal or equipment connection.
When cable sizing is the problem, replacing only the lug will not solve the underlying overheating. Verify the circuit's current, duty cycle, total cable length, conductor material, environment, and manufacturer cable-sizing guidance. This is particularly important after modifications such as installing a higher-output inverter, winch, amplifier, charger, or auxiliary battery system.
Also consider abnormal current. Even a properly made termination can be subjected to excessive heating when a system fault or abnormal load changes the intended operating conditions. When the cable heats very quickly, circuit protection repeatedly operates, or the cause remains unclear after connection and cable checks, stop replacing terminals and diagnose the load or system fault first.
For a deeper explanation of building the termination itself, see Haisstronica's How to Crimp Heavy Wire Lugs the Right Way. For general connector-quality troubleshooting, see Troubleshooting Bad Crimps: How to Spot and Fix a Poor Connection. The first article covers the build process; the second covers general bad-crimp symptoms, while this guide focuses specifically on locating the source of battery-cable heat.
04 / Rebuilding a Battery Lug with the Haisstronica AWG 8–1/0 Crimper
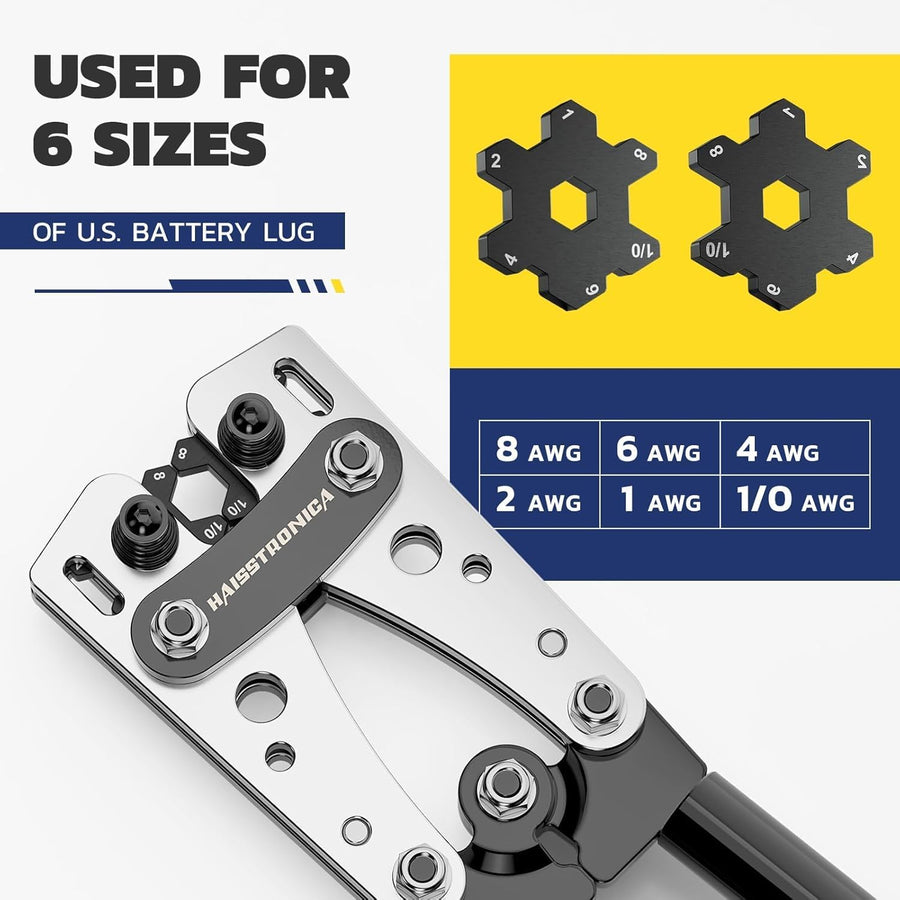
If diagnosis confirms a bad crimp and the cable and lug fall within the tool's verified range, the Haisstronica Battery Cable Lug Crimping Tool Kit AWG 8–1/0 can be used for compatible heavy-cable terminations. The current product page specifies rotating hex dies for AWG 8, 6, 4, 2, 1, and 1/0 battery-cable lugs. The tool uses non-ratcheting lever compression, and Haisstronica states that lug material, wall thickness, conductor size, and required profile must be compatible with the selected die.
Before crimping, treat these as four separate checks: cable gauge; conductor material and strand construction; lug barrel size; and stud-hole size. The stud hole tells you which stud or bolt the lug can mount to—it does not determine which conductor belongs inside the barrel. Likewise, a roughly equivalent mm² value does not automatically prove that an AWG-marked die is appropriate for a particular metric cable and lug.
For this Haisstronica tool, the official instructions currently call for disconnecting power, cutting the cable square, stripping only the required insulation without damaging strands, rotating the hex die to the matching AWG mark, fully inserting the conductor, centering the barrel in the die, and closing the handles completely. The connection should then be inspected and, where appropriate, finished with correctly sized heat shrink.
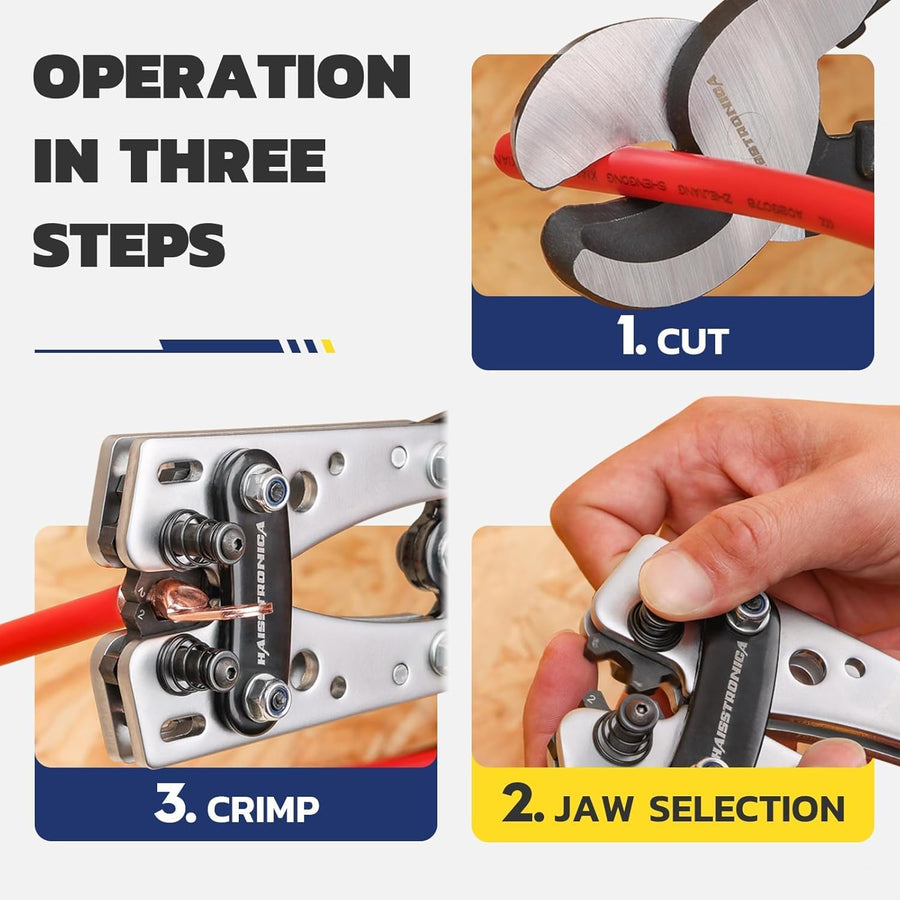
Do not extend the published capacity simply because a larger lug can physically enter part of the tool. Haisstronica's product page specifically excludes 2/0 and 4/0, as well as ferrules, small insulated terminals, and lugs requiring a different die profile.
After rebuilding the cable, repeat the same loaded voltage-drop test that helped identify the original fault. The important result is not merely that the new crimp looks cleaner—it is that the excessive voltage loss associated with the failed connection is no longer present under the relevant load.
For an existing Haisstronica owner, that is the best next step: first confirm that the failure really is in the crimp, then confirm that your cable and lug are compatible with the published AWG 8–1/0 hex-die range before rebuilding the termination. If the cable is outside that range or the lug manufacturer requires another compression profile, use the correctly specified tool instead.