The best way to strip wire depends on the wire in your hand
Start with conductor type and AWG, then match the tool, strip length and pressure. A clean strip removes insulation without nicking, cutting or flattening the conductor underneath.
Let the tool adjust to the wire
Best when the bench sees multiple gauges and you want consistent strip length across repeated jobs.

Use a precise stripping profile
Choose this path when you need deliberate alignment and close visual control over the strip.
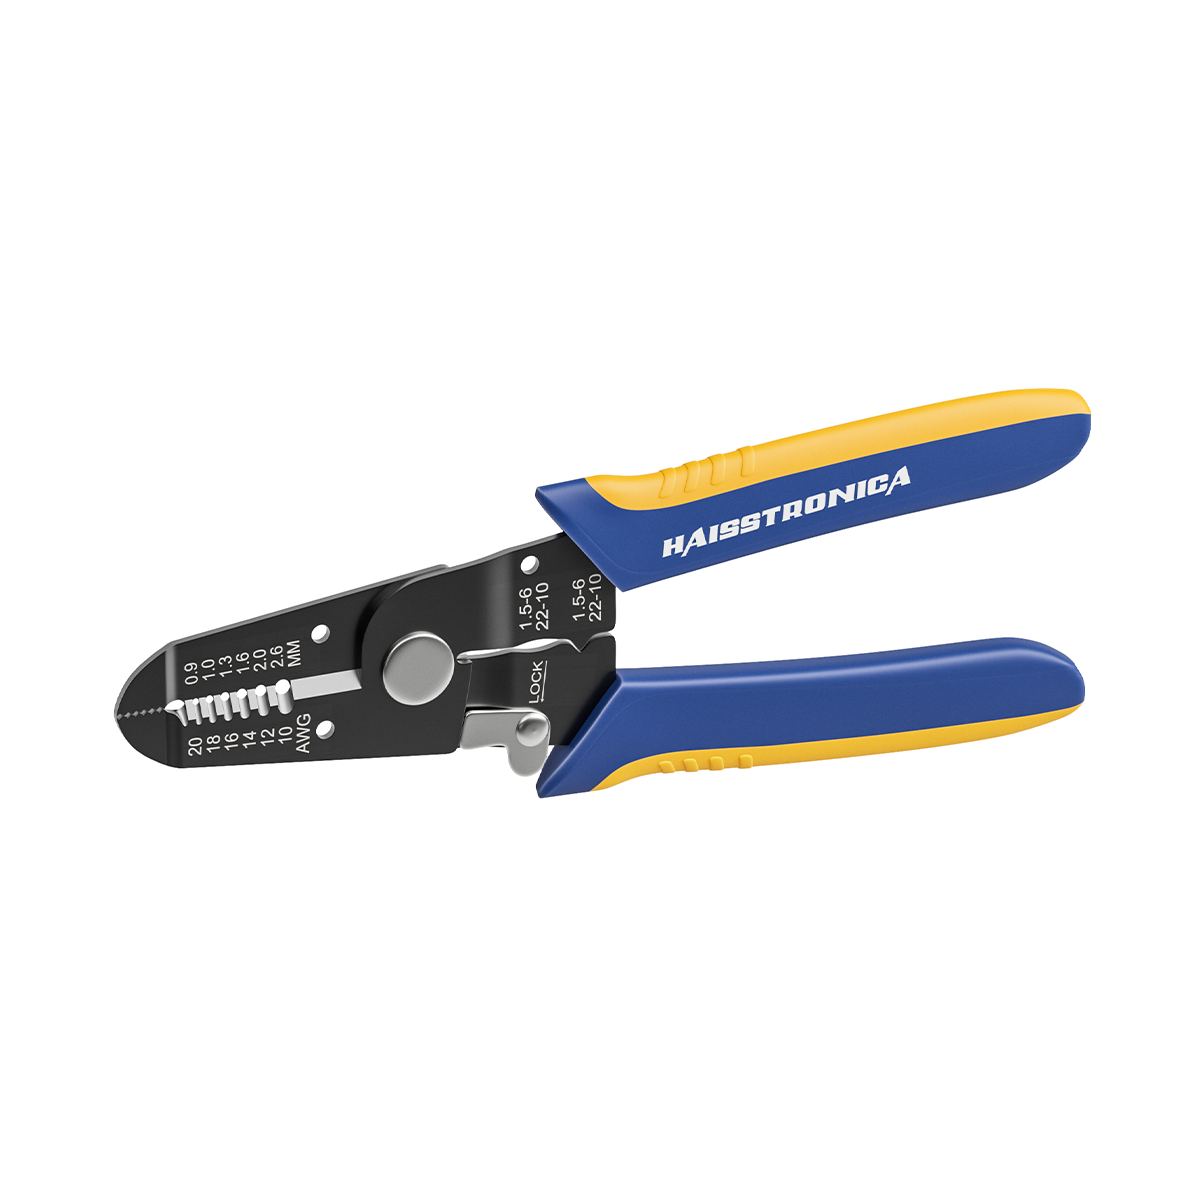
Keep cut, strip and light crimp together
A practical multi-function path for compatible low-voltage cable within the tool’s published range.

Strip insulation without sacrificing conductor
De-energize the circuit first. Then work through the sequence in order; the inspection step decides whether the wire end is usable.
Identify three things before choosing a stripper
Solid and stranded conductors react differently to pressure. Flexible fine-strand wire is especially easy to nick with a mismatched cutting profile.
Read the jacket marking or confirm the conductor size. Do not choose a stripping slot by appearance alone.
Single-conductor PVC, thicker insulation and twin-core jackets need different access and pressure. Match the complete cable—not only the copper.
Use a self-adjusting stripper when consistency matters
A self-adjusting tool can reduce repeated gauge changes, but it still needs a test strip. Insulation hardness and thickness affect the pressure required.
- Set the length stop to the terminal or connector requirement.
- Start with moderate pressure and test on a scrap end from the same cable.
- Insert the wire squarely; keep the stripping point away from bends and damaged jacket.
- Squeeze through one controlled cycle, then inspect the full circumference and all strands.
Use a precision stripper when alignment decides the result
Place the conductor in the exact matching profile and keep the pull straight. The goal is to separate the insulation cleanly without shaving or stretching the copper.
- Confirm that the tool’s published wire range and conductor type match the job.
- Align the desired strip length before closing the handles.
- Use only enough force to cut the insulation; do not twist aggressively around stranded wire.
- Pull the removed sleeve straight off and inspect under good light.
Use a 3-in-1 tool when the cable needs more than one operation
For compatible low-voltage wiring, a cut-strip-light-crimp tool can simplify the field kit. Treat the outer jacket and the inner conductor insulation as two separate layers.
- Open only enough outer jacket to reach the inner conductors without scoring them.
- Separate the cores, then strip each conductor to the device or terminal specification.
- Keep the wire in the correctly marked section for each operation.
- Use cutting and crimping functions only within the tool’s published range.
A stripped wire is finished only after it passes inspection
Do not hide damage under a terminal, connector or heat-shrink sleeve. If the conductor is compromised, cut it back and make the end again.
Any cut strand reduces the conductor cross-section. Remake the end on clean, undamaged wire.
The slot, pressure or tool angle is wrong. Correct the setup before repeating the strip.
The cut was incomplete or the pull was uncontrolled. Check blade condition and pressure.
Match the strip length to the barrel or device. Copper should not protrude beyond the intended connection zone.
Cut back until the conductor is clean and serviceable; surface contamination is not fixed by a tighter crimp.
Keep strands together and avoid over-twisting. Verify that the full conductor will enter the terminal without folding.
If in doubt: cut back, reset, and strip again
A few extra seconds spent remaking the end is cheaper than a high-resistance connection, intermittent fault or failed pull test later.
Choose the stripper that matches the work you repeat
Select by cable pattern and workflow. The tool should make the correct result easier to repeat—not compensate for an unknown wire size.
Self-adjusting workflow
For repeated stripping across compatible gauges when consistent length and fast setup matter.
Precision workflow
For careful alignment, deliberate pressure and a clear view of the conductor after every strip.
3-in-1 workflow
For compatible cable that benefits from one tool covering cutting, stripping and light crimping.
Need to compare the full range?
Browse every Haisstronica wire stripper by task and compatible wire range.
Wire-stripping questions that prevent rework
Can I strip wire with a utility knife?
It is possible, but difficult to control consistently and easier to nick the conductor or injure your hand. A correctly matched stripping tool is the safer, more repeatable choice.
How much insulation should I remove?
Use the strip-length requirement of the terminal barrel, connector or device. The conductor should fill the intended connection zone without leaving unnecessary bare copper exposed.
What should I do if one strand is nicked?
Cut the damaged section off, correct the tool setup and strip again. Do not hide a reduced conductor cross-section inside the connection.
Do solid and stranded wire use the same stripping method?
They may use the same tool only when the tool is rated for both the conductor type and gauge. Fine-strand wire generally demands closer control because individual strands are easier to damage.