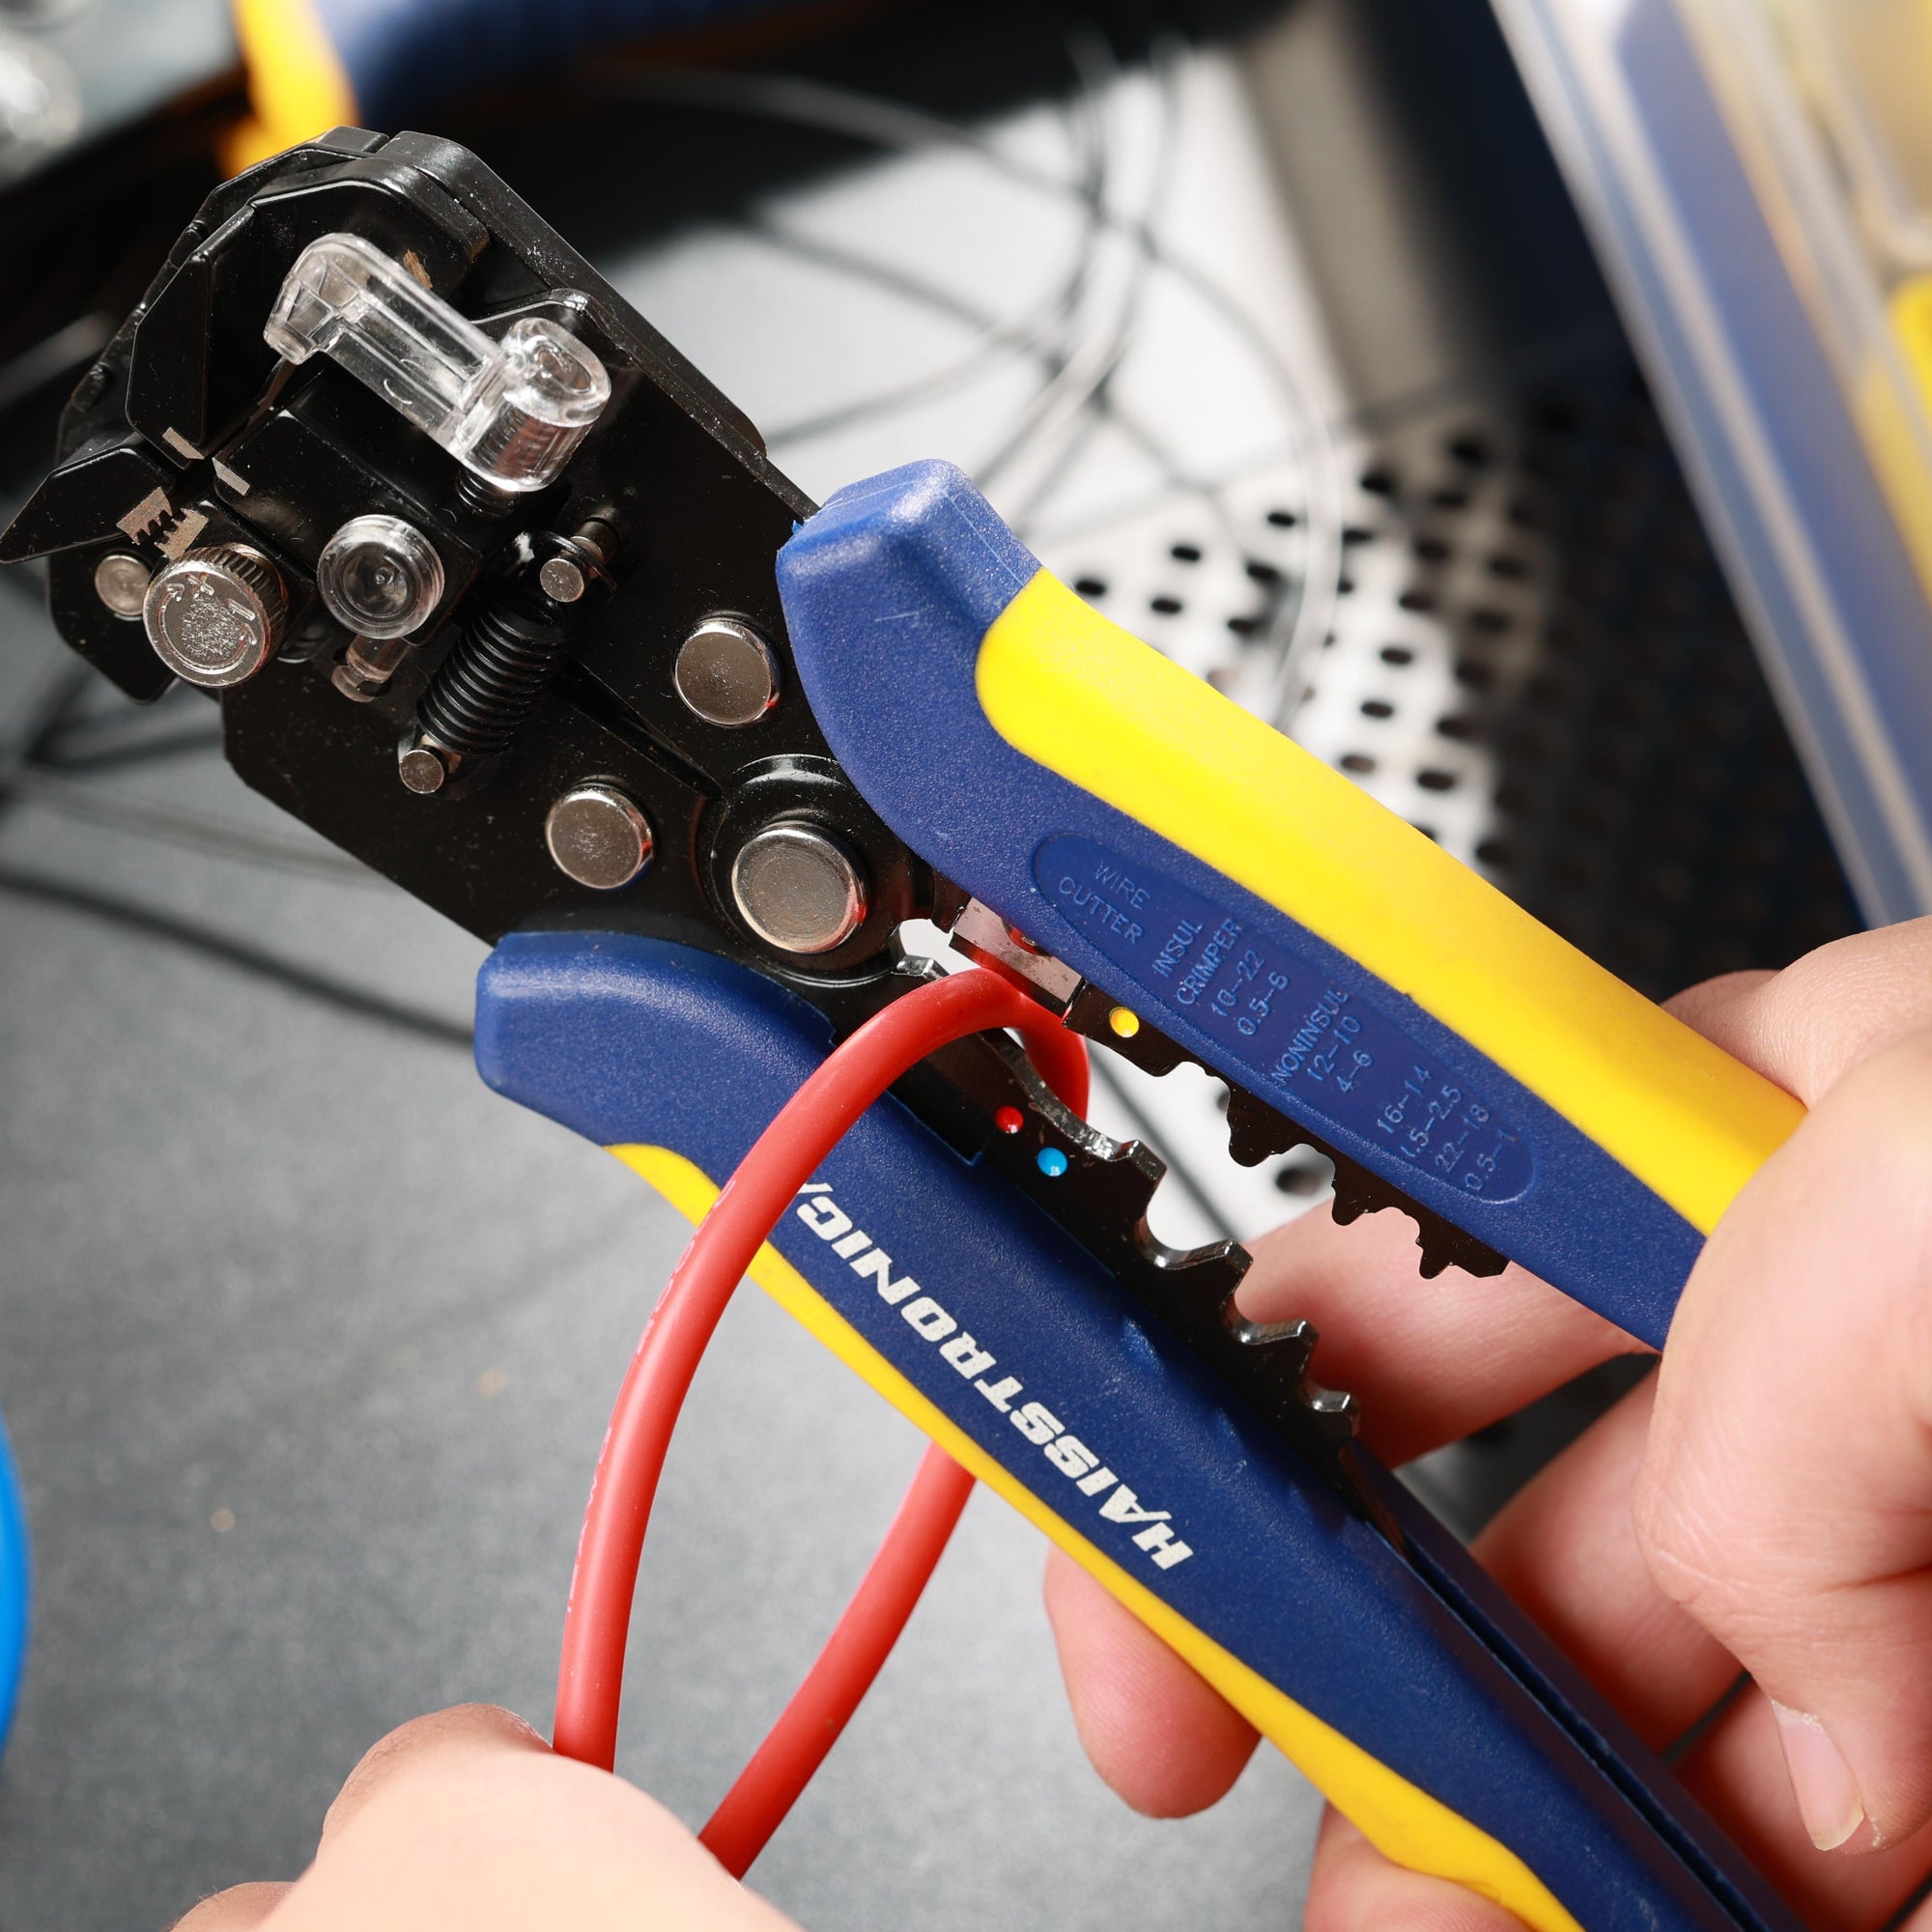
Butt connector selection guide
A common choice for joining two wires.
A butt connector is a common answer when the job is a permanent, end-to-end wire splice. It is not the single “most common” connector for every industry. Start with the connection you need, then match the wire, insulation and installation tool.
Start with the job—not a product number
What does a butt connector actually do?
Two stripped wire ends enter opposite sides of a metal barrel. A specified crimp compresses the barrel around each conductor to make the electrical and mechanical joint. The outer insulation protects that joint; heat-shrink tubing alone does not connect the wires.
Check the connection type first. An inline splice calls for a butt connector. A screw or stud needs a suitable terminal. A connection that must unplug needs a matching removable connector—not a permanent butt splice.
Compare the four buying categories
Insulation changes the installation—not the need for a correct crimp.
Vinyl and nylon name sleeve materials; heat shrink describes how a sleeve behaves. These labels can overlap. Compare the actual product construction and instructions, not just the category name.
| Connector type | What you are choosing | Tool and sealing check | Browse the relevant path |
|---|---|---|---|
| Standard vinyl-insulated | ConstructionA metal barrel with a PVC insulating sleeve. Consider it only where the exact connector is approved for the wire and operating conditions. | InstallationUse its specified insulated-terminal die. A standard sleeve is not a heat-activated moisture seal. | Shopping pathBrowse stocked alternatives →No dedicated vinyl-only butt splice is identified in the linked range. Check the actual construction. |
| Standard nylon-insulated | ConstructionA metal barrel with a nylon insulating sleeve. Do not assume that “nylon” means heat shrink or outdoor sealing. | InstallationMatch the model’s approved die and wire range. Moisture protection must be explicitly specified. | Shopping pathBrowse stocked alternatives →Check the listing: a nylon spade terminal is not an inline butt connector. |
| Heat-shrink insulated | ConstructionThe sleeve is already around the barrel. An adhesive-lined version adds a sealing step when properly heated. | InstallationCrimp first with the matched tool, then heat as directed. Confirm the exact environmental rating. | Shopping pathBrowse heat-shrink butt connectors →Select the gauge before choosing a pack. |
| Non-insulated / bare | ConstructionThe barrel remains exposed for inspection. Add separate insulation or tubing where the installation requires it. | InstallationUse a matched bare-terminal die. If separate tubing is required, plan its size and position before joining. | Shopping pathBrowse non-insulated connectors →Check the connector and the separate insulation system. |
For the construction categories and product-specific tooling principle, see TE Connectivity’s terminals and splices guide. Ratings for one manufacturer’s products do not transfer to another product.
Match both wires before the environment
Read the AWG marking—not just the color.
Confirm each conductor’s gauge, material and construction. Both wire ends must fit the connector’s specified range. The Haisstronica heat-shrink family uses the separate bands below; this is not one universal connector covering every gauge.
Fine-wire option. It needs a compatible fine-wire crimping tool; a 22–10 AWG tool does not cover this band.
Check the exact barrel marking and both wire ends. Do not choose it from sleeve color alone.
Confirm conductor fit and the specified tool cavity, including when a gauge appears in more than one listed band.
Match the wire and insulation dimensions to the connector instructions before selecting a pack.
These are the bands shown for the bagged heat-shrink butt connector range →. Verify the selected variant and package markings; color conventions are not universal.
Different gauges? Each end must be expressly rated for its wire. Use a specified reducing splice when required. Do not simply size for the larger wire, fold the smaller wire, cut strands or add extra conductors to fill the barrel.
Choose after checking AWG and exposure
Match the conditions to your job.
First confirm the exact wire band above. Then check moisture, temperature, chemicals and the equipment’s repair requirements. These examples are buying paths—not blanket approvals for a vehicle, boat or circuit.
22–16, 16–14 or 12–10 AWG + a specified sealed inline crimp
Choose the matching heat-shrink butt connector.
If both ends fit one listed band and the connector is rated for the installation, the mixed heat-shrink kit is a useful starting point. Choose the actual gauge within the kit—not a color that merely looks close.
Compare the 330, 420 and 580-piece options on the product page. Pack count does not change the wire range of an individual connector. Crimping and heating tools are separate.

26–24 AWG fine wire + a specified heat-shrink splice
Match the fine-wire connector and die together.
Open the bagged range and select its white 26–24 AWG option only if the conductor and installation requirements match. Confirm the approved fine-wire tool before ordering.
Do not pair this option with the 22–10 AWG ratchet crimper below. Its published range does not include 26–24 AWG.
14–12 AWG + a specified bare crimp with separate tubing
Keep the connector and insulation as separate parts.
The linked non-insulated butt connector and 3:1 tubing kit currently shows a 14–12 AWG selection. Confirm that exact variant, conductor compatibility and tubing dimensions before ordering.
Use the matched non-insulated-terminal crimper, inspect the bare joint, then position and heat the separate tube. Slide the tube onto the wire before joining when it cannot be added afterward.
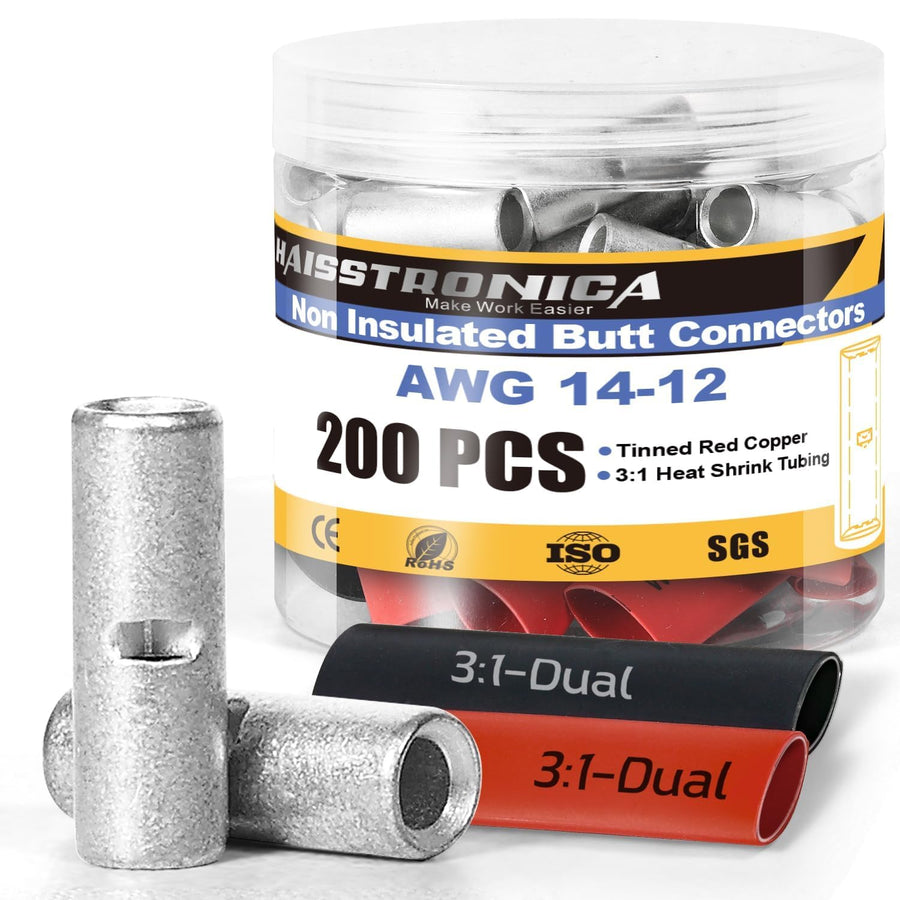
Do not assume this kit shares the heat-shrink assortment’s size bands or crimping die.
Not sure of the gauge, exposure or permitted construction? Stop before choosing a SKU. Compare the butt connector range → and check the equipment and connector instructions. If standard vinyl or nylon is specified, do not substitute another construction without approval.
Install the selected connector
A good splice needs more than a squeezed barrel.
-
1
Isolate power and prepare clean wire.
Verify the circuit is de-energized. Cut back damaged or corroded conductor. Strip the length specified for the connector without nicking or removing strands.
-
2
Insert both ends to the specified depth.
Keep all strands inside the barrel. Do not leave insulation in the crimp zone or exposed conductor beyond the permitted amount. Pre-position separate tubing if needed.
-
3
Crimp each barrel with the correct profile.
Match the connector family, AWG and die cavity. Position the tool as instructed and complete the required cycle. A ratchet release alone does not prove the joint is correct.
-
4
Inspect before covering the joint.
Check insertion, barrel condition and conductor retention using the required inspection or pull-check procedure. A casual tug is not a substitute for a specified pull-force test.
-
5
Finish the insulation and support the wiring.
Heat only sleeves designed for shrinking, using the prescribed controlled heat. Let them cool, inspect the seal and secure the cable so the splice does not carry movement or tension.
A matched ratchet crimper for the heat-shrink path.
The HX1073 ratchet crimper is listed for compatible heat-shrink insulated terminals in 22–10 AWG. Confirm the connector and cavity match before use.
It is not the tool for the 26–24 AWG option, and this recommendation does not extend to bare, vinyl or nylon terminals with different tooling requirements.
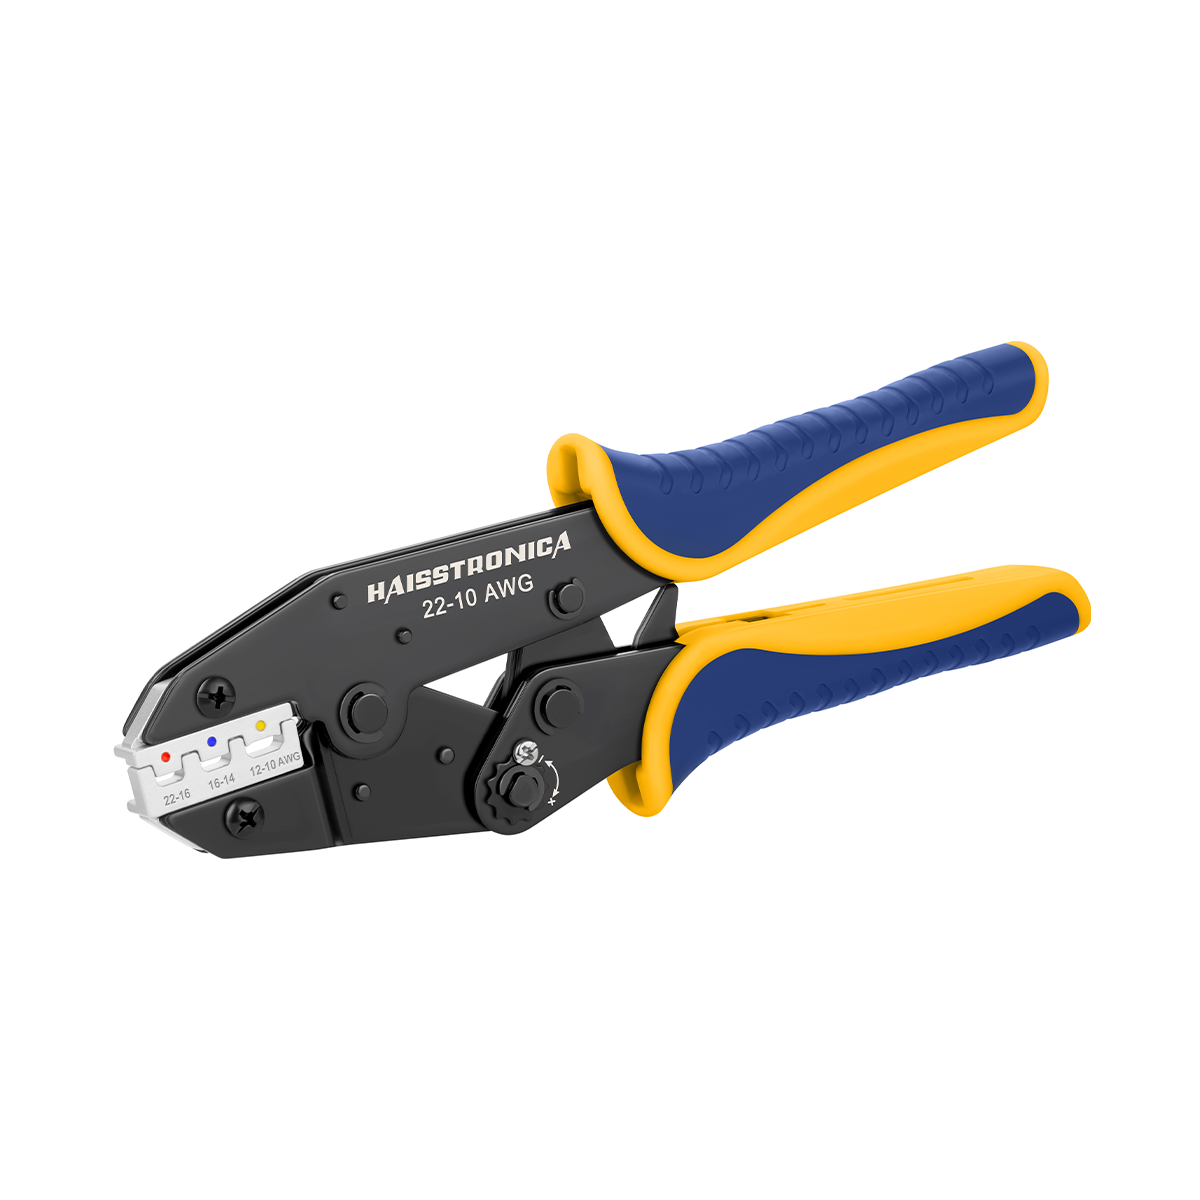
Stop if the wire slips or strands are damaged. Cut out the faulty crimp and remake it with a new, correctly matched connector. Heating the sleeve cannot repair a poor electrical joint.
Moisture and vibration are separate checks
Sealed does not mean suitable everywhere.
For moisture exposure
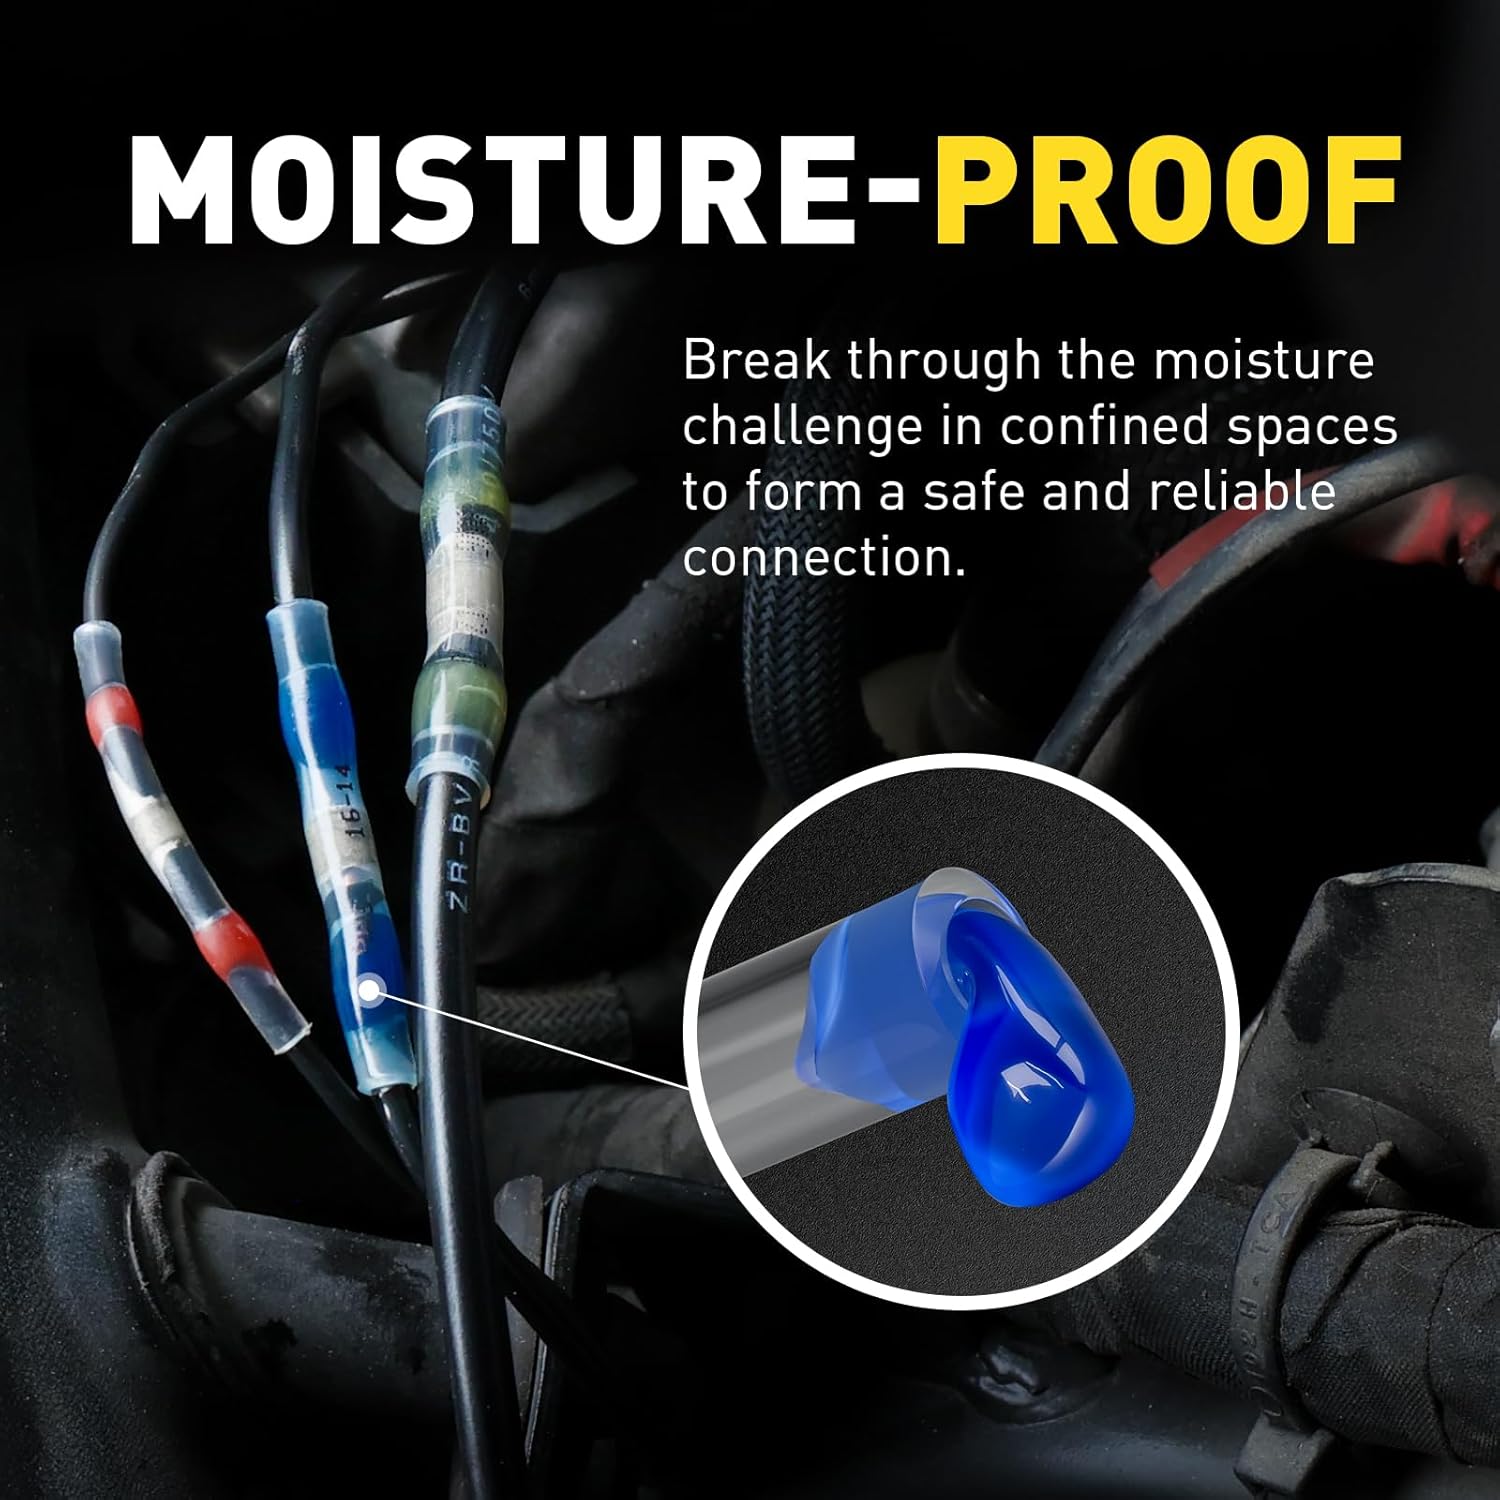
Confirm the exact connector’s environmental limits, sleeve recovery and required seal at both wire exits. Heat shrink is not automatic approval for immersion, burial or an IP-rated assembly.
For vibration or movement
Check conductor retention and add the required cable support or strain relief. Keep bending and harness loads away from the joint; a sealed sleeve does not eliminate mechanical fatigue.
For temperature, chemicals or regulated repairs
Follow the equipment maker’s repair method and the connector’s documented ratings. Do not replace a specified connector just because another one is advertised as “marine” or “heavy duty.”
Inspect again after installation using the specified procedure. Do not improvise an energized water test or treat this article as approval for fixed building wiring, safety-critical systems or a particular marine circuit.
Original article demonstrations
These two videos were included in the original article. Use them as supplementary demonstrations; the selected connector, tool and equipment instructions control the installation.
Quick answers
Before you choose a connector.
Is a butt connector the most common connector everywhere?
No. It is a common choice for permanent inline wire splices. Plugs, terminals, terminal blocks and other connector systems solve different jobs; there is no single answer across every application.
Does a matching color guarantee the right size?
No. Read the connector’s wire range and conductor requirements. Color is a sorting aid within a product family, not a universal specification.
Can I join different wire gauges?
Only when each end of the selected connector is specified for the conductor inserted into it. Use an approved reducing splice where needed; do not fill a loose barrel by folding wire or adding strands.
Can I reuse a crimped butt connector?
Treat it as a one-use connection unless its manufacturer expressly specifies otherwise. For a failed or changed splice, cut back to sound wire and install a new matched connector.
Choose your project, then the exact connector
Three starting points. No one-size-fits-all splice.
Keep the AWG and installation checks above with you when you open a collection.
Indoor · dry, low-voltage work
Start with conductor fit and the required insulation.
Choose a permitted splice for the actual circuit and enclosure. An indoor location is not approval for household mains or concealed building wiring.
Explore Butt Connectors →Automotive · harness repair
Match the repair method, exposure and cable support.
If a heat-shrink butt splice is permitted, confirm its wire range and temperature limits. Keep the repaired harness supported and away from damaging heat or abrasion.
Explore Automotive Splice Options →Marine · moisture-exposed wiring
Check sealing requirements and the actual connection point.
For an approved inline splice, compare suitably rated sealed butt connectors. For a screw or stud, choose the correct terminal and hole size instead of a butt splice.
Explore Waterproof Wiring Options →