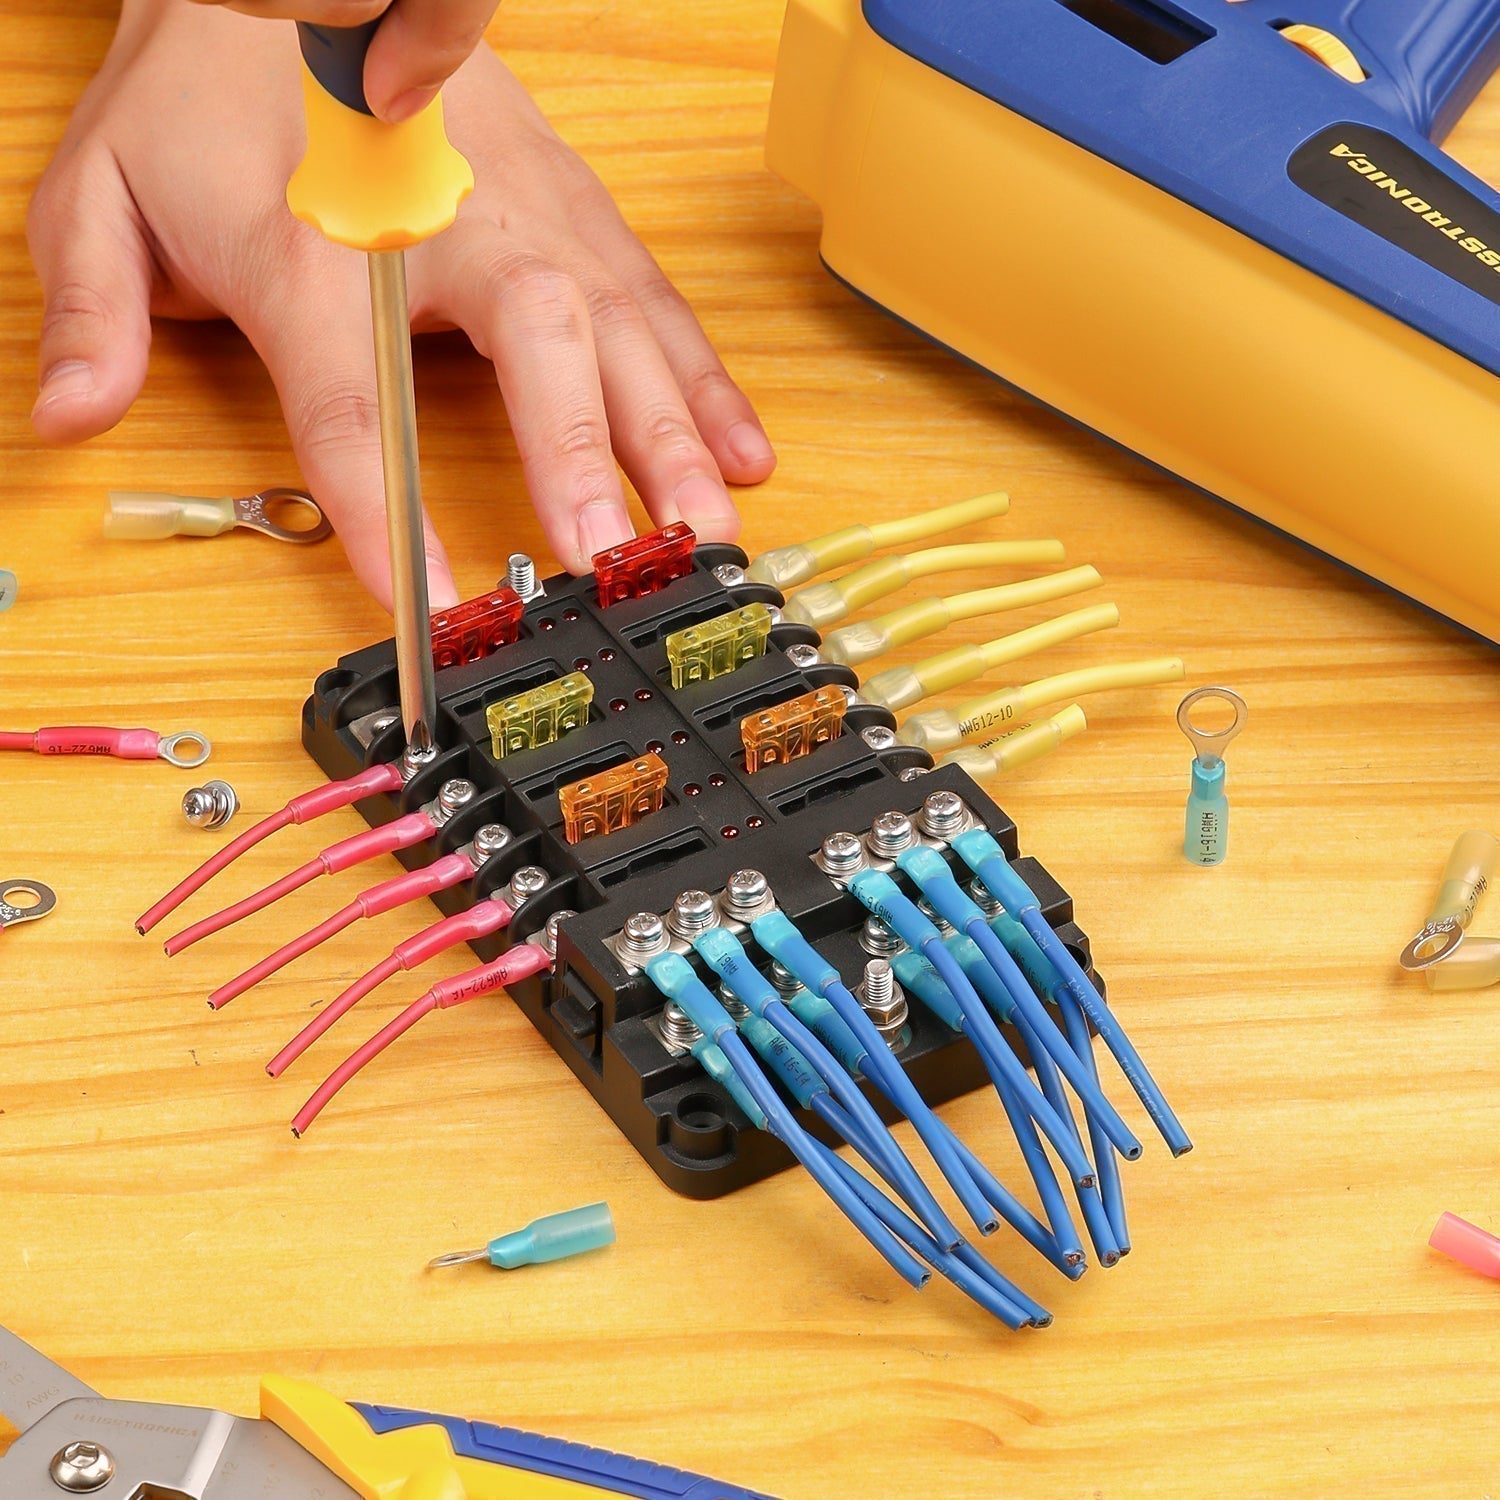
Choose the Right Crimp Die by Connector, AWG & Crimp Profile
Start with the connector—not the tool. Identify the terminal family, confirm the wire gauge, match the required die profile, orient the barrel correctly, then make and test one sample crimp before production work.
The decision that prevents most bad crimps
Mixed connector work needs range. Repetitive work needs specialization.
The best tool is not the one with the most cavities. It is the one whose die profile and AWG markings match the connector you are holding. Use an interchangeable system when your bench sees several connector families; use a dedicated crimper when one task repeats all day.
Choose an interchangeable die system
Use this route when one project includes insulated terminals, heat-shrink connectors, non-insulated terminals, open-barrel terminals, ferrules, or solar terminals.
- One handle, multiple matched profiles
- Faster changeover between connector families
- Better for automotive, marine, electrical and bench repair
Choose a dedicated crimper
Use this route when the connector family and AWG range stay consistent. A dedicated die removes unnecessary choices and speeds repeat work.
- Clear cavity markings for one connector family
- Less setup and fewer die-change errors
- Ideal for production, installation and common repairs
Connector × Die × AWG matrix
Match the connector family before choosing the cavity
Use the table as a fast decision guide. Always confirm the connector manufacturer’s specified wire range and crimp profile when a datasheet is available.
| Connector | Typical wire range | Die profile | How to align it | Direct tool path |
|---|---|---|---|---|
|
Heat-shrink & insulated terminals Butt, ring, spade and fork terminals |
AWG 22–10 | Color-coded insulated-terminal profile; use the cavity marked for red, blue or yellow terminal size. | Center the metal barrel—not the plastic sleeve—in the correct nest. Keep the wire fully seated before completing the ratchet cycle. | Insulated Terminal Crimper |
|
Open-barrel terminals Automotive pins, receptacles and OEM-style terminals |
AWG 20–10 | Open-barrel / F-crimp profile that folds conductor wings and insulation wings separately. | Place the conductor wings in the conductor nest and the insulation-support wings in the larger support nest. Keep both wing sets symmetrical. | Open-Barrel Crimper |
|
Non-insulated terminals Bare ring, spade and butt terminals |
AWG 22–6 | Non-insulated indent / terminal profile sized to the metal barrel. | Keep the barrel centered and follow the die’s seam/anvil marking. Do not let the jaw land on the ring, fork or tongue. | Non-Insulated Crimper |
|
Wire ferrules Control panels, terminal blocks and stranded-wire ends |
AWG 24–8 | Square or trapezoidal ferrule profile, matched to the ferrule cross-section. | Insert the ferrule barrel fully and squarely. Keep the plastic collar outside the crimping zone and avoid double-crimping the same area. | Ferrule Crimper |
|
Battery cable lugs Battery, inverter, winch, RV and marine cable |
AWG 8–1/0 | Heavy-cable hex profile matched to both cable gauge and lug barrel. | Seat the stripped cable fully in the lug, center the barrel in the selected die, and keep the lug tongue outside the jaws. | Battery Lug Crimper Kit |
|
Solar male/female terminals PV connector contacts and extensions |
AWG 14–10 | Solar-terminal profile matched to the contact and cable size. | Place the contact wings in the marked cavity, keep the contact straight, and verify the contact locks into the connector housing after crimping. | Solar Connector Crimper |
The complete selection and crimp path
Six steps from unknown connector to verified crimp
Identify the connector
Check whether it is insulated, heat-shrink, open barrel, non-insulated, ferrule, lug or solar. Look at the barrel and wing construction—not only the color.
Confirm wire gauge
Read the wire marking or measure the conductor. The connector barrel, wire and die cavity must all cover the same AWG range.
Select the die profile
Match the physical profile required by the connector: insulated, F-crimp, indent, square/trapezoid, hex or connector-specific.
Align the terminal
Center the barrel in the marked cavity. Keep tongues, rings, collars and connector housings outside the crimping zone.
Make one test crimp
Complete the ratchet cycle without rocking the terminal. For adjustable tools, start at the recommended setting instead of maximum force.
Inspect and pull-test
Check shape, symmetry, exposed conductor and insulation support. Apply a firm tug before heat shrinking or installing the connection.
Quality control
Know what a pass—and a failure—looks like
✓ Pass
- Barrel is evenly formed and centered
- Wire is fully inserted with no loose strands
- Insulation is supported but not cut
- Terminal does not rotate or slide
- Connection survives a firm pull test
× Stop and redo
- Barrel is flattened, cracked or visibly split
- Connector wings are folded unevenly
- Copper strands are cut or exposed excessively
- Terminal pulls off, spins or bends at the crimp
- Die marks sit outside the intended barrel area
Direct product paths
Choose broad coverage or a dedicated high-frequency tool
If you regularly switch connector families, reduce tool duplication with an interchangeable system. If one connector dominates your work, choose the dedicated tool for faster, repeatable setup.
6-in-1 Interchangeable Dies Kit
Six die families for mixed connector work across common heat-shrink, insulated, non-insulated, open-barrel, ferrule and solar tasks.
View 6-in-1 Kit →8PCS Rapid Replace Ratchet Set
A case-based system with six quick-swap dies, ratchet handle and automatic wire stripper for bench or field work.
View 8PCS Set →Dedicated Terminal Crimpers
Use a fixed connector profile when insulated, open-barrel, non-insulated or ferrule work repeats frequently.
Compare Dedicated Crimpers →Battery Lug Crimper Kit
For heavy AWG 8–1/0 battery cable lugs used in automotive, marine, RV, inverter and winch connections.
View Lug Crimper Kit →Still not sure what connector you have?
Send us a clear connector photo before you buy a tool.
We can help narrow the connector family and the correct tool path. Include the wire gauge or conductor size whenever possible.
- Full connector and barrel shape
- Wire or cable gauge marking
- End view showing wings, seam or ferrule shape
FAQ
Crimp die selection questions
Can one crimper work with every connector?
No single fixed die profile is correct for every connector. An interchangeable system can cover several common families, but you still must install the die that matches the connector construction and AWG range.
Do connector color and wire gauge always match?
Color coding is common on insulated terminals, but it should not be your only check. Confirm the connector packaging, barrel size and wire gauge marking before choosing a cavity.
Can I use an insulated-terminal die on open-barrel terminals?
No. Open-barrel terminals use wings that need an F-crimp/open-barrel profile. An insulated-terminal die can fold the wings incorrectly or damage the terminal.
Should I crimp the same spot twice?
Normally, no. A matched die should form the intended crimp in one complete cycle. Re-crimping can over-compress the barrel, cut strands or distort the connector.
What if the crimp passes visually but fails the pull test?
Stop and check wire size, strip length, connector size, cavity choice and tool adjustment. A clean appearance does not compensate for weak conductor engagement.
Continue learning
Related crimping guides
Choose the connector first. Let the die and AWG follow.
For mixed repair work, start with the 6-in-1 or 8PCS interchangeable system. For one repeated connector family, choose the dedicated crimper and verify every setup with a test crimp.
Compare All Wire Crimpers